Bokeh Balls and Specular Highlights: Shaping the Lights
Bokeh balls are the round glowing orbs a lens makes from out-of-focus points of light…
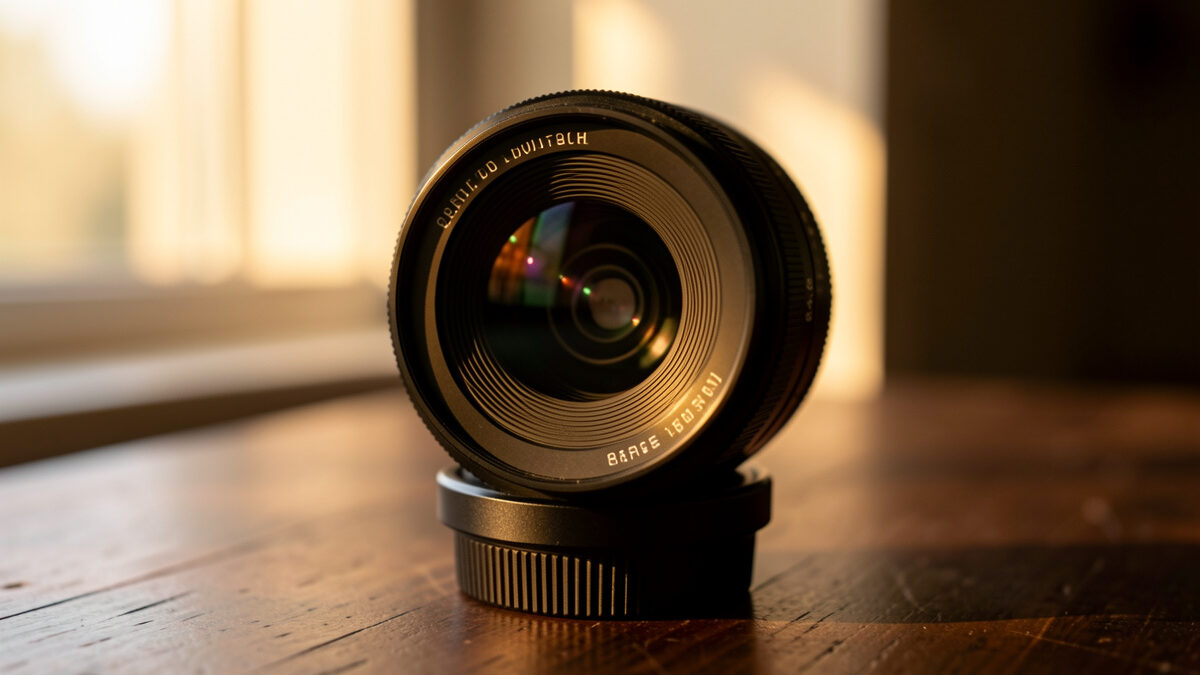
If you only fix one thing in your kit, fix the glass. A camera lens controls focal length, maximum aperture, and how the image actually draws — and those three decide far more of your final picture than which body you bolt the lens onto. Choose focal length for the job first, aperture for the light second, and let the sensor be the last thing you argue about.
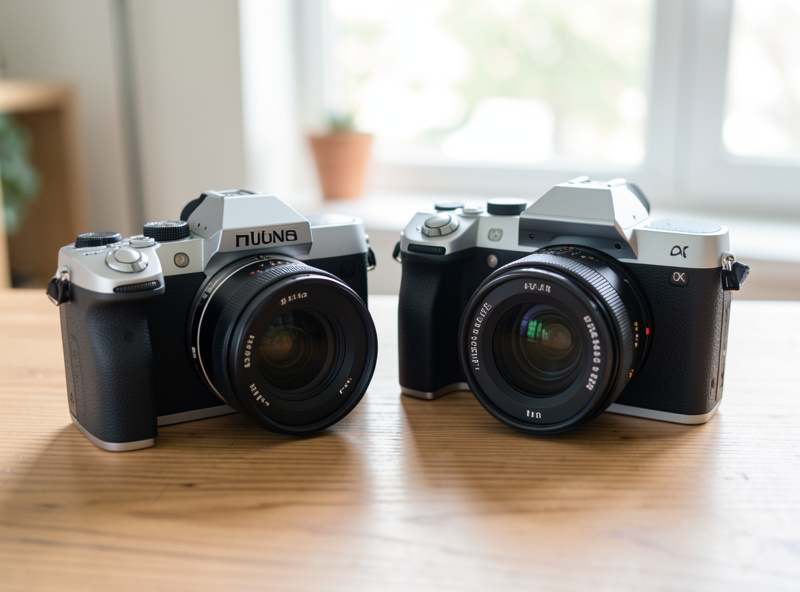
I shoot two systems side by side — a 40MP Fujifilm X-T5 that punishes any soft corner, and a full-frame Sony a7 IV I keep as a reference body — and almost everything I trust about a lens comes off a tripod-locked aperture sweep on a test wall, then a print. This guide is the map I wish I had been handed: how to read a lens by what it does, not by its spec sheet, and how to spend money where it changes the photograph.
The body sets resolution, autofocus, and high-ISO headroom. The lens sets focal length, depth of field, sharpness, contrast, color rendering, flare resistance, and the shape of every out-of-focus highlight. On my chart, two lenses on the same X-T5 sensor can differ by more resolved detail at the edges than two camera generations differ in the center. That is the part body-obsessed reviews skip — and it is the part you keep for ten years.
Bodies depreciate and get replaced on a roughly three-year itch. Good glass outlives three or four of them. The XF 35mm f/1.4 I still reach for renders the same way it did the day I bought it, on a sensor that has since doubled in resolution. That is the whole argument for treating the lens as the primary purchase and the body as the consumable.
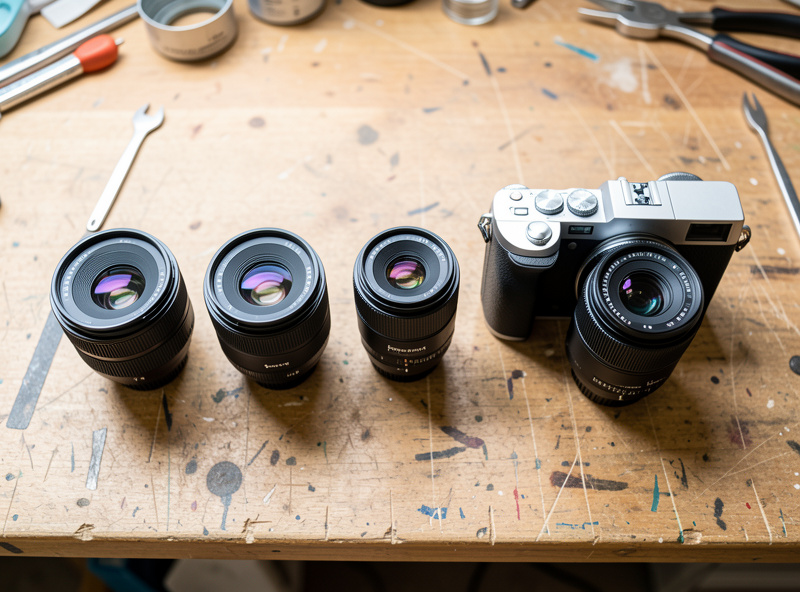
Focal length is the first decision because it sets your working distance and your perspective — the relationship between near and far in the frame. A 24mm and an 85mm shot of the same face from a flattering framing are not the same photo at different sizes; the 24mm stretches the nose forward and the 85mm compresses the features. No aperture or sensor changes that. Pick the focal length the picture needs, then everything else.
Four broad families cover almost everything most shooters do. Wide (roughly 14–35mm full-frame equivalent) for landscape, interiors, and environmental context. Standard (35–85mm) for street, documentary, and most portraits. Telephoto (85–300mm) for compression, wildlife, and isolating a subject. Macro for true close-focus at life-size. I keep a fast prime in each band I shoot most, and I learned each band faster on a prime than I ever would have on a zoom — more on that fork below. If you want the full taxonomy with sample images per range, our guide to the types of camera lenses breaks each one down.
Aperture — the f-number — does three jobs at once: it sets how much light reaches the sensor, how shallow the depth of field is, and where the lens hits its sharpness peak. A lower f-number (f/1.4) means more light and a thinner slice of focus; a higher f-number (f/8) means less light and more front-to-back sharpness. Most lenses are softest wide open and peak about two stops down, then lose sharpness again to diffraction past roughly f/11 on APS-C.
That last point is where spec-sheet thinking fails people. A “sharper” f/1.4 lens is not sharper at f/1.4 than a kit zoom is at f/8 — it is sharper at the same aperture, and it buys you the option of f/1.4 at all. I run a sweep wide open → f/4 → f/8 → f/16 on every lens I own and note the peak; on my copy of the XF 16-55mm f/2.8 that peak sits near f/4–5.6, and I stop being able to see a difference long before the numbers say I should. Understanding why corners lag the center, and why a fast lens still needs stopping down, lives in our deep dive on lens sharpness and aberrations.
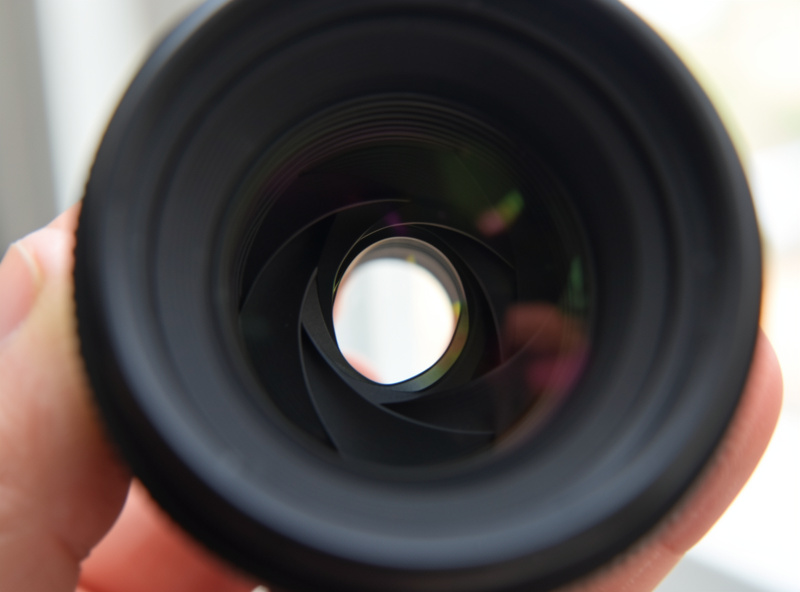
This is the decision that shapes a kit. A prime is a single focal length — usually faster, sharper, lighter, and cheaper per stop of aperture. A zoom covers a range and trades some speed and ultimate sharpness for the convenience of not changing lenses. Neither is “better”; they answer different questions. A prime teaches you to move your feet and see a focal length; a zoom keeps you covered when you cannot reposition — a wedding aisle, a touchline, a moving deck.
My honest bias is that most beginners are handed a kit zoom and never learn to see, because the zoom lets them stand still. A 35mm-equivalent prime for the price of a fast pizza teaches composition faster than any lens at any price. But I still pack the 16-55mm f/2.8 and the 24-70-class zoom when the job is unpredictable. The full trade-off — what each costs you in weight, light, and image quality — is laid out in our prime vs zoom lens comparison, and if you want the gentler “when to use each” version, the older prime vs zoom walkthrough still holds up.
When reviewers say a lens is “tack sharp,” ask sharp where and at what aperture. Sharpness is not one number — it changes from center to corner, from wide open to stopped down, and it interacts with field curvature, focus shift, and chromatic aberration. An MTF curve is the manufacturer’s promise; a tripod-locked sweep on a flat target is whether they kept it. I read the curve, then prove it on the wall, then prove it again on a print, because a flaw that screams at 100% on screen often vanishes at A3.
The aberrations worth knowing by name are longitudinal CA (color fringing on the focus axis, green behind and magenta in front of focus), lateral CA (color fringing toward the corners, easily corrected in software), coma (point lights smearing into wings near the edges — the astrophotographer’s enemy), and field curvature (the plane of focus bowing so corners focus at a different distance than the center). Knowing which ones software fixes for free and which ones you actually pay for in glass is most of lens-buying wisdom. Our sharpness and aberrations guide shows each one as it looks on my test frames.
Once focal length and aperture make sense, lens choice collapses into use cases, and each one has a different “right answer.” Portraits want a short telephoto with smooth subject separation. Landscapes want a sharp, low-distortion wide that holds up stopped down across the whole frame. Macro wants true 1:1 reproduction and a working distance that does not put the front element in your subject. Reach work wants a telephoto with usable sharpness at the long end and stabilization you can hand-hold.
The table below is the quick map; each row has a full buying guide behind it. For faces, our portrait lens guide covers why 85mm-equivalent and a fast aperture do the heavy lifting (and the older portrait lens recommendations by budget stays useful). For wide vistas, the landscape lens guide explains why corner sharpness and flare control matter more than speed. For close-up work, the beginner macro lens guide demystifies magnification and working distance. For distant subjects, the telephoto buying guide covers reach versus weight versus cost.
| Use case | Typical focal length (FF-equiv) | Aperture that matters | What to prioritize | Common mistake |
|---|---|---|---|---|
| Portraits | 85mm (50–135mm) | f/1.2–f/2 | Subject separation, smooth bokeh, pleasant skin rendering | Going too wide and distorting features |
| Landscape | 16–35mm | f/8–f/11 | Corner sharpness, low distortion, flare resistance | Buying for max aperture you will never use |
| Macro | 90–105mm macro | f/5.6–f/11 | True 1:1 magnification, working distance, stabilization | Confusing “macro mode” with a real 1:1 lens |
| Telephoto / wildlife | 200–600mm | f/4–f/6.3 | Usable sharpness at the long end, weight, reach | Chasing reach you cannot hold steady |
| Everyday / street | 35–50mm | f/1.4–f/2.8 | Compact size, fast focus, a focal length you can pre-visualize | Leaving the kit zoom on and never learning to see |
A crop sensor multiplies the effective focal length (1.5x on my Fuji, so a 56mm draws like an 84mm) and changes the depth of field at a given framing and aperture, but it does not change a lens’s optical quality. The same glass that resolves cleanly on full frame resolves cleanly on APS-C; a 40MP APS-C sensor actually demands more from a lens because the pixels are smaller and a soft corner has nowhere to hide. I keep both systems precisely so I can separate sensor behavior from lens behavior — a single-system shooter structurally cannot tell which one is responsible for what they see.
The practical takeaway: do not buy a bigger sensor expecting it to rescue mediocre glass. A sharp prime on APS-C will out-resolve a soft zoom on full frame every time. Match the lens to the job and the sensor to your budget and the light you shoot in, not the other way round. If you are still deciding between mounts, our lens mount guide covers what each system commits you to.
Three errors empty wallets without improving photos. The first is keeping the kit zoom as your main lens — it is the most replaceable thing in the box and the fastest thing to outgrow. The second is gear-acquisition disease: buying a fourth standard zoom because a reviewer charted a 3% edge you will never see in a print. The third is chasing megapixels, as if resolution fixed a lens that flares, distorts, or draws flat. Spend on focal lengths you actually shoot, on apertures you actually use, and on optical character you actually like.
My rule after years of this: own fewer, better lenses, and learn each one cold. I would rather have three primes I can pre-visualize than nine zooms I half-know. Glass you understand is worth more than glass you own. Shoot for the print, crop for the page, and let the lens — not the spec sheet — earn its place in the bag.
Three specs trade against each other on every lens, and pretending one is free is how people overpay. A faster maximum aperture (a lower f-number) gathers more light and throws backgrounds further out of focus, but it adds glass, weight, and cost — an f/1.2 portrait lens can weigh twice what an f/2 version of the same focal length does. Image stabilization buys you slower hand-held shutter speeds, which matters enormously for telephoto and low light and almost not at all for tripod landscape work.
Decide which of the three you are actually buying before you read a single review. For my landscape work the answer is weight and corner sharpness, because I shoot off a tripod at f/8 and never need f/1.4. For available-light portraits the answer is aperture, because the whole point is subject separation. For wildlife it is stabilization and reach, with aperture a distant third. Buying an f/1.4 landscape lens or a heavy stabilized prime for tripod work is paying for capability that never reaches the photograph. The honest question is not “which lens is best” but “which trade-off does this job reward.”
Marketing pins autofocus on the body, but the lens’s focus motor and its optical design decide whether that body can do its job. A lens with a fast linear motor snaps to a subject; an older screw-drive or slow motor hunts no matter how good the body’s tracking algorithm is. Focus breathing — the way framing shifts as focus racks — and focus shift, where the plane of sharpest focus moves as you stop down, are both lens behaviors the body cannot fix.
This matters most at the extremes I shoot. For a fast portrait prime wide open, the depth of field is so thin that the lens has to nail eye focus repeatably or every frame is a near-miss. For wildlife at 300mm-plus, the lens motor has to drive a lot of glass quickly enough to catch a bird leaving a branch. When a body and lens disagree about who is at fault for soft frames, my two-system bench usually tells me it is the glass — the same body locks focus instantly on a better-motored lens. Read the lens’s focus behavior, not just the body’s spec.
A lens is a mechanical instrument that you focus thousands of times, and build quality is where price quietly earns its keep. Weather sealing keeps blue-hour drizzle and trail dust out of the barrel; a metal mount and damped focus ring survive years of use; internal zooming keeps the front element from pumping air and dust with every twist. None of this shows in a sharpness chart, and all of it shows in whether the lens still works in five years.
Because good glass holds value and ages slowly, the used market is the smartest place most people can shop. Optical formulas rarely change between generations — a five-year-old fast prime often draws identically to its current version at half the price. When I buy used I check the front and rear elements against a bright light for haze, fungus, and deep scratches, rack the focus and zoom for grit or stiffness, and shoot a quick aperture sweep on my chart before I trust it. A clean used prime is one of the few genuine bargains left in photography. If you are weighing what each mount commits you to before buying, our lens mount guide is the place to start.
My method is deliberately boring because boring is repeatable. I lock the camera on a tripod square to a flat target — an ISO-style resolution chart for detail, a brick wall or newspaper plane for corner-to-corner consistency — kill stabilization, use a two-second timer or remote, and shoot an aperture sweep from wide open through f/16. Then I pull the files into Lightroom and compare the center and the extreme corners at each aperture. That tells me where the lens peaks, how fast the corners catch up, and whether there is focus shift as I stop down.
For the flaws charts miss, I add two more tests: a backlit point source at night for coma and flare and sunstar behavior, and a real subject for rendering — how skin tones fall, how specular highlights in the background draw, whether the bokeh is smooth or busy. Finally I make a print, because the print is the only honest judge. A corner softness that looks alarming at 100% on a 40MP file routinely disappears at A3, and a lens that charts mid-pack can draw a portrait that no MTF number predicts. Numbers narrow the field; the print decides.
If I were starting over, I would build the kit in a deliberate order rather than buying whatever is on sale. First, one fast standard prime — a 35mm-equivalent — and nothing else for a few months, until I could pre-visualize a frame before raising the camera. That single lens teaches more than any three zooms. Second, the lens for whatever I shoot most: a short telephoto prime if it is people, a sharp wide if it is landscapes. Only third would I add a do-everything zoom for the unpredictable days.
That order spends money where it changes photographs and delays the purchases that mostly soothe gear anxiety. It also keeps the bag light, which is the single biggest predictor of whether a lens actually gets used. The most expensive lens is the one that stays home because the kit is too heavy to carry. Start narrow, learn each piece of glass cold, and let genuine need — not a reviewer’s chart or a launch-day video — pull the next lens into the bag. Every spoke below drills into one of these decisions in full.
The lens. It sets focal length, depth of field, sharpness, contrast, and how out-of-focus areas render, and good glass outlives several bodies. The body mainly sets resolution, autofocus, and high-ISO behavior. Spend on the lens first.
For learning, a single fast prime around 35mm-equivalent teaches composition faster because it forces you to move and see one focal length. A zoom is better when you cannot reposition, like events or sports. Most beginners benefit from one prime alongside their kit zoom.
Most lenses are softest wide open and peak about two stops down, often around f/4 to f/5.6, then lose sharpness to diffraction past roughly f/11 on APS-C. The fast aperture buys you the option of shallow depth of field and low light, not maximum sharpness.
It changes the effective field of view by the crop factor, so a 56mm on a 1.5x APS-C body frames like an 84mm. It does not change the lens optics. A high-resolution crop sensor actually demands more from a lens because smaller pixels expose soft corners.
Fewer than gear culture suggests. Three lenses covering wide, standard, and short telephoto handle the vast majority of photography. Owning fewer lenses you understand cold beats owning many you half-know, and it saves money for the focal lengths you genuinely shoot.
Not always. A modestly priced fast prime often teaches more and delivers better images than an expensive zoom. Prioritize the focal length and aperture your photography needs over price or brand, and buy optical quality where it shows in a print, not on a spec sheet.

Bokeh balls are the round glowing orbs a lens makes from out-of-focus points of light…
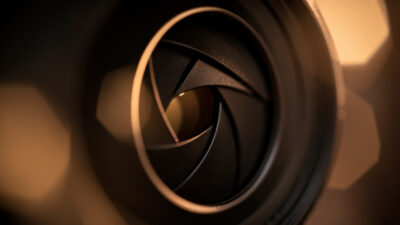
Aperture blade count changes your bokeh only when you stop down, and even then it…

Cat’s-eye bokeh is the lemon or eye shape that out-of-focus highlights take near the edges…
Leave a Reply