The Reciprocal Rule and Beyond: Minimum Shutter Speed for Sharp Shots
The reciprocal rule says your shutter should be at least one over your equivalent focal…
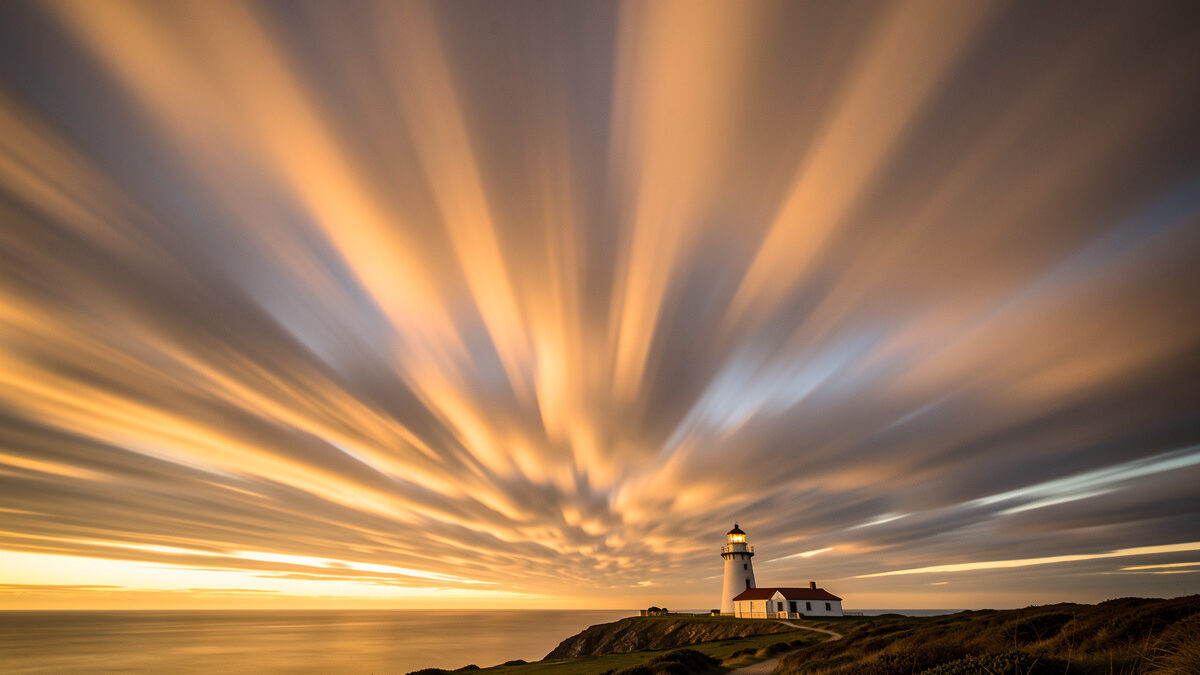
Cloud motion long exposures work when three things line up: wind moving the clouds during your exposure, a shutter long enough to record that movement (usually 30 seconds to several minutes), and the cloud direction aimed so it strengthens your composition. Still air gives you a boring frozen sky no matter how long you expose. The wind is the subject, and you have to read it before you set up.
I’ve chased streaking skies along the Swedish coast for years with my Fujifilm X-T5, and the lesson that took longest to sink in is that cloud long exposures are won or lost before the filter goes on. You can nail the exposure math perfectly and still come home with a flat grey smear because the wind was wrong, the clouds were the wrong type, or they were moving across the frame instead of into it. This is a forecasting skill as much as a camera skill. Let me show you how I read the sky.
Broken and scattered clouds with clear gaps make the most dramatic long exposures, because the contrast between the bright moving cloud and the darker sky gaps is what records as streaks. A flat, featureless overcast has no internal contrast, so even a five-minute exposure just gives you a uniform grey ceiling with nothing to smear. You need structure in the sky for the motion to show.
My favorite conditions are the aftermath of a front — puffy cumulus with blue gaps, or high wispy cirrus catching golden-hour light, both driven by a decent wind aloft. Mid-level clouds moving briskly give the classic radial streak look. What I avoid: dead-calm high-pressure days where nothing moves, and thick uniform stratus where there’s no contrast to work with. The irony of cloud photography is that the “bad weather” days — unsettled, windy, clearing after rain — are exactly the ones that produce the best skies. I’ve learned to see a blustery clearing forecast as an invitation, not a reason to stay home.
Cloud height matters too. Low, fast clouds close to you appear to move faster across the frame and streak more obviously in a shorter exposure. High cirrus moves the same real speed but looks slower because it’s far away, so it needs a longer exposure to show equivalent motion. When I’ve got low scud racing under a higher deck, I sometimes get two layers streaking at different apparent speeds in the same frame, which looks fantastic.
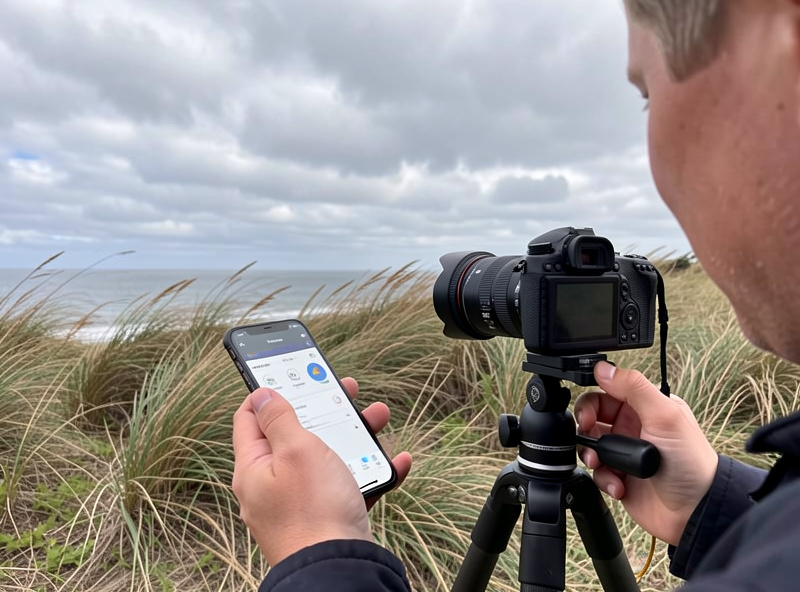
Check the wind speed and direction aloft, not just at ground level, because the clouds move with the wind at their altitude, which is often faster and from a different direction than the breeze you feel. A weather app that shows wind at different pressure levels, or a dedicated forecast for cloud movement, tells you far more than looking up and guessing. I plan the whole shoot around it.
Direction relative to your lens is the make-or-break variable, and it’s the one beginners never think about. Clouds moving toward or away from the camera streak radially — they appear to explode outward from or converge toward a point near the horizon, and that radial motion is dramatic and pulls the eye straight into the scene. Clouds moving across the frame, left to right, smear sideways in flat parallel bands that usually look dull. So when I know the wind direction, I pick a composition that points into or away from it. On a headland with a lighthouse last year I deliberately set up so the wind was blowing the clouds straight over my shoulder and out toward the horizon behind the lighthouse — the streaks radiated out behind it like a halo. Same clouds, same exposure, shot ninety degrees off, would have been forgettable.
I use the forecast to answer three questions before I leave: is there wind aloft, what direction, and is there structured cloud rather than flat overcast. If all three are yes, I decide my shooting position and the direction I’ll face from the map, so I arrive knowing where to stand. That planning discipline is the same one behind every technique in the daytime long exposure guide — the shot is mostly made before the shutter opens.
Clouds need long exposures — 30 seconds is a practical minimum for visible streaking, and one to four minutes is where the effect becomes dramatic. Clouds move slowly relative to your frame compared to water, so a two-second shutter that would smooth a stream does almost nothing to a sky. The longer the exposure, the more the clouds smear into flowing streaks.
Getting to those durations in daylight takes serious light-blocking. A 10-stop ND gets me to 30 to 60 seconds in most daytime light, but for the two-to-four-minute streaks in bright sun I stack a 10-stop with a 3-stop for 13 stops, or reach for a 15-stop. The exposure math is the same doubling rule as everything else — meter, count the stops, double — and I work it exactly as in the ND calculation guide. The practical catch is that at these durations, long-exposure noise reduction doubles your wait: a four-minute frame plus its dark frame ties up the camera for eight minutes, and the sky keeps changing while you wait. I often turn LENR off for cloud work specifically so I can shoot the sky while it’s doing something, and clean up hot pixels later.
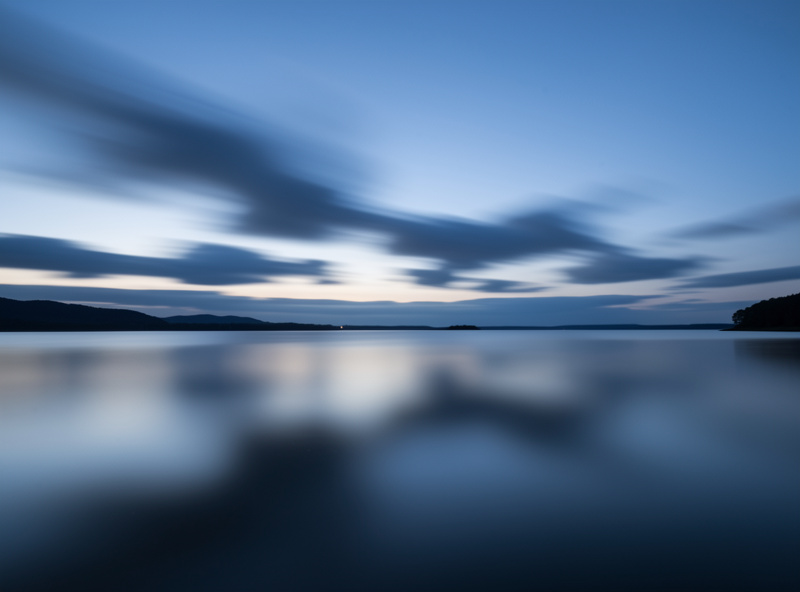
Blue hour and the golden-hour shoulders are my favorite times for this because the low light both eases the exposure math and paints the clouds with color that streaks beautifully. A four-minute frame at blue hour might need only a 6-stop instead of a stacked 13, and the clouds pick up pink and gold as they move. In the harsh light of midday the sky is often washed out anyway, so I mostly save cloud work for the ends of the day.
A minutes-long cloud exposure demands an even more rigid setup than water, because the ground, buildings, and horizon must stay tack sharp against the blurred sky, and there’s far more time for wind to shake the camera. Any vibration during a four-minute frame is four minutes of opportunity for a gust to smear your foreground. This is where cloud long exposures punish a weak tripod hardest.
I plant the carbon tripod wide, center column down, and hang my bag off the hook as a wind anchor — and in real wind I’ll shield the camera with my body. I trigger with an intervalometer that holds the bulb shutter for the exact duration, because at four minutes there’s no other way, and I cover the eyepiece to stop light leaking in through the finder over such a long frame. That eyepiece leak is a real problem on multi-minute mirrorless exposures — stray light creeps in and stains the frame magenta — and the little rubber cap or my hand prevents it. If your long frames come out soft despite a tripod, the causes and fixes are all in why your long exposures are soft, and choosing a release that can time multi-minute frames is covered in the best remote shutter releases and intervalometers.
Give the sky room and give it something to streak toward — a strong vertical anchor like a lighthouse, a lone tree, or a mountain peak that the radial streaks can point at. A streaking sky over an empty horizon is impressive for about three seconds; the same sky organized around a subject is a photograph. The clouds provide the energy, but the composition has to give that energy a destination.
I usually drop my horizon low — often into the bottom third or lower — because the sky is doing the heavy lifting and deserves the room. A high horizon that crops the sky wastes the whole effect. Reflections multiply it: a calm lake or a wet tidal flat under a streaking sky doubles the drama and anchors the frame with symmetry, and blue-hour water is glassy enough to hold the reflection through a long frame. On the lighthouse headland I mentioned, the wet rock in the foreground caught just enough of the streaking sky to tie top and bottom together. The other habit that pays off is leading lines that echo the cloud direction — a path, a jetty, or a shoreline running the same way the clouds streak reinforces the sense of motion and pulls the viewer straight through the frame. When the leading line and the cloud streaks agree, the picture feels inevitable.
The classic failures are shooting a windless sky, aiming across the wind instead of into it, cutting the exposure too short, and letting the foreground go soft over a long frame. The first two are planning errors and the second two are technical, but all four send you home disappointed with a memory card full of flat grey.
The windless-sky mistake is the most common and the most avoidable — check the forecast, and if there’s no wind aloft, shoot something else that day. The across-the-wind error is subtler: people set up for the composition they want and never consider that the wind is smearing the clouds sideways into dull bands; a small change of shooting angle to face into the wind transforms the same sky. Too-short exposures come from underestimating how slow clouds move — when in doubt, go longer. And the soft foreground is the tripod-and-wind problem magnified by the long duration. I’ve made every one of these mistakes, usually more than once, and the fix for all of them is the same: read the sky before you commit, then lock everything down and give the clouds the time they need. A good cloud frame feels like the sky is breathing. Once you’ve caught one, the frozen version looks lifeless forever.
For forecasting cloud movement I cross-check a general forecast against the wind-aloft data and sun position in PhotoPills, and for the underlying meteorology of cloud types and fronts the Royal Meteorological Society resources are a solid, non-hyped reference.

The reciprocal rule says your shutter should be at least one over your equivalent focal…

Image stabilization fights camera shake only — nothing else. IBIS floats the sensor to cancel…
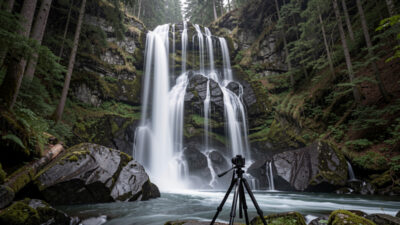
To shoot silky water, put the camera on a rigid tripod, add an ND filter…
Leave a Reply