Why Your Long Exposures Are Soft: The Fixes
Long exposures come out soft for four fixable reasons: a tripod that flexes, vibration from…
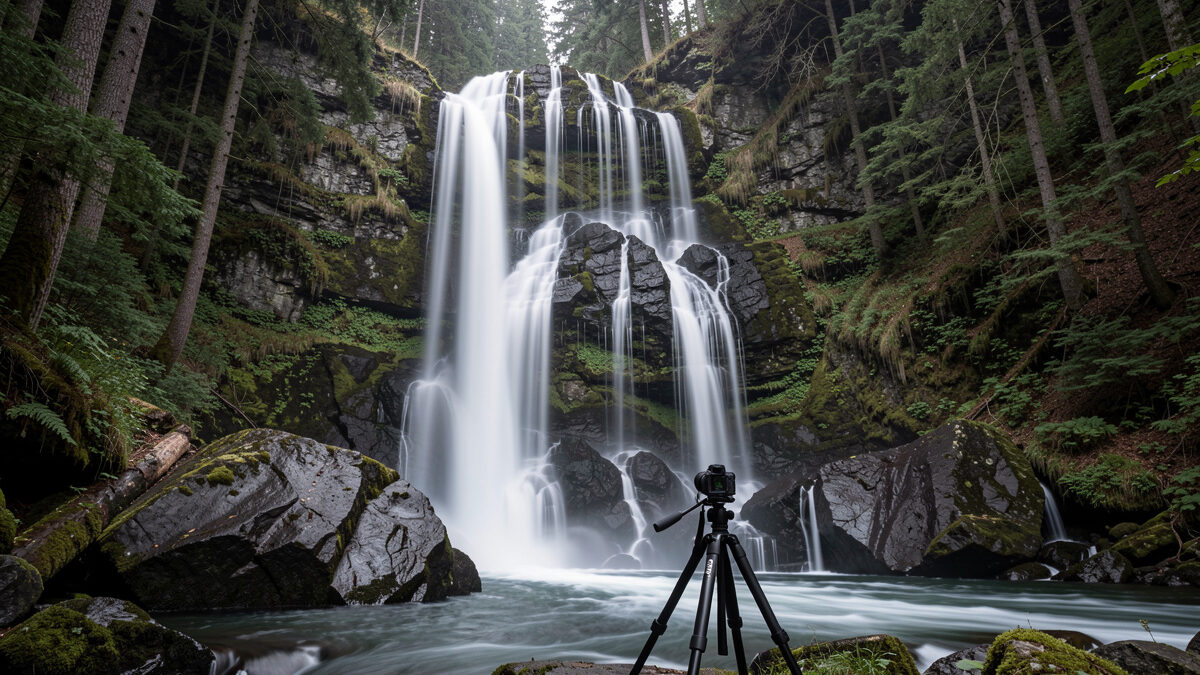
To shoot silky water, put the camera on a rigid tripod, add an ND filter so the shutter can stay open, and match the exposure length to the effect you want: about 1 to 2 seconds keeps a waterfall looking alive, while 15 to 30 seconds turns a seascape into low mist. The tripod and the shutter length do all the work; the filter just buys you the time in daylight.
I’ve shot silky water across Swedish forest streams and granite coastlines on my Fujifilm X-T5 for years, and the single biggest thing I’ve learned is that “silky” is not one look — it’s a dial. Beginners crank it to full milk and wonder why the frame feels dead. The magic is usually in the middle, and the middle is a decision you make on purpose. Here’s how I make it, from filter choice to timing a shutter to the rhythm of the sea.
The sweet spot for most flowing water is between 1/2 second and 2 seconds — long enough to smooth the surface into motion but short enough to keep the water’s direction and texture readable. Push much past 4 seconds and moving water loses all structure and goes to featureless milk, which reads as flat rather than dynamic. The correct speed depends entirely on how fast the water is actually moving.
A raging spring waterfall needs a shorter shutter than a lazy summer trickle to reach the same look, because faster water travels further during the exposure. This is why I never memorize a single number — I read the water first. Here’s the rough map I start from, then refine with a test frame.
| Shutter time | Water appearance | Best for |
| 1/15–1/4 s | Frozen with slight motion | Fast, powerful falls where you want energy |
| 1/2–1 s | Silky but textured, direction visible | Most waterfalls and streams |
| 2–4 s | Smooth, soft, some structure left | Gentle streams, classic silk look |
| 8 s and up | Full milk, no texture | Minimalist, can look dead if overdone |
| 15–30 s | Sea flattened to mist | Seascapes averaging whole wave sets |
I usually land waterfalls at around 1 second on my copy and only go longer when the light forces it. If I want a specific duration and the daylight won’t allow it, I reach for the right ND rather than accept a look I didn’t choose — the whole method for hitting a target time is in how to calculate long exposure times with an ND filter.
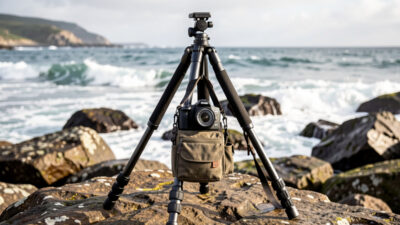
You need a rigid tripod, a polarizer, and usually a 6-stop ND — in that order of importance. The tripod is non-negotiable because everything static in the frame must stay razor sharp against the blurred water, and a flexing leg near a splashing stream is the fastest way to ruin the contrast that makes the shot work.
The polarizer is the secret weapon people skip. On wet rocks and water, a circular polarizer cuts the glare and specular hotspots, deepens the greens of wet moss, and lets you see into shallow pools instead of bouncing off them. It also happens to eat about 1.5 to 2 stops of light, which conveniently helps lengthen your exposure — on cloudy days over a shaded stream, a polarizer alone can get me to 1/2 second without any ND at all. For brighter scenes I add my 6-stop ND, which lands most streams in the 1-to-2-second range I want. I shoot these on the XF 16-55mm f/2.8 because its 77mm thread fits my filters and it’s tack sharp stopped down to f/8 to f/11 where I keep foreground rocks and background falls both in focus.
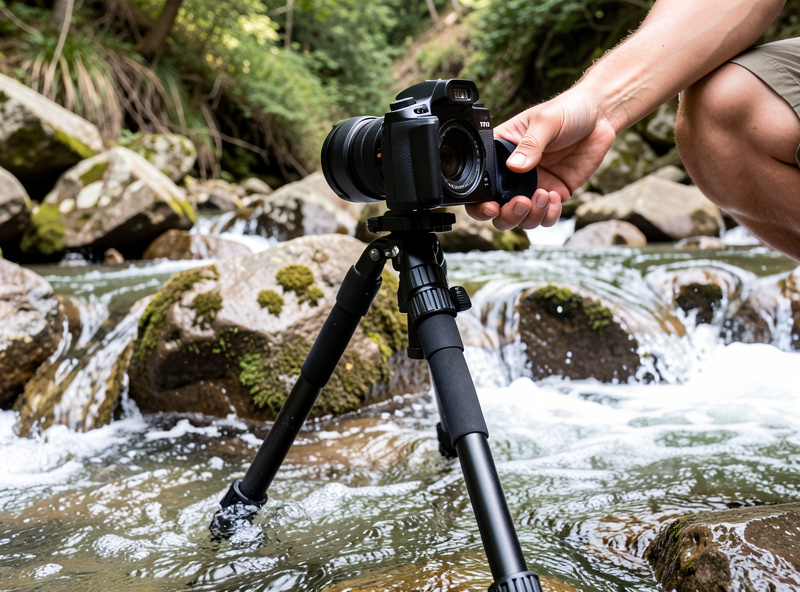
One thing I learned the wet way: bring a microfiber cloth and check the front element between every frame near a waterfall. Spray drifts, and a single drop on a wide-angle front element at f/11 shows up as a soft blob in the sky that you won’t notice until you’re home. I lost a whole set of a beautiful cascade to spray I never wiped. Now I wipe, shoot, wipe, shoot.
Set up low and close, lock focus and exposure before the filter, then fire with a remote at 1 to 2 seconds and check the histogram. The whole sequence takes two minutes once it’s habit, and doing it in the right order is what separates a sharp keeper from a soft guess. The order matters because a 6-stop-plus-polarizer stack darkens the finder enough that focusing after mounting gets unreliable.
My exact routine: plant the tripod wide and low, center column down, often with a leg right in the stream. Compose for a lead-in — a foreground rock or a curve of water that pulls the eye up to the falls. Autofocus a third into the scene at f/11, then switch to manual focus so nothing shifts. Meter in manual and note the shutter. Mount the polarizer and rotate it while watching the glare drop off the wet rocks, then add the ND if I need more time. Trigger with my remote release or a 2-second self-timer — never my finger — and read the histogram on frame one. Adjust by whole stops. The reason I insist on a remote is the same reason my exposures come out sharp when other people’s don’t; if yours are soft, start with why your long exposures are soft.
Seascapes need longer exposures and a completely different sense of timing, because you’re not smoothing a constant flow — you’re averaging a rhythm of waves that surge and retreat. Fifteen to thirty seconds is the working range: long enough that several waves wash through the frame and average into a low mist around the rocks. Too short and you freeze one awkward wave mid-collapse; too long and the sea goes to featureless grey.
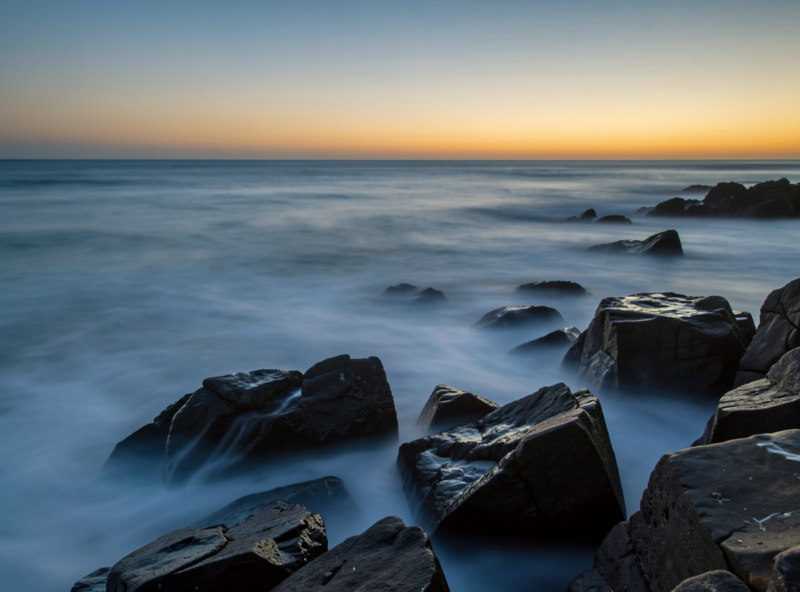
The skill nobody tells you about is timing your shutter to the wave set. I watch the sea for a few minutes first — there’s always a rhythm — and I trigger my 20-second exposure just as a wave is retreating, so the frame captures water pulling away from the foreground rocks, which leaves those beautiful silk trails streaming off the stone. Trigger on the surge instead and you get a chaotic wash. On a granite headland last autumn I stacked a 10-stop and a 3-stop for 13 stops, timed a 32-second frame to the retreat, and the rocks came out as islands in flat silk — my favorite seascape of the year. It took six frames to nail the timing. That’s normal; the sea doesn’t repeat on command.
Seascapes also punish gear harder. Salt spray is corrosive, the tripod feet sink and shift in wet sand between frames (re-level constantly), and an incoming tide will take your bag if you’re not watching. I keep the tripod legs rinsed after every coastal session and I never set the bag down below the high-water line. The daytime version of all this — reading light, planning the shoot, protecting sharpness — ties back to the daytime long exposure guide.
The four killers are a soft frame from vibration or spray, blown highlights in white water, an ugly color cast from a cheap ND, and overcooking the effect into lifeless milk. The first two are technical and fixable in the field; the last is a taste error that no post-processing rescues.
White water is deceptively bright — the foaming base of a waterfall can clip to pure white and lose all texture if you expose for the darker rocks. I watch the highlight blinkies on the foam specifically and pull back a stop if it’s clipping, because blown foam is unrecoverable and it’s the part everyone looks at. For the color cast, I shoot raw and set a custom white balance; strong NDs skew magenta or cool, and Lightroom fixes most of it if the file is raw rather than JPEG. And on the taste error: resist the 30-second-milk temptation on a stream that would look better at 1 second. Motion the eye can still read is more compelling than a white smear. Silk is a seasoning, not the whole meal.
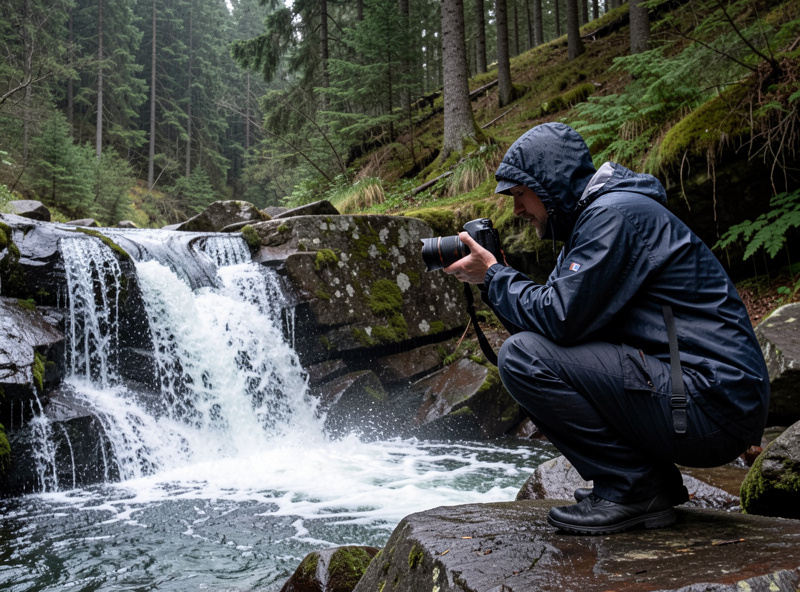
If you want to try, my honest starting kit is a solid tripod, a decent circular polarizer, and one 6-stop ND — you can search a circular polarizer and ND filter set and be shooting streams the same weekend. Buy quality glass in the polarizer especially; a cheap one dulls the whole frame.
As an Amazon Associate I earn from qualifying purchases.
Between about 1/2 second and 2 seconds works for most waterfalls. That keeps the water smooth but still shows its direction and texture. Faster, more powerful water needs a shorter time to reach the same look, while a gentle trickle can go to 2 to 4 seconds. Past 4 seconds the water loses structure and can look flat.
Not always. In shade or on an overcast day, a circular polarizer alone eats about two stops and may get you to half a second, which is enough for many streams. In brighter light you need an ND filter to lengthen the shutter. A 6-stop ND covers most silky water situations.
Fifteen to thirty seconds is the usual working range. That lets several waves wash through the frame and average into a low mist around the rocks. Time the shutter to fire as a wave is retreating so the water leaves silk trails pulling away from your foreground, rather than a chaotic surge toward the camera.
Usually the tripod flexed, spray landed on the front element, or the camera vibrated at release. Plant the tripod low and wide with the center column down, wipe the front element between frames near a waterfall, and trigger with a remote or self-timer instead of pressing the shutter with your finger.
Yes. A circular polarizer cuts glare off wet rocks and water, deepens the color of wet moss, and lets you see into shallow pools. It also blocks about 1.5 to 2 stops of light, which conveniently helps lengthen your exposure. Rotate it while watching the glare drop before you shoot.
For planning coastal light and tides I lean on the sun and blue-hour tools in PhotoPills, and I sanity-check tide times against the local hydrographic service before any seascape session.
Long exposures come out soft for four fixable reasons: a tripod that flexes, vibration from…

Soft photos almost always trace to one of three causes: motion blur, missed focus, or…

In-camera focus bracketing is the feature, built into bodies like my Fujifilm X-T5 and Sony…
Leave a Reply