Image Stabilization Explained: When IBIS Helps and When It Can’t
Image stabilization fights camera shake only — nothing else. IBIS floats the sensor to cancel…
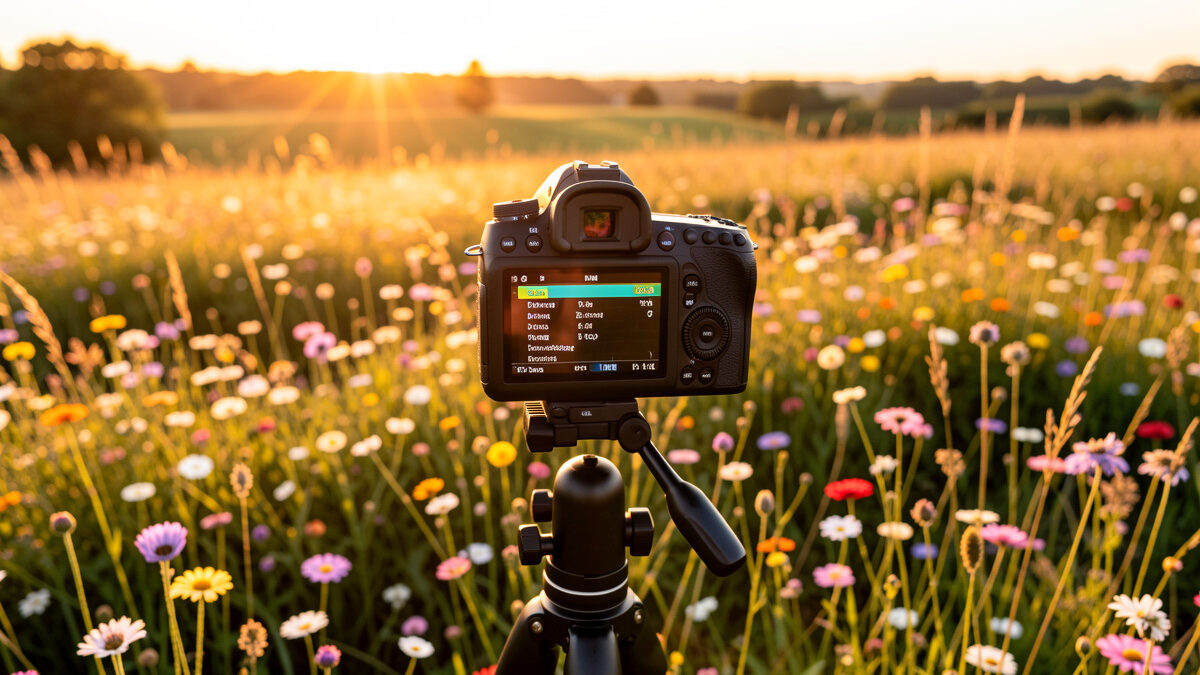
In-camera focus bracketing is the feature, built into bodies like my Fujifilm X-T5 and Sony a7 IV, that fires a pre-set run of frames for you — you choose the number of frames and the focus step, press the shutter once, and the camera steps the focus plane a calculated interval between each exposure, finishing a typical landscape bracket in about two seconds. It is the same operation you would do by hand on the focus ring, handed to a motor and an interval counter.
The appeal is consistency. The spacing between frames is even and repeatable, the count is exact, and you are not guessing whether you overlapped enough — the camera does that arithmetic. The catch is that you are trusting the body’s interval math, which is calibrated to a general case and is not always right for your specific subject and magnification, and the automatic burst is helpless against a subject that moves between frames. This article is about setting the feature up correctly on the bodies that have it, choosing the step and count for your scene, and knowing exactly when to trust the automation and when to take manual control. It sits between the manual focus stacking method and the parent focus stacking guide in the workflow.
Focus bracketing is a drive mode that captures a sequence of frames at progressively deeper focus distances in a single shutter press. You configure two numbers — how many frames to fire and how far to step the focus between them — and the body calculates the focus travel, splits it into even increments, and fires the run. The output is a set of RAW or JPEG files identical in exposure and framing, differing only in where the plane of sharp focus sits, ready to be merged into a single image with everything sharp.
The key thing to understand is that the camera is not merging anything. It is only capturing the bracket; the blend still happens later in software — Photoshop’s Auto-Blend Layers, a dedicated stacker like Zerene Stacker or Helicon Focus, or a round-trip from Lightroom Classic into Photoshop (Lightroom’s own Photo Merge handles HDR and panoramas, not focus). The feature saves you the fieldwork of stepping the ring yourself and removes the human error of uneven spacing, but it does not change the workflow on the computer. That distinction matters because it tells you where the technique can fail: the camera can hand you a clean, evenly spaced bracket that still merges badly if the step was wrong for the magnification or the subject moved during the run.
Focus bracketing has spread across most modern mirrorless bodies, and the implementations are broadly similar. Fujifilm’s X series — including the X-T5 I shoot — has a Focus Bracketing drive mode with adjustable count and step. Sony’s current full-frame bodies, including the a7 IV I cross-check against, offer the same with their own menu layout. Olympus and Panasonic micro four-thirds bodies were early adopters and remain strong, and Canon and Nikon have brought equivalent modes to their recent mirrorless lines. The feature works well across all of them for landscape and moderate close-up distances, and the differences are in menu ergonomics more than capability.
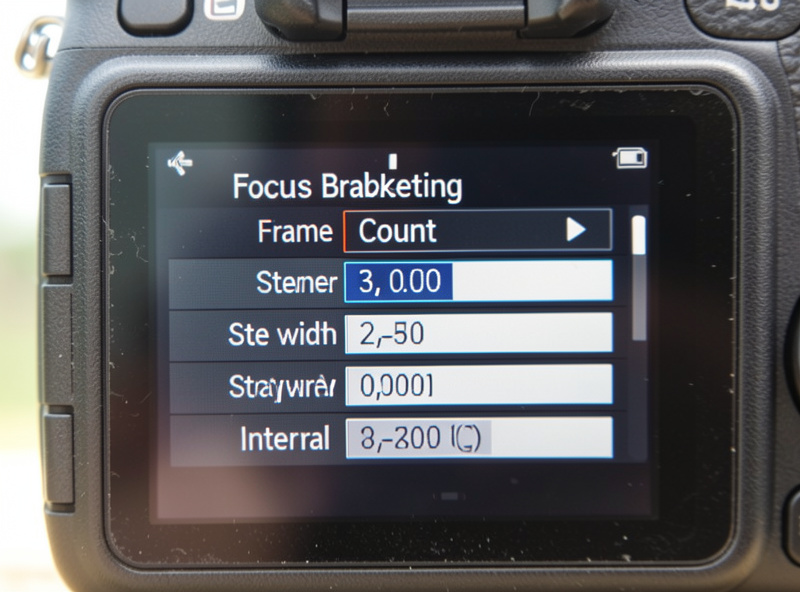
Where the implementations differ is in how granular the step control is and how honestly the camera reports the depth of field it is covering. Some bodies let you dial the step across a wide range and show you the near and far limits as you adjust; others give you a simple one-to-ten scale with no depth readout, which forces you to estimate by testing. Across the two mounts I run, the X-T5’s step scale is generous at default and needs to be dialed down for anything close, while the a7 IV’s interval is slightly finer at the same setting. The lesson is the same either way: the default step is tuned for the general case, and at macro distances it is almost always too coarse. The makers’ own feature documentation — Fujifilm’s at fujifilm.com — describes the step in terms of depth of field at a reference aperture and focal length, which is the right mental model.
The setup follows the same logic on any body that has the feature, even when the menu names differ. Mount the camera on a tripod and lock the head, because the bracket assumes every frame is framed identically. Set your exposure manually — aperture, shutter, ISO, and white balance all locked — so nothing drifts across the run. Switch to the focus bracketing drive mode, choose the number of frames, choose the step width, and tell the body where to start the run by focusing on the nearest point you want sharp. Then press the shutter once and let it fire.
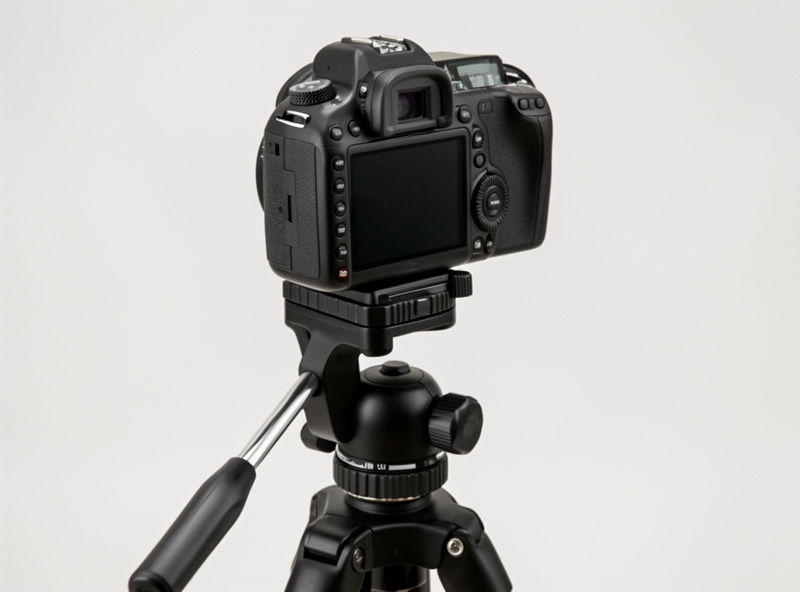
The mechanical details are worth getting right. Focus on the nearest element first, because most bodies march the bracket from the current focus point toward infinity — if you start at infinity, the bracket steps the wrong way and never covers your foreground. Use a cable release or the two-second delay so your finger on the shutter does not jog the body during the burst. Set the aperture for the per-frame depth you want, which on my copies is usually f/8, and confirm it is genuinely the lens’s sharpest stop with the aperture-sweep method rather than a guess. The whole run then drops into Lightroom Classic as a contiguous group of frames; from there I round-trip the set into Photoshop, whose Auto-Blend Layers set to Stack Images handles the blend. Adobe’s step-by-step for that merge is at its focus-stacking help page. Get the setup right and the run fires in two seconds and merges in one click.
The step size and the frame count are really one decision, because they trade against each other for a fixed focus distance: smaller steps mean more frames to cover the same depth, larger steps mean fewer frames but a higher risk of gaps. The right pairing depends almost entirely on magnification. At a landscape focus distance of several meters, a medium step and a handful of frames — say five to ten — covers everything from your foreground to infinity comfortably. At macro distances the depth of field per frame shrinks to fractions of a millimeter, and you need the smallest available step with the frame count pushed into the dozens.
The reliable field test is to watch the focus plane travel across the rear screen as a test bracket runs. Fire a short run of three or four frames and play it back at magnification: if you can see a slice of the subject go sharp in one frame and then sharp again in the next with nothing crisp in between, your step is too large and you will get halos at the merge. Halve the step and roughly double the count, and the gaps close. The depth-of-field theory underneath this — why the step scales with the square of magnification, and how the interval maps to the circle of confusion — is the same physics the hyperfocal distance guide covers, and Cambridge in Colour’s depth-of-field tutorial at cambridgeincolour.com/tutorials/depth-of-field.htm is the reference I cross-check the numbers against. The practical version: start at the default step for landscapes, and the moment you are closer than arm’s length, drop the step to its minimum and raise the count until the playback shows no gaps.
The honest answer is that the auto bracket is the right tool most of the time, and manual stepping wins in a few specific situations. Trust the bracket for static subjects at landscape and moderate close-up distances, where the default or a slightly reduced step covers the depth cleanly and the even spacing is a genuine advantage over hand-stepping. The motor is more consistent than your fingers, and for a field of flowers or a product still-life that consistency translates directly into a cleaner merge.
Switch to manual, using the technique in the manual focus stacking walkthrough, in three cases. The first is extreme macro, where even the smallest auto step leaves gaps and you need sub-millimeter control via a focusing rail. The second is when the body’s step scale is too coarse for the magnification and you have no finer option — some older bodies offer only a one-to-five scale that jumps too far at close range. The third is when you need uneven spacing: a subject with most of its detail near the front and a long smooth run to the back benefits from tight steps up front and wider steps behind, which an even auto bracket cannot do. For everything else, the bracket is faster, more consistent, and less error-prone than the ring.
The failures are specific to the automation, and they are worth knowing before you trust a run. The first is the step-too-large gap I described, which shows up as halos along edges at the merge — the camera fired the right number of frames but stepped too far between them, and no single frame owned the transition. The second is movement, and this is the one that bit me: I once let the camera fire a thirty-frame bracket on a swaying seedhead in a light breeze, and every frame caught a different shape of the same subject. The camera did its job perfectly; I had asked it to do the wrong job. The whole run was unusable, and no software could rescue it, because movement between frames is the one failure the merge cannot fix.
The third failure is exposure drift when auto-ISO or auto-exposure is left on, which produces banding at the seams where two frames meet at different brightness — the same defect as manual stacking, and the same fix: lock everything manual before the run. The fourth is starting the bracket at the wrong end, usually by focusing at infinity first, so the run marches away from your subject instead of through it. The fifth is a tripod that shifts microscopically during the burst, which on a long macro bracket is enough to misalign the frames. If your merged file reads soft and you are not sure why, the blur diagnosis guide separates a bracket artifact from ordinary softness, and the full catalog is in the focus stacking artifacts guide. Most bracket failures are either a step that was too large or a subject that moved, and checking for both before you pack up is the habit that makes the feature reliable.
Because the failures are so consistent, a short checklist before you press the shutter catches almost all of them. Run through it every time and the bracketing feature becomes the dependable workhorse it is supposed to be, rather than a feature that occasionally hands you a ruined afternoon.
That last step is the one that saves stacks. A three-frame test takes two seconds and tells you immediately whether the step is right and whether the subject is holding still. Pass the test, fire the full bracket, check coverage on the rear screen, and you walk away with a run that will merge cleanly every time. The technique is genuinely faster than manual stacking for the subjects it suits, and once the checklist is habit, it is also more reliable — which is exactly why the feature exists.
In-camera bracketing is the middle layer of the stacking workflow. The focus stacking guide is the parent overview, and the manual method is what to fall back on when the bracket’s step is too coarse. For the depth-of-field theory behind the step math, hyperfocal distance covers the underlying physics, and finding your sharpest aperture confirms the f/8 starting point. The software comparison picks the right tool to merge the bracket, and the artifacts and fixes guide diagnoses the run when something goes wrong.
Image stabilization fights camera shake only — nothing else. IBIS floats the sensor to cancel…
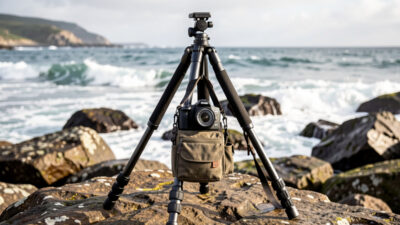
Long exposures come out soft for four fixable reasons: a tripod that flexes, vibration from…
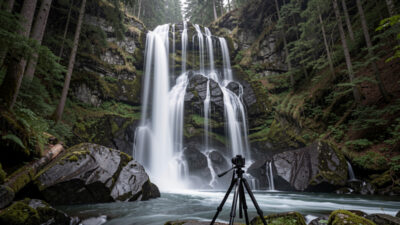
To shoot silky water, put the camera on a rigid tripod, add an ND filter…
Leave a Reply