Why Your Long Exposures Are Soft: The Fixes
Long exposures come out soft for four fixable reasons: a tripod that flexes, vibration from…

Nearly every lens is softest wide open, sharpest two to three stops down, and soft again from diffraction past f/11 on APS-C or f/16 full-frame. Most glass peaks between f/4 and f/5.6 — but that’s an average, not your copy. Run an aperture sweep on a test target and read your own results.
This is the method that sits at the heart of how I test glass: a tripod-locked sweep from wide open to f/16, compared at 100% on a calibrated monitor, then proven on an actual print. I’ve charted my whole Fujifilm stable this way — the XF 23mm f/1.4, the XF 35mm f/1.4, the XF 16-55mm f/2.8 — and the sweet spots are written on tape on each lens hood. Here’s exactly how to do it, and how to read what you find. It’s the optical half of my sharpness system.
For the vast majority of lenses, the sharpest aperture is two to three stops down from maximum. An f/1.4 prime typically peaks around f/4; an f/2.8 zoom around f/5.6 to f/8; an f/4 zoom around f/8. Stop down further and diffraction gradually takes over, softening the whole frame — gently at first, then obviously past f/16. Open up toward maximum aperture and you trade some sharpness and contrast for shallower depth of field and more light. The “sweet spot” is the aperture where the lens resolves the most detail across the frame with the least compromise.
Measured data backs this up across brands — sites like DXOMARK publish sharpness-versus-aperture curves for hundreds of lenses, and the shape is remarkably consistent: a climb from wide open to a peak, a plateau, then a diffraction-driven decline. But published averages are a starting point, not your answer. Sample variation, your specific sensor’s resolution, and even your focus accuracy shift the real peak. That’s why I chart my own copies instead of trusting a review.
Wide open, a lens uses its entire optical diameter, and the outer edges of the glass are where aberrations live — spherical aberration, coma, field curvature, and residual chromatic aberration all peak when the full aperture is in play. Stopping down blocks those troublesome outer rays and lets the better-corrected central portion of the lens do the work, so sharpness and contrast climb. This is especially dramatic in the corners, which clean up far more than the center as you stop down.
But you can’t keep stopping down forever, because a second effect works against you: diffraction. As the aperture shrinks to a tiny hole, light waves bend around the blade edges and smear each point into a slightly larger disc, softening the whole frame uniformly. The full physics is explained well at Cambridge in Colour. So sharpness is a tug-of-war: aberrations dominate wide open and fall as you stop down, diffraction dominates when stopped down far and rises as you go smaller. The sweet spot is where those two curves cross — and it’s what the sweep finds. If you’re not sure whether a soft frame is diffraction or something else, my soft-photo diagnosis guide untangles it.
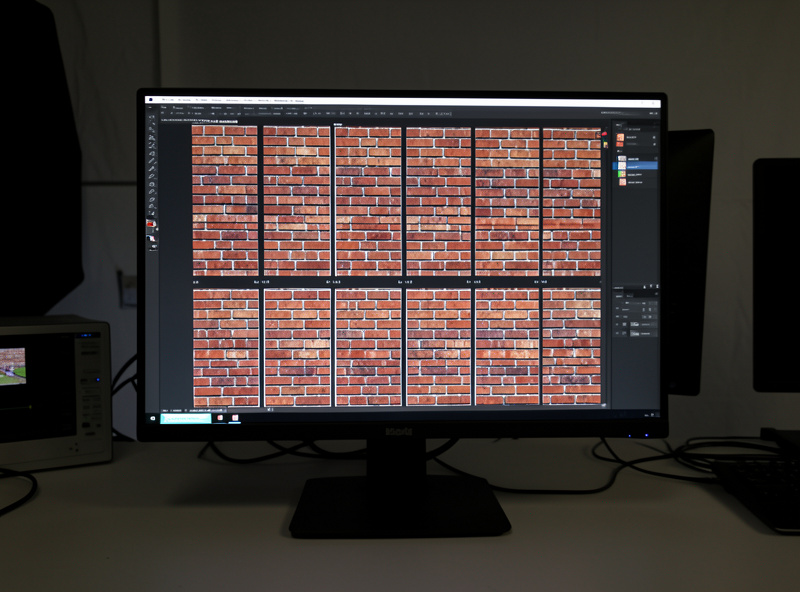
The method is simple and repeatable. Mount the camera on a solid tripod, square to a flat target — an ISO-12233-style resolution chart is ideal, but a flat brick wall, a newspaper taped flat, or a detailed poster works. Get the sensor plane parallel to the target so the whole frame sits at the same focus distance; any tilt ruins the corner comparison. Set the lowest native ISO for the cleanest file, use even light (soft daylight or two matched lamps), and switch stabilization off — on a tripod it can add a faint wobble.
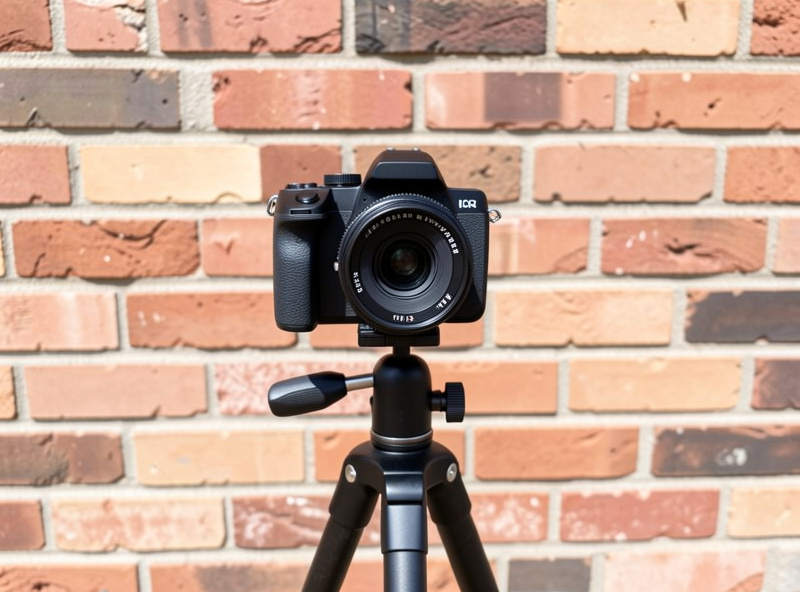
Now the sweep itself. Focus once, carefully, on the center of the target using single-point AF or magnified manual focus — then don’t touch focus again. Switch to aperture-priority or manual and fire the same frame at every full stop from wide open to f/16: f/1.4, f/2, f/2.8, f/4, f/5.6, f/8, f/11, f/16. Use a two-second timer or a remote so your finger never shakes the camera. That’s it — one locked frame at every aperture, focus untouched, ready to compare. The tripod-and-timer discipline is the same one I lean on for the slow-shutter work where every bit of stability counts.
Pull the whole sweep into Lightroom and view at 100%. Step through the apertures and watch two zones: the dead center and the extreme corners. The center is usually already good wide open and barely improves; the corners are where the story is. Find the aperture where the corners snap into focus while the center is still crisp — that’s your sweet spot. Keep going and you’ll see the diffraction veil creep in at f/11 and f/16, softening even the center. Write the peak aperture on a piece of tape on the lens hood; mine says “f/4” on the XF 35mm f/1.4 to this day.
Watch for two special cases. If the center and corners never reach peak sharpness at the same focus distance — center sharp when corners are soft and vice versa as you refocus — that’s field curvature, the lens’s focal surface being dished rather than flat. And if one side of the frame is consistently softer than the other at every aperture, you may have a decentered copy worth returning. My first run through this on the XF 16-55mm f/2.8 was humbling and clarifying: bitingly sharp in the center at f/2.8, but the corners didn’t fully catch up until f/5.6, exactly as its reputation suggested. Seeing it on my own wall, though, meant I trusted the number — and started shooting landscapes with it at f/5.6 instead of guessing.
These are reliable starting points before you chart your own copy — the aperture I’d reach for first if I hadn’t yet run the sweep. Your measured peak may sit a half-stop either side.
| Lens type | Max aperture | Typical sweet spot | Notes |
|---|---|---|---|
| Fast prime | f/1.2–f/1.4 | f/2.8–f/4 | Excellent by f/2; corners best at f/4 |
| Standard prime | f/1.8–f/2 | f/4–f/5.6 | Cheap primes gain the most from stopping down |
| Pro standard zoom | f/2.8 | f/5.6–f/8 | Center sharp wide open; corners need f/5.6 |
| Kit / variable zoom | f/3.5–f/5.6 | f/8 | Often diffraction-limited before it fully sharpens |
| Telephoto zoom | f/4–f/5.6 | f/8 | Watch diffraction sooner on dense sensors |
| Macro prime | f/2.8 | f/5.6–f/8 | Often stopped further for depth, accepting diffraction |
It shifts where diffraction bites, which is why I chart the same lens differently on my two bodies. A denser sensor resolves finer detail, so it starts showing the softening effect of diffraction at a wider aperture than a lower-resolution sensor does. On my 40-megapixel X-T5 I see diffraction creeping in by f/8 and clearly by f/11; the same lens adapted onto a lower-resolution body tolerates f/11 with less visible penalty, simply because its larger photosites can’t resolve the tiny diffraction disc yet.
The aberration side barely moves — a lens’s optical corrections improve as you stop down regardless of the sensor behind it — but the diffraction ceiling drops as resolution climbs. The practical upshot: on a high-resolution body your usable sharp range is a little narrower, peaking around f/5.6 and discouraging you from stopping much past f/8. Cross-referencing the same glass across my APS-C and full-frame systems is the one thing that separates a sensor effect from a lens flaw — a single-system shooter genuinely can’t tell them apart, which ties into the wider full frame versus APS-C question. Chart on the body you actually shoot, and re-chart if you upgrade to more megapixels.
Knowing the peak doesn’t mean living there. Shoot wide open when you want subject separation and creamy backgrounds — the whole reason I own the XF 56mm f/1.2 is its wide-open rendering, and I’ll happily trade a hair of corner sharpness for that, as I explain in how to get more background blur. Shoot at the sweet spot when edge-to-edge resolution is the priority: landscapes, architecture, group shots, repro work. And stop down past the diffraction point only when you genuinely need the depth of field more than the ultimate bite — a near-far landscape or a macro shot where getting the whole subject in focus beats squeezing out the last few percent of sharpness.
That trade-off — bite versus depth versus separation — is really a lens-choice conversation too, which is why I think in terms of primes versus zooms and focal lengths more than bodies. A lens shot at its sweet spot out-resolves a better lens shot carelessly, every time. Chart your copies, tape the numbers to the hoods, and you’ll always know exactly which aperture buys you the most sharpness.
Pick your most-used lens and run the sweep this weekend — twenty minutes, a flat wall, a tripod, good light. Find the aperture where the corners catch up, tape it to the hood, and shoot there whenever sharpness is the goal. Then do the next lens. Within a month you’ll know your whole kit as a set of numbers instead of a set of hopes, and you’ll never again wonder whether you’re leaving resolution on the table. The chart doesn’t lie, and once you’ve read your own, you stop trusting anyone else’s.
For most lenses the sharpest aperture is two to three stops down from maximum, commonly between f/4 and f/5.6. A fast f/1.4 prime usually peaks near f/4 and an f/2.8 zoom near f/5.6 to f/8. Past about f/11 on APS-C or f/16 on full frame, diffraction begins softening the whole frame.
Wide open, the lens uses its full diameter, and the outer edges of the glass are where aberrations like spherical aberration, coma, and field curvature are strongest. Stopping down blocks those outer rays and lets the better-corrected center do the work, so sharpness and especially corner performance improve.
Mount the camera on a tripod square to a flat target, set base ISO and turn stabilization off, focus once on the center, then fire the same frame at every full stop from wide open to f/16 without refocusing. Compare the frames at 100 percent and find the aperture where the corners are sharp while the center is still crisp.
No. Shoot wide open when you want shallow depth of field and subject separation, at the sweet spot when you need edge-to-edge sharpness, and stop down past the diffraction point only when depth of field matters more than ultimate sharpness, such as in macro or near-far landscapes.
Long exposures come out soft for four fixable reasons: a tripod that flexes, vibration from…

In-camera focus bracketing is the feature, built into bodies like my Fujifilm X-T5 and Sony…

To shoot silky water, put the camera on a rigid tripod, add an ND filter…
Leave a Reply