Variable ND vs. Fixed ND Filters: Which Should You Buy?
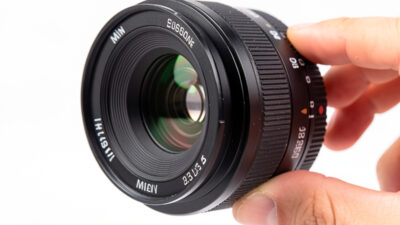
Buy a variable ND if you shoot video or run-and-gun in changing light and value…
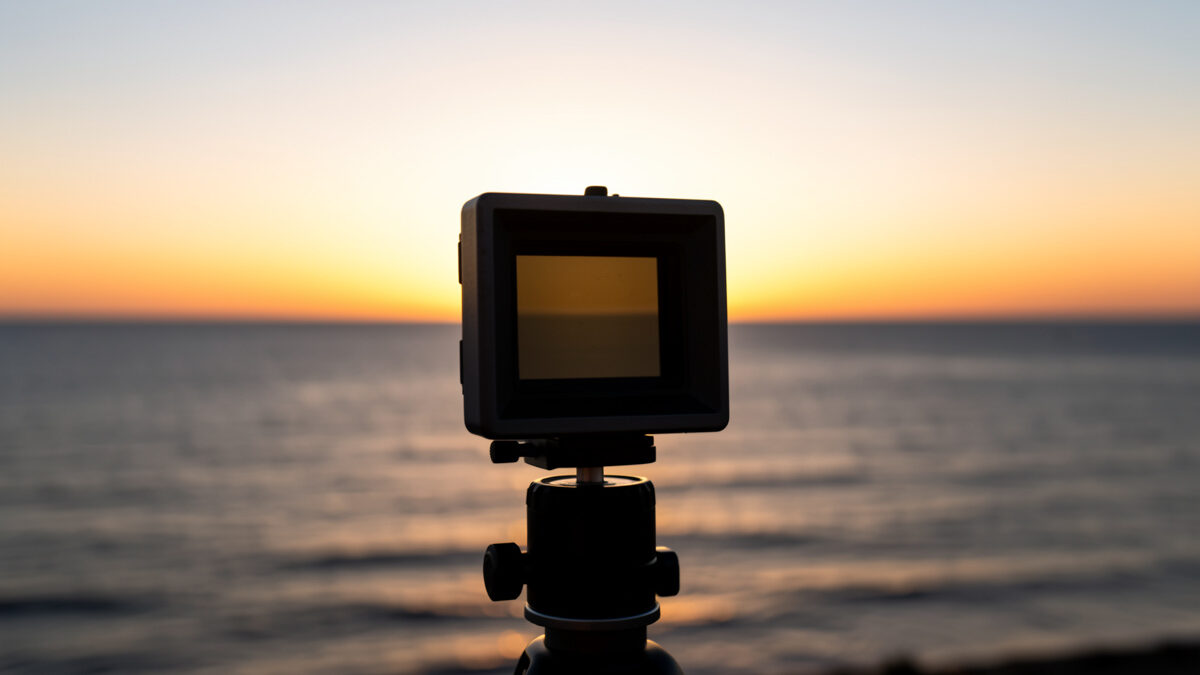
Use a graduated ND filter when the horizon is clean and straight — a seascape, an open field, a flat coastline — and you want the shot finished in one frame. Use exposure bracketing when the skyline is irregular, when there is motion in the scene, or when you would rather solve the dynamic range on the computer. Neither wins outright; they fail in opposite situations, which is exactly why I carry the option to do both.
The problem both solve is ancient: a sky several stops brighter than the foreground that no single exposure can hold without blowing the highlights or crushing the shadows. A graduated ND (GND) tackles it optically, in the field; bracketing tackles it computationally, in software. I shoot high-contrast horizons constantly across two systems, and here is how I choose between them scene by scene.
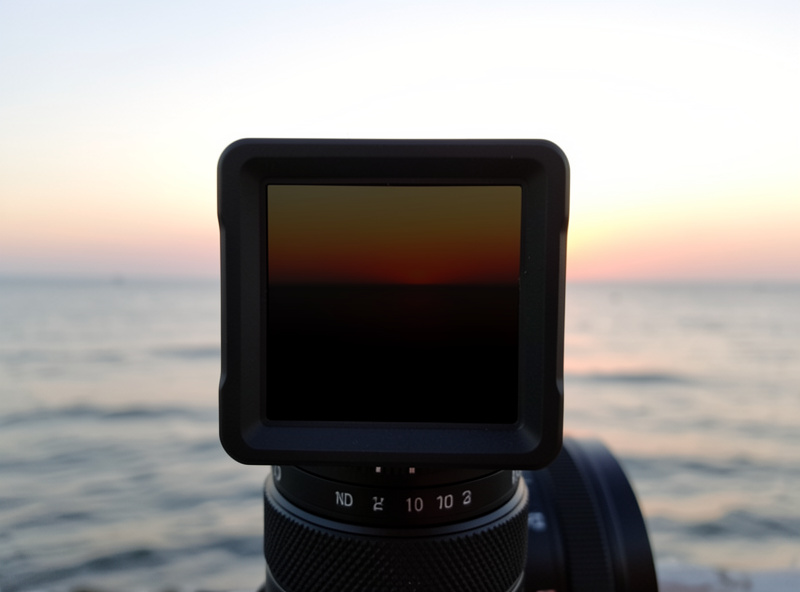
A graduated ND is a rectangular filter that is dark on the top half, clear on the bottom, with a transition zone in between. You slide it in a holder until the dark part covers the bright sky and the clear part leaves the foreground untouched, pulling the whole scene into a range one exposure can capture. Because you position it by sliding, a GND essentially requires a square holder system — you cannot place the transition with a screw-in round filter. It is a one-frame, in-camera solution, which is its greatest strength.
Grads come in different transition types for different horizons. A soft grad has a gradual transition that hides well over uneven terrain; a hard grad has an abrupt edge for a clean, flat horizon like the sea; a reverse grad is darkest in the middle and lighter at the very top, made for sunrises and sunsets where the brightest band sits right at the horizon line. Choosing the right transition is most of the skill, and getting it wrong is obvious.
Bracketing means shooting the same composition at several exposures — typically one metered for the sky, one for the midtones, one for the shadows — then blending them in software so every part of the frame sits in range. Modern cameras automate the capture with an auto-exposure-bracketing mode, and software from Lightroom to dedicated HDR tools does the merge. Because the blend happens per-pixel, bracketing handles any horizon shape, including jagged mountains, trees breaking the skyline, or a building poking into the bright zone.
The cost is that bracketing needs a static scene. Anything moving between frames — waves, wind-blown grass, drifting clouds, people — creates ghosting the merge has to fight, and sometimes cannot fully resolve. It also shifts work from the field to the desk, which is fine if you enjoy editing and a problem if you want the shot done at capture. Done well, though, a bracketed blend can hold more dynamic range than any single grad, and it never darkens something on the wrong side of a straight transition line.
| Factor | Graduated ND | Bracketing |
|---|---|---|
| Best horizon | Clean, straight (sea, field) | Any shape, including jagged |
| Moving subjects | Handles motion fine | Ghosting risk from movement |
| Where the work happens | In the field, one frame | On the computer, multi-frame |
| Dynamic range ceiling | Limited by filter strength | Very high with enough frames |
| Gear needed | Filter plus square holder | Tripod, no extra filter |
| Main weakness | Darkens objects above the line | Fails on motion, needs editing |
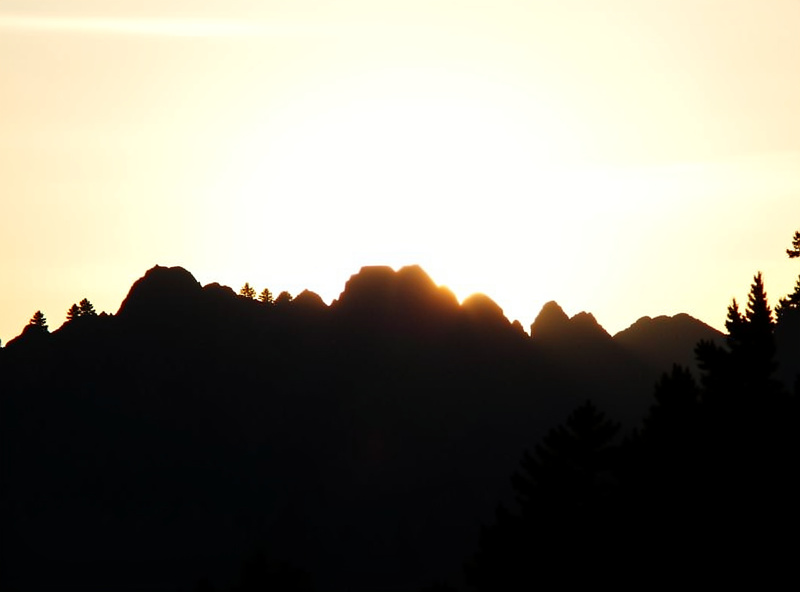
Each method has one signature failure, and picturing it makes the choice easy. A hard grad over a jagged skyline darkens the mountain peaks that rise above the transition line, leaving an obvious dark halo on anything that breaks the horizon — a dead giveaway of a misused grad. Bracketing, meanwhile, ghosts on a wave that moved between the three frames, leaving smeared or doubled water that no amount of masking fully cleans up. So the question becomes: is my horizon clean, and is my scene moving?
Clean horizon plus motion — a seascape with breaking waves — is the grad’s home turf, because it holds the sky in one frame and the moving water is captured cleanly. Jagged horizon plus a static scene — a mountain range at still dawn — is bracketing’s home turf, because the blend handles the irregular skyline and nothing is moving to ghost. Mixed cases (jagged horizon with moving clouds) are the genuinely hard ones, and that is where I sometimes combine a soft grad with a light bracket to get the best of both.
When I arrive at a scene with a bright sky, the first thing I do is not reach for a filter — it is check the histogram of a test frame metered for the highlights. That tells me the actual dynamic range I am fighting: two stops of difference between sky and land is trivial, four or five is where I have to commit to a grad or a bracket. Reading the gap first stops me from bolting a hard grad onto a scene that never needed one, which is the most common beginner overreach with these filters.
If I go with a grad, I compose, then use live view zoomed in to place the transition exactly on the horizon, rotating and sliding until the darkening lands where I want it and does not clip anything important above the line. If I go with a bracket, I lock the tripod hard, set auto-exposure bracketing to at least three frames two stops apart, and fire on a self-timer so nothing shifts between frames. The deciding factor in the field is almost always motion: the instant I see waves or moving grass in the foreground, the grad wins because the bracket will ghost. That single observation resolves most of my on-location decisions faster than any rule of thumb.
There is a third path worth knowing, because modern sensors have quietly narrowed the gap. A single RAW file from a good current sensor holds enough dynamic range that you can often lift the foreground and pull the sky from one exposure, no grad and no bracket — effectively a “digital grad” applied with a graduated adjustment or a luminosity mask in editing. On my full-frame body I can recover a surprising amount this way, and it sidesteps both the grad’s dark-halo problem and the bracket’s ghosting.
Its limit is the extreme scenes: a blinding sun in frame or a five-plus-stop split still benefits from real filtration or bracketing, because pushing a single RAW that far introduces noise in the lifted shadows. So I treat single-RAW recovery as the default for moderate contrast, the grad for clean-horizon extremes with motion, and bracketing for jagged-horizon extremes without motion. Knowing all three — and honestly assessing which the scene needs — is more useful than dogmatically defending any one, and it means I carry less gear on the days a sensor can do the work. This is the kind of judgment I build on in RAW photo processing.
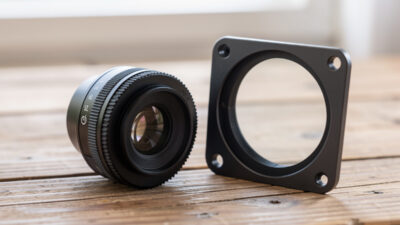
If you shoot mostly seascapes and open landscapes with clean horizons, the grad is worth the investment because it gets you a finished frame at capture and pairs naturally with the ND filters you already use for long exposures. It does mean buying into a square holder system, which I compare in screw-in vs square filter systems. If your scenes are varied or your horizons are irregular, learn bracketing first — it costs nothing beyond a tripod and the discipline in my tripod guide, and it handles the widest range of situations.
Many landscape shooters, myself included, end up fluent in both and pick per scene. A grad in the bag for the clean-horizon coast, bracketing in the workflow for everything else, and the judgment to know which the scene in front of you demands. That judgment — reading the light and the horizon before you reach for gear — is the same glass-first thinking behind my whole landscape photography guide.
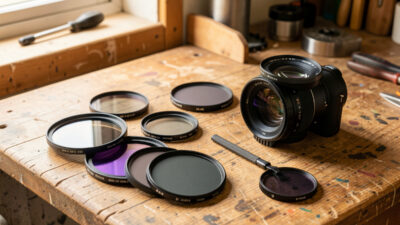
If you go the grad route, a soft 3-stop grad is the most versatile first buy, covering most golden-hour skies, with a hard grad added later for flat sea horizons. Resin grads are cheaper and lighter but scratch more easily and can add a slight cast; glass grads are pricier and more neutral. You will also need the holder and an adapter ring for your lens. A quality graduated ND filter kit with holder is the sensible way to start, sized to your widest lens.
As an Amazon Associate I earn from qualifying purchases.
Whichever path you choose, the merge or the grad only matters once you have exposed to protect the highlights — that is where the ND stops guide and good field metering come in, and any final tonal balancing happens in color grading. The full filter system, and where grads fit, lives in the filters hub.
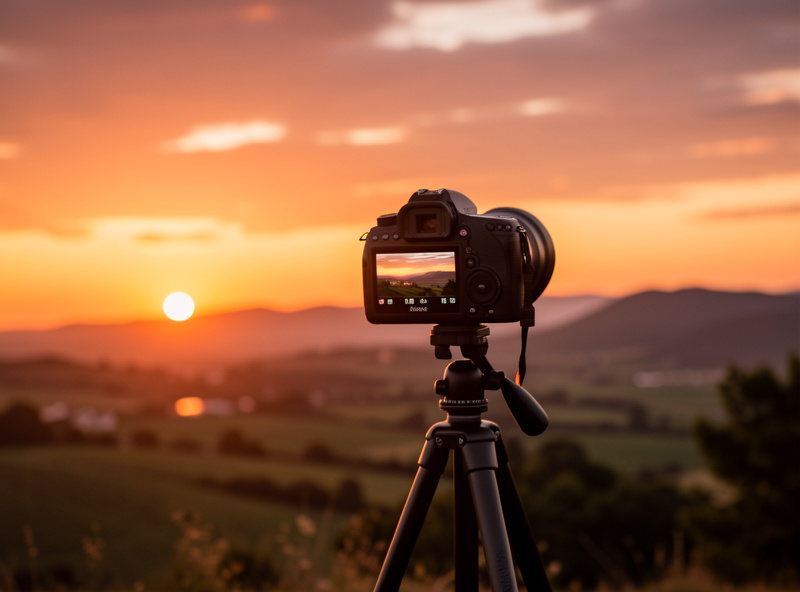
Use a graduated ND when the horizon is clean and straight and you want a finished frame in the field, especially with moving water. Use bracketing when the skyline is irregular or when you prefer to solve dynamic range in software. They fail in opposite situations, so the scene decides.
A hard grad darkens anything that rises above its transition line, so mountain peaks, trees, or buildings breaking the horizon get an unnatural dark halo. It also requires a square holder system to position the transition, which adds cost and bulk compared with screw-in filters.
Bracketing struggles with motion. Anything that moves between frames, such as waves, wind-blown grass, or drifting clouds, creates ghosting the software merge has to fight and sometimes cannot fully fix. It also moves the work from the field to the computer.
A soft grad has a gradual transition that hides over uneven terrain. A hard grad has an abrupt edge for clean, flat horizons like the sea. A reverse grad is darkest in the middle and lighter at the top, made for sunrises and sunsets where the brightest band sits at the horizon.
A soft 3-stop grad is the most versatile first buy, handling most golden-hour skies. Add a hard grad later for flat sea horizons. You will also need a holder and an adapter ring sized to your widest lens, so budget for the full system, not just the filter.
Buy a variable ND if you shoot video or run-and-gun in changing light and value…
Screw-in filters win for most photographers: they are compact, sealed, cheaper to start, and perfect…
Camera lens filters come down to three that actually earn a slot in the bag:…
Leave a Reply