Variable ND vs. Fixed ND Filters: Which Should You Buy?
Buy a variable ND if you shoot video or run-and-gun in changing light and value…
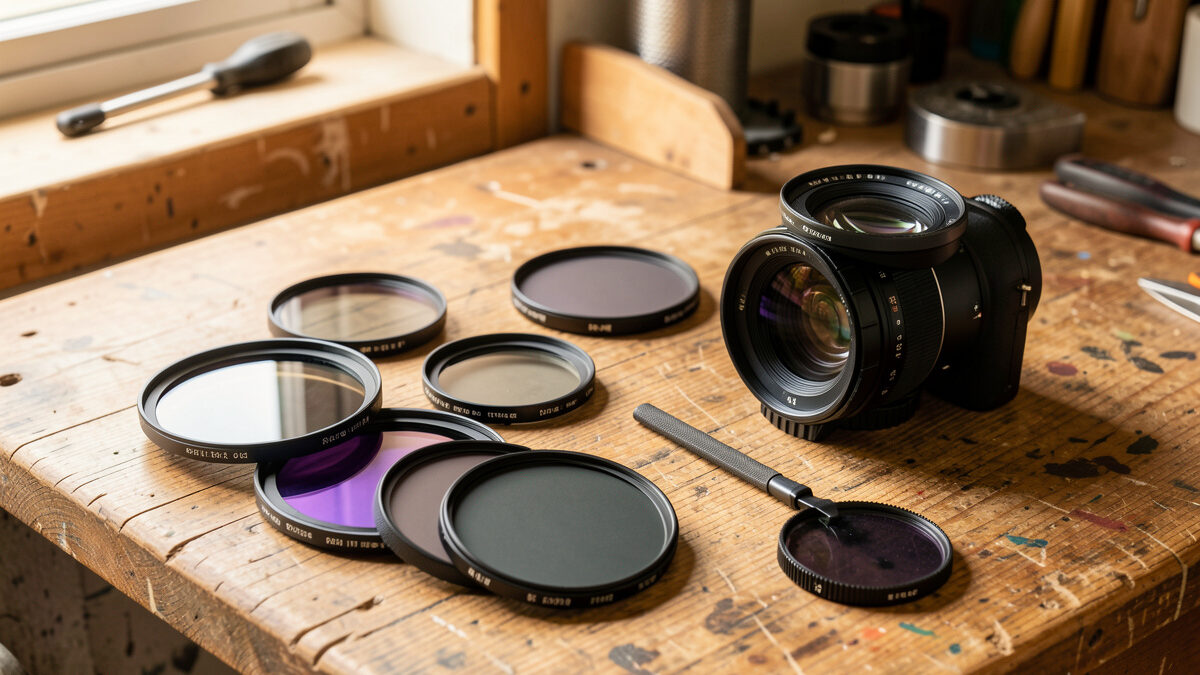
Camera lens filters come down to three that actually earn a slot in the bag: a UV filter for physical protection, a circular polarizer (CPL) to cut glare and deepen skies, and neutral density (ND) filters to buy you slower shutter speeds in bright light. Everything else is a variation on those three jobs.
I shoot two systems side by side — a 40MP Fujifilm X-T5 and a full-frame Sony a7 IV — and at that pixel pitch a bad filter shows up on my chart before it shows up in a print. This guide is the map to the whole cluster: what each filter type does, where it belongs in your workflow, and which flaws are real versus pixel-peeper theater. Every deeper question links out to a dedicated spoke.
A CPL and an ND do something you cannot replicate in Lightroom — they change the light reaching the sensor. A UV filter does almost nothing optically on a digital body; its job is a sacrificial front element. Understanding that split is the whole game: buy the ones that alter the exposure or the reflections, be skeptical of the one that mostly protects.
Across the mounts I run, my filter kit is small on purpose. One good CPL sized to my largest thread, a set of ND stops, and a step-up ring so a single filter serves several lenses. Filters are consumable glass that sits in front of a lens I paid a lot for — the cheapest link in the chain becomes the weakest link in the image if you let it.
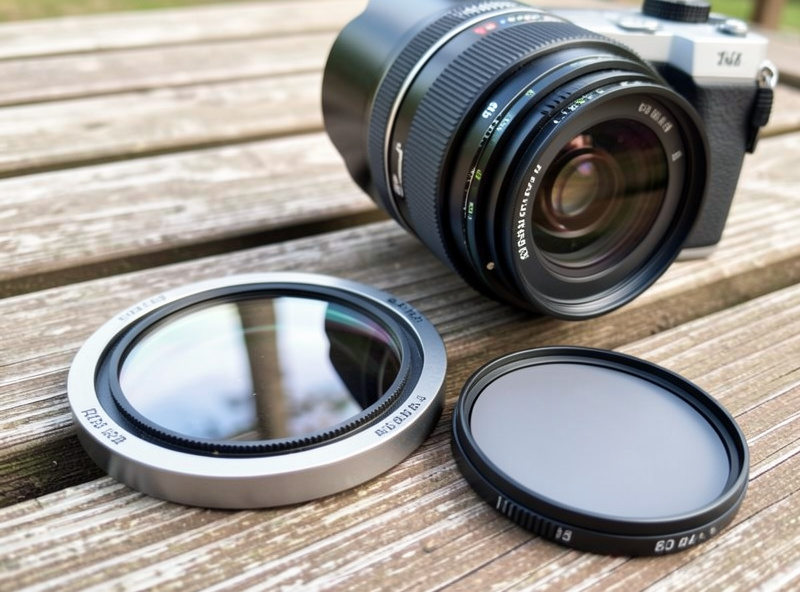
| Filter | What it does | Replaceable in post? | When I reach for it |
|---|---|---|---|
| UV / clear protector | Physical shield for the front element; negligible optical effect on digital | N/A (it’s protection) | Beach, dust, snow, kids — hostile fronts only |
| Circular polarizer (CPL) | Cuts reflected glare, saturates skies and foliage, tames water sheen | No — you cannot rebuild a reflection you removed at capture | Landscapes, water, wet foliage, glass and shop windows |
| Fixed ND (2–10 stop) | Blocks light evenly so you can use slow shutter or wide aperture in bright sun | No — motion blur is captured, not painted | Waterfalls, seascapes, wide-open portraits at noon |
| Variable ND (VND) | Adjustable density in one ring; convenient, quality varies | No | Run-and-gun video, changing light |
| Graduated ND (GND) | Dark on top, clear on bottom — holds a bright sky | Partly — bracketing can substitute | High-contrast horizons at golden hour |
On a digital sensor a UV filter does not visibly improve an image — the sensor stack already blocks UV, and the film-era reason for the filter is gone. What a UV or clear filter buys you is a replaceable pane of glass over a front element that costs a fraction of the lens. That is the entire honest case for owning one.
The catch is that a cheap UV filter degrades the very lens you are protecting: it adds a flat air-glass surface that loves to flare against a backlit point source, and on my X-T5 I can watch contrast drop when a bad filter goes on a fast prime. If you run a protector, it has to be multi-coated and optically flat, or you have traded a scratch you will probably never get for veiling flare you will get every backlit frame. I dig into the real trade-off in Do You Really Need a UV Filter?
A CPL is the filter that does something post-processing physically cannot: it selects which polarized light reaches the sensor, so it removes glare off water, leaves, and glass and lets the color underneath come through. Rotate it and a hazy sky goes deep blue, wet rocks stop blowing out, and a lake turns from silver sheen to visible bottom. You cannot rebuild that in Lightroom because the reflection was never recorded.
The cost is roughly two stops of light and a learning curve — over-polarizing a wide-angle sky gives you an ugly dark band because the polarization effect is uneven across a wide field. On a 16mm-equivalent frame I back the rotation off deliberately. Getting a CPL that stays neutral (no green or magenta cast) at that price point matters, and I round up the ones worth buying in Best Circular Polarizer Filters.
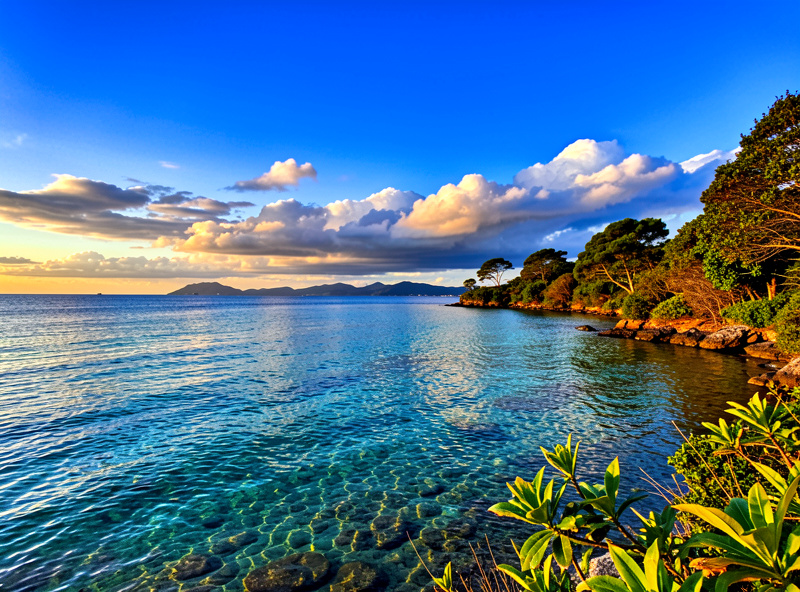
An ND filter is sunglasses for the lens — it blocks light evenly across the spectrum so you can drop your shutter speed or open your aperture in light that would otherwise force f/16 at 1/8000. That is how you get milky water at midday or shoot a fast prime wide open in full sun without blowing the highlights. The exposure math is the whole skill, and it is simpler than it looks once you think in stops.
Each stop of ND halves the light: a 3-stop (ND8) turns 1/500s into roughly 1/60s; a 6-stop (ND64) takes you into fractions of a second; a 10-stop (ND1000) turns a bright coastline into a 30-second exposure where waves become fog. Which of those you actually need depends entirely on the effect you are chasing, and most people buy the wrong strength first. I break the whole ladder down in the ND Filter Guide: How Many Stops You Actually Need.
A variable ND stacks two polarizing elements and rotates them against each other to dial density from about 2 to 6 stops in one filter — brilliant for video where the light keeps shifting. The trade-off is real: push a VND toward its dense end and you can hit the dreaded X-shaped dark cross across the frame, and cheaper ones drift color as you rotate. A fixed ND is a single density with cleaner glass and no cross, but you carry several and swap them.
For stills on a tripod I lean fixed — I know exactly what a 6-stop does and it never uglies the frame. For run-and-gun and hybrid shooting the VND wins on speed. The full comparison, including where the crossover point sits, is in Variable ND vs Fixed ND Filters.
The oldest landscape problem is a sky four stops brighter than the foreground. A graduated ND is physically dark on top and clear on the bottom, so you slide the transition onto the horizon and pull the sky back into range in a single frame. It is fast, it is done in-camera, and it is why square filter holders exist — you need to slide the grad up and down.
The modern alternative is exposure bracketing: shoot three or more frames at different exposures and blend them in software, which handles irregular horizons a straight grad line cannot. Neither is universally right — a hard grad ruins a jagged mountain skyline, and bracketing fails on moving water or wind-blown grass. I lay out exactly when each wins in Graduated ND Filters vs Bracketing.
Screw-in filters thread straight onto the lens — compact, sealed, cheap to start, and perfect for a UV or a single CPL. The limit shows up the moment you want a graduated ND, because you cannot slide a threaded filter to place the transition. That is where square (100mm or 150mm) holder systems take over: a bracket clamps to the lens via an adapter ring, and you drop rectangular resin or glass filters in and slide them freely, even stacking a grad over a CPL.
A square system costs more and adds bulk, and it can vignette on wide lenses if the holder is too deep. But for serious landscape work it is the only setup that lets you position a grad and combine filters without endless rethreading. I compare the two setups — and who should own which — in Screw-In vs Square Filter Systems.
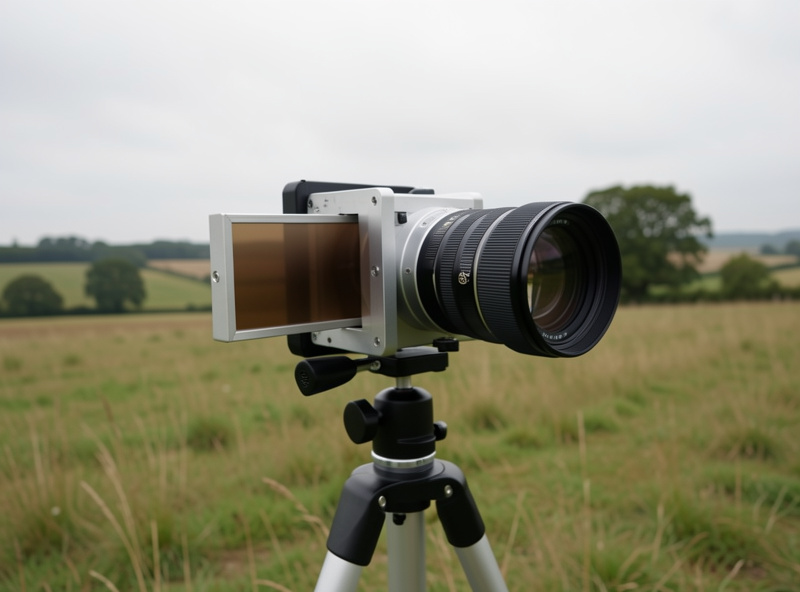
Stack a CPL under a 10-stop ND under a UV and two things go wrong: the combined filter ring extends far enough forward to clip the corners of a wide-angle frame (vignetting), and every extra layer of resin or cheap glass nudges the whole image toward blue, green, or magenta (color cast). On my 40MP body a stacked-filter cast is obvious in the corners before I even open the shadows.
The fixes are mechanical and mostly free: use slim-profile filters, step up to a larger thread rather than stacking same-size rings, drop the UV when the ND goes on, and set a custom white balance through the stack instead of fighting it in post. The full field-tested checklist is in How to Avoid Vignetting and Color Cast With Stacked Filters.
The single most common mistake is bolting a $25 filter onto a $900 lens. The glass flatness, the coating count, and the frame machining are what separate a filter that disappears from one that adds flare and softens corners. You do not need the most expensive option, but you need multi-coated glass from a maker that publishes real transmission neutrality — a good multi-coated circular polarizer or a reputable ND filter kit is worth far more than three bargain filters you will replace.
As an Amazon Associate I earn from qualifying purchases.
Buy to your largest lens thread and use step-up rings for the rest — one 82mm CPL plus a couple of rings covers my whole kit for the price of buying a polarizer per lens. That single decision saves more money than any brand loyalty. If you are still assembling the surrounding kit, my essential camera accessories guide and tripod guide cover the support that long-exposure filtration demands.
Every filter decision runs on one idea: a stop is a doubling or halving of light. A CPL costs you about two stops. An ND is named for how many stops it removes — ND8 is three stops, ND64 is six, ND1000 is ten. Once you internalize that, choosing a filter stops being guesswork and becomes arithmetic you can do at the tripod.
Here is the practical version. Meter the scene without the filter, note the shutter speed, then move it slower by the filter’s stop count. Say a bright river meters at 1/500s at f/11. Add a 6-stop ND and you halve the shutter six times — 1/500 to 1/250 to 1/125 to 1/60 to 1/30 to 1/15 to about 1/8s — which is exactly the silky-but-textured water most people want. Want full fog? A 10-stop from that same 1/500s lands you near a two-second exposure. I keep a small stop table taped inside my filter pouch so I am not counting on my fingers in fading blue-hour light. The stops guide turns this into a full reference chart.
The best filter in the world is useless if it is smeared with sea spray, and the field is where cheap systems fall apart. Coated glass repels water and fingerprints far better and wipes clean with a single pass of a microfiber; uncoated bargain glass smears and holds spots that flare in every backlit frame. On a windy coast I check the front element between nearly every exposure, because a single droplet during a 30-second ND shot ruins the frame and you will not see it on the rear screen until you zoom in.
Storage and handling matter more than people expect. Resin square filters scratch if you stack them loose, so they live in individual felt sleeves; screw-in filters ride in a padded wallet, not rattling in a pocket. And take the protector off for critical work — a UV filter that lives on the lens for convenience is the first thing I remove when a sunset backlights the scene, because that is precisely when its extra air-glass surface throws veiling flare. Treat filters as the working, replaceable, cleanable tools they are and they will not betray you at the moment the light finally gets good.
Most people buy filters backward — a fistful of cheap UVs first, then wonder why their corners flare. The order that actually matches how often you will use each one is polarizer, then a mid-strength ND, then a strong ND, then a grad or square system, and a protector filter dead last if at all. That sequence front-loads the filters that change the image and delays the ones that only guard it.
Concretely: a single multi-coated CPL earns its place on nearly every outdoor shoot, so it is worth spending real money on. A 6-stop ND is the next most-used because it covers daytime waterfalls and rivers. A 10-stop unlocks the long seascape exposures people actually buy filters to make. Only after those do a graduated ND and a holder system make sense, and only if you shoot high-contrast horizons often. I have watched more than one new shooter spend a filter budget entirely on protection glass and own nothing that could make a photograph they could not already take.
The other money-saver is thread strategy. Every lens has a filter thread diameter printed on the barrel or inside the cap — 52mm, 67mm, 77mm, 82mm and so on. Buy your expensive filters to the largest thread in your kit, then adapt down with step-up rings, which cost a few dollars each. One 82mm polarizer and a drawer of rings is dramatically cheaper than a polarizer per lens, and it means the good glass rides whichever lens is on the body that day.
Filters are leverage, not magic, and knowing their limits keeps you from buying the wrong one. A polarizer cannot deepen a sky pointed directly at or away from the sun — the effect is strongest at ninety degrees to the light and vanishes when you shoot straight into it. No ND will fix a shaky handheld frame; the moment you use one you are committed to a tripod because you have chosen a slow shutter on purpose. And no filter improves a soft lens — if anything, adding glass in front can only subtract, never add resolution.
Color and coating quality set a floor you cannot post-process past, either. A filter that shifts the whole frame toward magenta forces a global white-balance correction that also shifts your skin tones and foliage, so you fight it in every edit. This is why a neutral, well-coated filter is worth more than its price gap over a bargain one suggests: the cheap filter taxes every single frame it touches. Match your filter quality to your lens quality, not to the leftover cash in the budget, and the rest of the workflow gets easier.
Filters are a capture-stage tool, and they pay off most when the rest of the chain is honest. A CPL and a solid grasp of reading natural light do more for a landscape than any body upgrade. NDs unlock the long exposures at the heart of my landscape and long-exposure night work, while a polarizer earns its keep even in travel kits where weight is precious. Keep the glass clean — my cleaning guide covers the front element too — and correct any residual cast during color grading rather than baking it in.
Understanding which filter alters light and which merely protects is the same glass-first thinking behind knowing your focal lengths and choosing weather-sealed bodies for the field. Filters are cheap leverage on expensive glass — get them right and the whole system draws better.
Only two of them do. A CPL and an ND change the light reaching the sensor in ways you cannot replicate in editing, so they genuinely improve results. A UV filter does not improve a digital image; it only protects the front element, and a cheap one can slightly hurt quality by adding flare.
Start with one good circular polarizer sized to your largest lens thread. It is the filter with the biggest visible payoff for landscapes, water, and skies. Add a 6-stop and a 10-stop ND once you want long exposures. Skip a stack of cheap UV filters.
No. A polarizer removes reflections that were never recorded, and an ND captures real motion blur. Neither can be rebuilt in software after the fact. You can boost saturation or fake blur, but the result is visibly different from a physically filtered capture.
For most people a 6-stop (ND64) is the best single starting point. It slows a bright daytime scene into fractions of a second for flowing water without going fully into 30-second territory. Add a 10-stop later for dramatic seascapes and a 3-stop for wide-aperture portraits in sun.
They can. Stacking multiple filters or using a thick-rimmed filter pushes the ring forward far enough to clip the corners on wide lenses. Use slim-profile filters, avoid stacking same-size rings, and step up to a larger thread to keep the corners clean.
No. Buy filters sized to your largest lens thread and use inexpensive step-up rings to fit them on smaller lenses. One 82mm polarizer plus a few rings covers an entire kit for far less than buying a separate filter per lens.
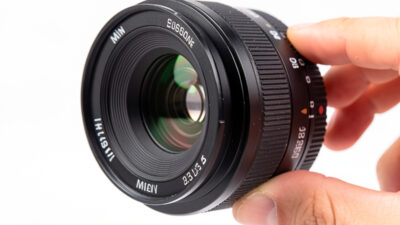
Buy a variable ND if you shoot video or run-and-gun in changing light and value…
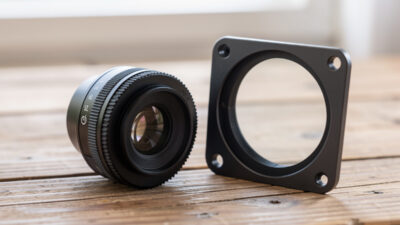
Screw-in filters win for most photographers: they are compact, sealed, cheaper to start, and perfect…
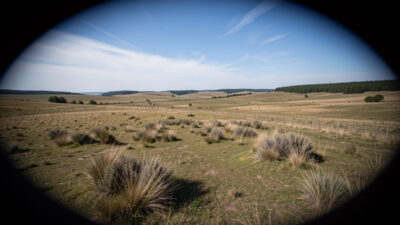
To avoid vignetting and color cast when stacking filters, use slim-profile filters, step up to…
Leave a Reply