Variable ND vs. Fixed ND Filters: Which Should You Buy?
Buy a variable ND if you shoot video or run-and-gun in changing light and value…
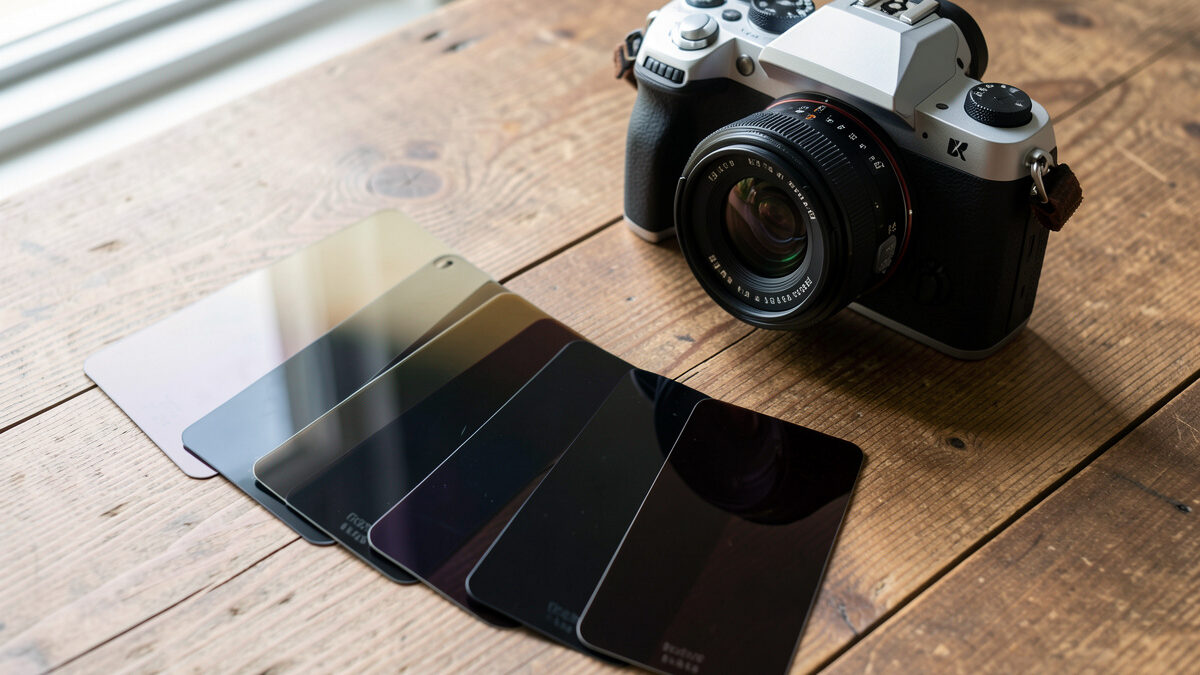
For most photographers the honest answer is three ND filters: a 3-stop for wide-aperture work in sun, a 6-stop as the everyday long-exposure filter for rivers and waterfalls, and a 10-stop for dramatic 30-second seascapes and cloud streaks. If you buy only one, make it the 6-stop. Everything else is refinement around those three.
Neutral density filters confuse people because they are sold by a tangle of names — ND8, ND64, ND1000, 0.9, 1.8, three-stop, ten-stop — that all describe the same handful of strengths. Once you think in stops, the whole system collapses into simple arithmetic you can do at the tripod. I shoot long exposures across two systems, and here is the stop ladder I actually carry and why each rung exists.
An ND filter is rated by how many stops of light it removes, and a stop is a doubling or halving of exposure. A 1-stop ND halves the light and lets you use a shutter speed twice as long; a 10-stop removes ten halvings, turning a 1/1000s exposure into roughly a full second. Every other label — the ND number and the optical density number — is just another way of writing the same stop count, which is why learning stops makes the marketing names irrelevant.
The ND number is the light-reduction factor: ND8 passes one-eighth of the light (three stops), ND64 one-sixty-fourth (six stops), ND1000 about one-thousandth (ten stops). Optical density counts the same thing in units of 0.3 per stop, so 0.9 is three stops and 1.8 is six. They look like three different systems but they are one idea. Ignore the branding and ask a single question: how many stops does this filter take away?
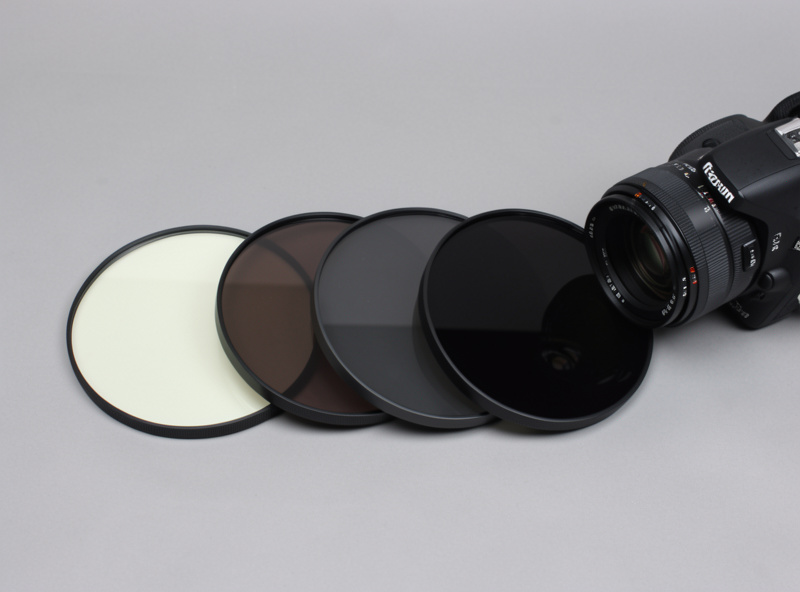
Each strength exists to unlock a specific effect. A 3-stop (ND8) is the mild one: it lets you shoot a fast prime wide open in bright sun without blowing highlights, and it gives a gentle blur to a fast stream. A 6-stop (ND64) is the workhorse — it drops a bright daytime scene into the quarter-second-to-couple-seconds range where flowing water goes silky but keeps texture. A 10-stop (ND1000) is the drama filter, pushing you into 15-to-30-second territory where waves become fog and clouds smear across the sky.
Above ten stops you get 15- and 16-stop filters for shooting straight into midday sun or extremely bright snow, but those are specialist tools most people never need. Below three stops, a 1- or 2-stop ND is really a video and portrait accessory for trimming a little light. The three that matter — 3, 6, and 10 — cover the overwhelming majority of real shooting, which is why I recommend building around them rather than buying a scattered set.
| Filter | Stops | Optical density | Effect on a 1/500s base | Best for |
|---|---|---|---|---|
| ND8 | 3 | 0.9 | ~1/60s | Wide aperture in sun, gentle water blur |
| ND64 | 6 | 1.8 | ~1/8s | Waterfalls, rivers, everyday long exposure |
| ND1000 | 10 | 3.0 | ~2s | Seascapes, cloud streaks, smoothing crowds |
| ND32000 | 15 | 4.5 | ~1 min | Midday sun, bright snow, extreme long exposure |
The method never changes: meter the scene without the filter, note the shutter speed, then move it slower by the filter’s stop count. Say a coastline meters at 1/250s at f/11 and ISO 100. Add a 10-stop ND and you slow the shutter ten stops — from 1/250 you double the time ten times, landing at about four seconds. That is the calculation, and it is why an ND filter is the only way to get a multi-second exposure in daylight; no aperture or ISO setting alone can buy you that much time.
Two practical wrinkles. First, with a strong ND on the lens the viewfinder goes nearly black, so you compose, focus, and meter first, then attach the filter — or focus with the filter off and switch to manual focus so autofocus does not hunt in the dark. Second, past about 30 seconds you leave your shutter dial and go to bulb mode with a remote or the camera’s timer. A small stop table taped inside my filter pouch saves me doing this on my fingers in fading light, and the filters hub keeps a version of it too.
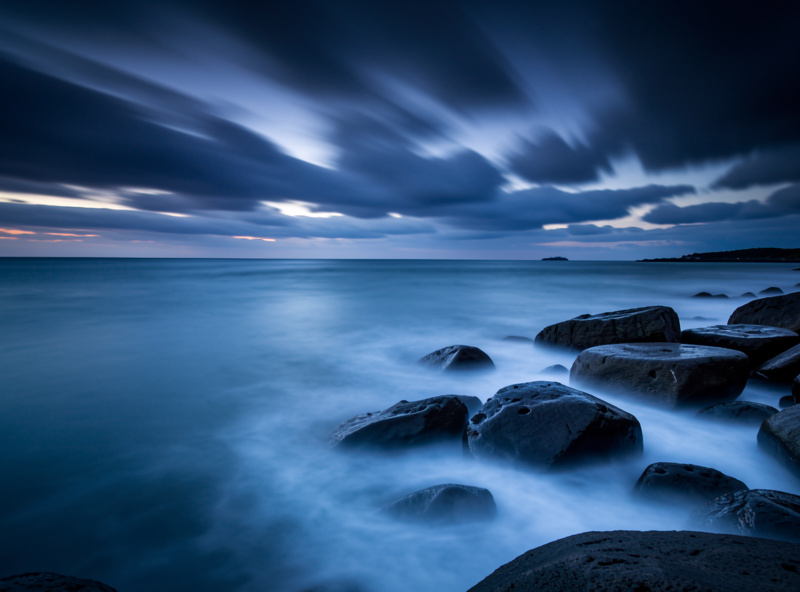
The order of operations is what separates clean ND shots from ruined ones. I lock the camera on a tripod and compose first, then autofocus on the scene and switch the lens to manual so it cannot hunt once the filter darkens the view. I meter without the filter and note the base shutter, dial in my stop offset, and set the camera to that shutter (or bulb if it exceeds 30 seconds). Only then does the ND go on, because with a 10-stop attached the viewfinder is too dark to focus or compose reliably.
Before I trip the shutter I do two more things: set a two-second self-timer or use a remote so my finger does not shake the rig, and cover the viewfinder eyepiece on longer exposures so stray light does not leak in and fog the frame from behind. Then I shoot, check the histogram rather than the tiny rear-screen thumbnail, and adjust by whole stops if the exposure missed. That histogram check matters because a strong ND scene is easy to under- or over-cook, and I would rather protect highlights and lift shadows later than clip a bright sky I cannot recover.
A few things bite people who nail the math but miss the details. Light leaks are the classic one: on multi-second exposures, light can enter through the viewfinder or around a poorly seated filter and leave a colored gradient across the frame, which is why sealing both matters. Sensor heat over very long exposures raises noise, so on a hot day I keep exposures reasonable rather than chasing minutes. And a lens with a filter thread that is not perfectly clean can flare internally once a bright sun is in frame behind a 10-stop, so I wipe the front element between shots on the coast.
The other quiet gotcha is that not every “neutral” density filter is truly neutral, and the cast often shifts between filters in the same brand’s lineup. I shoot a custom white balance through the actual filter I am using, on location, rather than trusting a preset — it is thirty seconds of work that saves a global correction on every frame afterward. None of these are hard once you know they exist, and they are exactly the field details a spec sheet will never tell you.
Match the filter to the effect, not the other way round. Waterfalls and streams in shade or overcast light often need only a 3- or 6-stop, because the light is already dim; reach for the 6-stop as your default here. Bright midday seascapes where you want fog-smooth water and streaking clouds are 10-stop territory. Smoothing a crowd out of a plaza or blurring traffic into light trails also lives around 10 stops in daylight and less at dusk. Wide-open portraits at noon — a fast prime at f/1.4 in full sun — usually need just a 3-stop to keep the shutter under your camera’s ceiling.
This is why a single variable ND tempts people, since one filter seems to cover the range. It does, with caveats around image quality that I unpack in variable ND vs fixed ND filters. For the cleanest results, though, a small set of fixed strengths beats one do-everything filter, and the three-filter kit above is the set I would build first. Pair them with the tripod discipline in my tripod guide, because every one of these exposures is too slow to hand-hold.
The quality rules for ND are the same as for any filter, with one extra: color neutrality is harder to achieve at high strengths. Cheap 10-stop filters are notorious for a heavy blue or magenta cast that you then correct globally in editing, so a filter that is genuinely neutral saves you work on every frame. Look for multi-coated glass and honest transmission specs, and buy to your largest lens thread with step-up rings rather than a filter per lens. A well-chosen ND filter kit covering 3, 6 and 10 stops is the efficient way to get the whole ladder at once.
As an Amazon Associate I earn from qualifying purchases.
If you shoot graduated skies, note that screw-in NDs cannot be positioned, which is where square holder systems and graduated NDs come in — covered in graduated ND vs bracketing and screw-in vs square filter systems. And whatever you buy, any color cast that survives is fixable in color grading, though a neutral filter means you rarely have to.
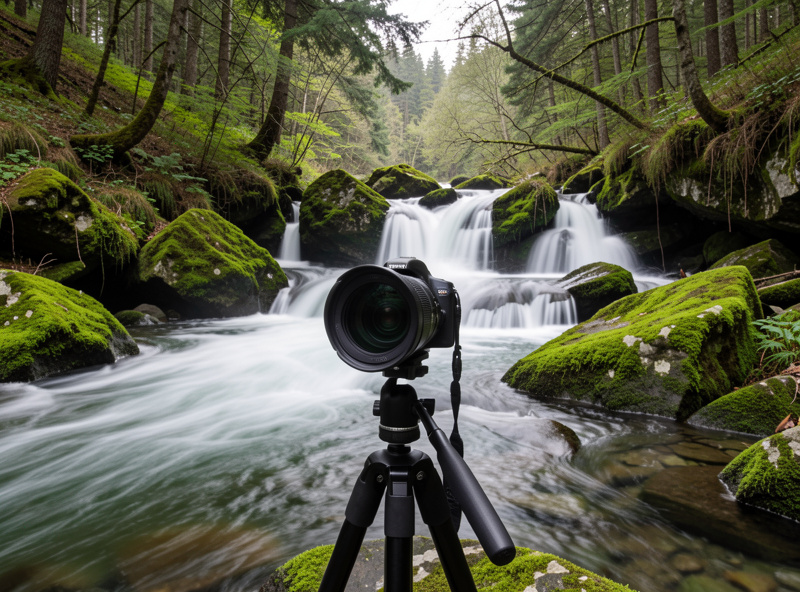
For most photographers, three strengths cover almost everything: a 3-stop (ND8) for wide apertures in sun, a 6-stop (ND64) as the everyday long-exposure filter for rivers and waterfalls, and a 10-stop (ND1000) for 30-second seascapes and cloud streaks. If you buy only one, choose the 6-stop.
The ND number is the light-reduction factor. ND8 passes one-eighth of the light, which is 3 stops. ND64 passes one sixty-fourth, which is 6 stops. ND1000 passes about one thousandth, which is 10 stops. They are just different labels for the same stop counts.
Meter the scene without the filter and note the shutter speed, then make it slower by the filter’s stop count. For example, 1/250s with a 10-stop filter becomes about 4 seconds. Compose and focus before attaching a strong ND, because the viewfinder goes nearly black once it is on.
A 6-stop (ND64) is the best all-around waterfall filter. In shade or overcast light a 3-stop may be enough, while bright scenes may call for a 10-stop. The 6-stop lands most daytime water in the quarter-second to couple-second range, which keeps texture while smoothing the flow.
Cheap high-strength ND filters often add a strong color cast, usually blue or magenta, because true neutrality is hard to achieve at 10 stops. Buy a well-coated, genuinely neutral filter to minimize it, and correct any remaining cast with a custom white balance or in editing.
For anything beyond a mild 3-stop, yes. The whole point of a strong ND is a slow shutter, which is impossible to hand-hold. A 6-stop or 10-stop exposure runs from fractions of a second to 30 seconds, so a sturdy tripod and a remote or self-timer are essential.
Buy a variable ND if you shoot video or run-and-gun in changing light and value…
Camera lens filters come down to three that actually earn a slot in the bag:…
The best circular polarizer is the one that cuts glare and deepens skies without adding…
Leave a Reply