Variable ND vs. Fixed ND Filters: Which Should You Buy?
Buy a variable ND if you shoot video or run-and-gun in changing light and value…
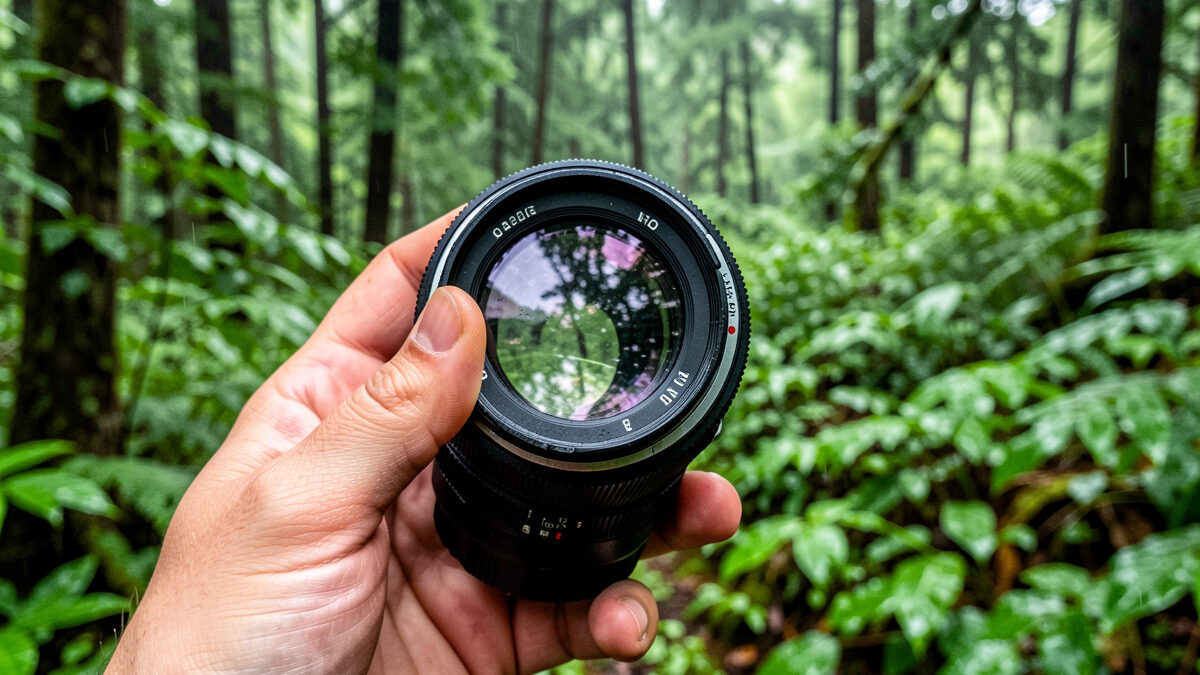
The best circular polarizer is the one that cuts glare and deepens skies without adding a color cast or stealing too much light. A good CPL costs you roughly one and a half to two stops, stays neutral as you rotate it, and uses multi-coated glass in a slim frame so it does not vignette on wide lenses. That combination — not the brand name — is what separates a great polarizer from a bad one.
A circular polarizer is the one filter I never leave home without, because it does something no slider in Lightroom can: it physically removes reflected, polarized light before it hits the sensor. On my Fujifilm X-T5 the difference on a wet landscape is not subtle — glare vanishes off leaves and water, and the color underneath finally comes through. Here is what actually makes a polarizer worth buying, and how to choose the right one for your kit.
A CPL blocks light waves vibrating in one orientation, which is exactly the light that bounces off non-metallic surfaces as glare (the same polarization physics the optical makers lean on for their coated CPLs). Rotate the front ring and you tune how much of that reflected light you cut: a hazy white sky deepens to blue, sheen lifts off wet rocks and foliage, and the surface reflection on water fades so you can see into it. None of this is recoverable in editing, because the reflection was thrown away by physics before the shutter opened — you either capture through it or you do not.
The effect is strongest when you shoot at roughly ninety degrees to the sun and weakest when you point straight at or away from it. That geometry is the single most important thing to learn about a polarizer, because it explains both its magic and its limits. Point the camera at the low sun and rotate all you like — almost nothing happens. Turn ninety degrees and the same rotation transforms the frame.
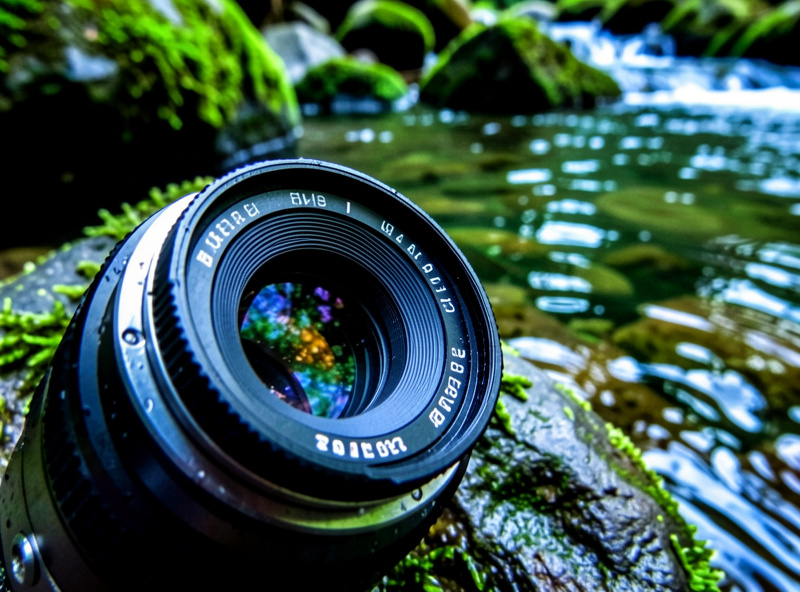
Four things decide whether a polarizer earns its place. First, color neutrality — a cheap CPL tints the whole frame green or warm, and because it is a global shift you fight it in every edit. Second, light transmission: every polarizer costs light, but a well-made one loses closer to one and a half stops while a poor one can swallow two-plus. Third, coatings, which control flare and let water and fingerprints wipe off cleanly. Fourth, the frame: a slim profile keeps the filter from clipping your corners on a wide-angle lens.
Notice what is not on that list: the brand logo. Plenty of mid-priced filters hit all four marks, and plenty of expensive ones coast on reputation. When I evaluate a polarizer I put it on the wide zoom, shoot a blue sky at ninety degrees, and check the corners and the white balance — if the sky is even, the corners are clean, and my grays stayed gray, the filter is good regardless of what it cost.
The word “circular” in circular polarizer does not describe the shape — it describes how the filter re-polarizes light on its way out. A plain linear polarizer cuts glare just as well, but it confuses the autofocus and metering sensors in a modern mirrorless or DSLR camera, which rely on beam-splitters that are themselves polarization-sensitive. A circular polarizer adds a quarter-wave layer that scrambles the polarization after the effect is applied, so your camera meters and focuses normally.
Practically, this means you should buy a CPL, not an LPL, for any current digital body — and every filter I recommend here is circular. Old linear polarizers turn up cheap secondhand and will physically thread onto your lens, but they can cause erratic exposures and hunting autofocus. It is one of the few filter specs where the wrong choice actively breaks the camera’s automation rather than just costing image quality, so it is worth getting right.
You do not need the most expensive polarizer, but the very cheapest ones are a false economy on a good lens. Budget CPLs often work acceptably in flat light but reveal a color cast and softer corners the moment conditions get demanding. Mid-range filters from established optical brands are the sweet spot for most enthusiasts — neutral enough, coated well, and reasonably slim. Premium filters buy you the best coatings, the most neutral glass, and slim brass frames that will not seize, which matters most if you shoot ultra-wide or in harsh light constantly.
My advice is to spend once, on your largest lens thread, and adapt down. A single quality multi-coated circular polarizer plus a set of step-up rings fits your whole kit for a fraction of the cost of one filter per lens. That one decision does more for your polarizer budget than any brand choice.
As an Amazon Associate I earn from qualifying purchases.
| Tier | Color neutrality | Typical light loss | Best for |
|---|---|---|---|
| Budget | Visible cast in demanding light | ~2 stops or more | Occasional use, kit lenses, flat light |
| Mid-range | Near-neutral, minor drift | ~1.5–2 stops | Most enthusiasts, general landscape |
| Premium | Excellent, holds through rotation | ~1.3–1.5 stops | Ultra-wide, harsh light, frequent use |
Two lens facts change which polarizer to buy. The first is thread diameter — printed on the barrel or inside the front cap as a number after the ø symbol. Buy to the largest and adapt down. The second is how wide your widest lens is: on an ultra-wide, a standard-thickness CPL frame can shade the corners, so a slim or ultra-slim version is worth the premium. On my wide zoom I run a slim polarizer specifically to keep the corners clean, and I still watch for uneven sky.
That uneven-sky problem is the polarizer’s built-in wide-angle trap: because the effect varies with angle to the sun, a very wide frame can show a dark polarized band on one side and a pale sky on the other. The fix is not a better filter — it is rotating for a subtler effect and, on the widest shots, sometimes dialing the polarization down deliberately. Understanding your focal lengths makes this predictable rather than a nasty surprise on the computer.
The CPL is a landscape and travel workhorse. On water it cuts surface glare so a lake goes from silver sheen to visible depth; on wet foliage after rain it removes the white sheen that flattens autumn color; through glass it kills reflections so you can shoot into a shop window or over a car dashboard. It also adds contrast and saturation to skies in a way that looks natural because it is optical, not a slider. For anyone shooting the kind of scenes in my landscape photography guide, it is the highest-payoff filter you can own.
It is not free, though, and knowing when to take it off matters as much as knowing when to use it. In low light the one-and-a-half to two stop loss can push you to a slower shutter than you want, and on a clear-sky panorama the uneven polarization can ruin the stitch. I pull the polarizer for interiors, for anything backlit, and for panoramas across a wide sky. Like every filter, it is a tool for a job, not a permanent fixture.
When a new polarizer arrives I do the same quick chart-and-field check I run on any filter. On the wall I shoot a neutral gray card straight on, with and without the filter, and compare the white balance — a good CPL barely moves it, a bad one shoves the whole frame warm or green. Then I go outside, mount it on the wide zoom, find a blue sky at ninety degrees to the sun, and rotate slowly through the full range watching the corners and the evenness of the sky. Any polarizer that stays neutral on the card and keeps the sky even without a hard dark band on the wide end has passed the only test that matters.
I also check the mechanical feel, because a polarizer you rotate constantly needs a smooth, slightly damped front ring — a gritty or too-loose ring makes precise adjustment miserable in the field with cold hands. And I confirm it does not bind when threaded onto the lens; a cheap aluminum frame can cross-thread or seize, which is why brass frames command a premium. None of this requires a lab — it is a gray card, a clear sky, and paying attention, which is exactly how a glass-first shooter should judge any piece of glass that goes in front of the lens.
A polarizer often rides under an ND filter for long-exposure work — cut the glare with the CPL, then add the ND to slow the shutter. That stack works, but it is where vignetting and color cast creep in, especially on wide lenses, so keep both filters slim and drop any protector underneath. If you shoot long exposures often, a square holder system lets you combine a polarizer and a graduated ND far more elegantly than threading two round filters together, a trade-off I break down in screw-in vs square filter systems.
One practical warning when stacking: rotating a polarizer that sits under an ND or inside a holder can be fiddly, and you must set the polarization first, then add the darker filter, because a 10-stop ND makes the viewfinder too dark to judge the polarizer effect. For the full rundown of what pairs with what, the camera lens filters explained hub maps the whole system, and the ND stops guide covers the strengths you would stack on top.
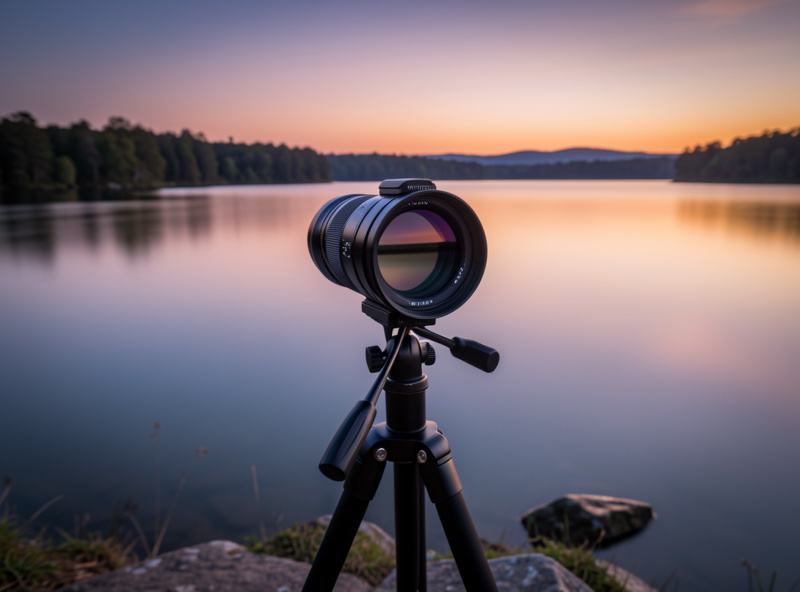
Four traits: color neutrality (no green or warm cast), low light loss (around 1.5 stops rather than 2-plus), quality multi-coatings that control flare and wipe clean, and a slim frame that will not vignette on wide lenses. Brand name matters far less than hitting those four marks.
A circular polarizer typically costs about 1.5 to 2 stops of light. Premium filters sit near the lower end, cheaper ones toward the higher end. Plan for that loss: in low light it can push your shutter slower than you want, which is a reason to remove the CPL indoors or at dusk.
No. Buy one quality polarizer sized to your largest lens thread and use inexpensive step-up rings to fit it on smaller lenses. One filter plus a few rings covers an entire kit for far less than a separate polarizer per lens.
The polarizing effect changes with angle to the sun, so a very wide frame can show a dark band on one side and a pale sky on the other. Rotate for a milder effect, avoid shooting ultra-wide skies at 90 degrees to the sun, and dial the polarization down deliberately on the widest shots.
No. A polarizer removes reflections and glare that were never recorded by the sensor. You can boost saturation or contrast in editing, but you cannot rebuild the detail hidden under a reflection you failed to cut at capture. It is a genuine capture-only tool.
You can, and it is common for long exposures: set the polarizer first, then add the ND. Keep both slim and remove any UV protector underneath to limit vignetting and color cast on wide lenses. For frequent stacking, a square filter holder is cleaner than threading two round filters.
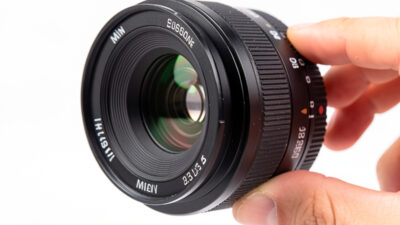
Buy a variable ND if you shoot video or run-and-gun in changing light and value…
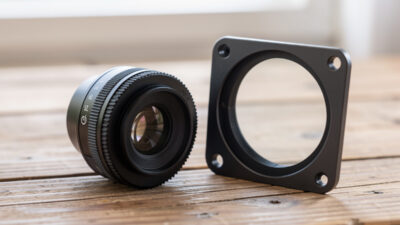
Screw-in filters win for most photographers: they are compact, sealed, cheaper to start, and perfect…

To calculate a long exposure time with an ND filter, meter the scene without the…
Leave a Reply