On-Camera Flash Guide for Beginners: Bounce It Right
On-camera flash gets a bad reputation it only half deserves. Pointed straight ahead, the built-in…
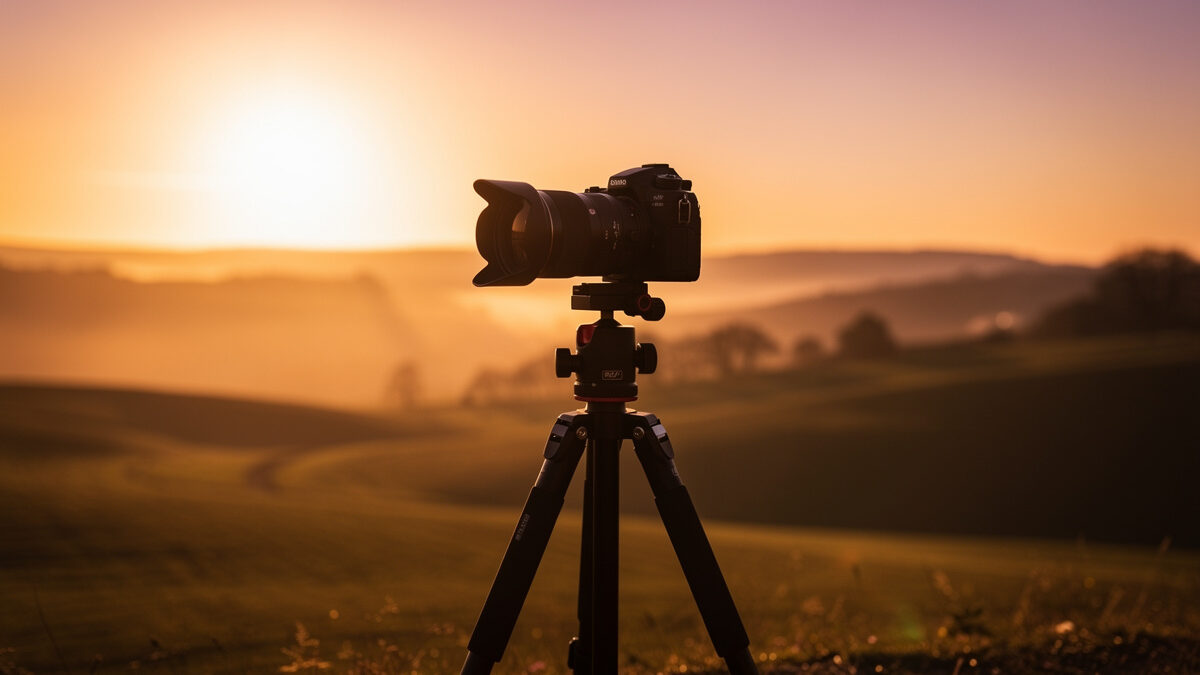
Natural light is the cheapest professional-grade light source you will ever have access to, and learning to read it is the highest-ROI lighting skill a photographer can develop. A $500 camera in good natural light produces better images than a $5,000 camera in bad natural light. The camera records light — it does not create it — and understanding how sunlight behaves at different times of day, in different weather, and through different modifiers is the foundation every other lighting skill builds on.
I shoot in Sweden where natural light is a study in extremes — endless golden hour in summer, low-angle blue light all day in winter. The light here has taught me more about photography than any piece of gear. What follows is what I have learned about reading, shaping, and exploiting natural light for every kind of photography.
Front light comes from behind the photographer and falls directly on the front of the subject. It flattens texture, eliminates shadows, and produces images with low contrast and even illumination. A front-lit portrait shows minimal skin texture — flattering but characterless.
A front-lit landscape shows no shadow detail in canyons or mountains — the scene looks two-dimensional. Front light is the default because it is the easiest to expose correctly, but it is rarely the most interesting light for a photograph. The exception is when the front light is soft and diffused — an overcast sky or a large window directly behind the camera — in which case the flatness becomes gentle and even rather than harsh and shadowless.
Side light comes from 90 degrees to the subject and is the most sculptural light direction. It creates shadow on one side, highlight on the other, and reveals texture, form, and depth that front light hides. A side-lit portrait shows cheekbones, jawline, and skin texture — the light tells the viewer about the three-dimensional shape of the face. A side-lit landscape at golden hour is the classic landscape light — ridges cast long shadows, trees are rim-lit on one edge, and the scene has depth. For more on side light and landscape composition, the landscape photography guide covers how light direction interacts with foreground, midground, and background elements.
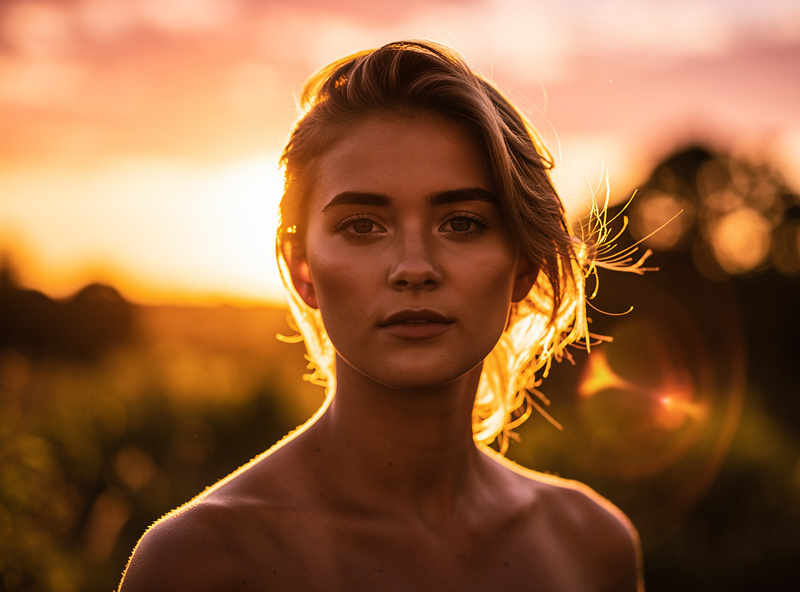
Back light comes from behind the subject, toward the camera. It separates the subject from the background with a rim of light, creates silhouettes when the subject is underexposed, and produces the most dramatic natural light images. Back-lit portraits have a halo of light around the hair and shoulders that no artificial light reproduces as naturally. The exposure challenge is the dynamic range — the background is bright, the subject is dark, and the camera sensor must capture both. Expose for the subject’s face and let the background blow out for a high-key portrait with ethereal rim light. Expose for the background and let the subject go dark for a silhouette. The decision is creative, not technical, and the portrait lens recommendations discuss how different focal lengths render back-lit subjects.
The quality of light — hard or soft — is determined by the apparent size of the light source relative to the subject. A small light source, like the midday sun, produces hard light: dark shadows with sharp edges, high contrast, specular highlights. A large light source, like an overcast sky, produces soft light: light shadows with gradual transitions, low contrast, diffuse highlights. The sun itself is physically enormous, but its distance makes it appear small in the sky — its actual angular size is about half a degree, roughly what a pea held at arm’s length covers, not the fist-sized disc it feels like when you squint at it. Overcast clouds scatter sunlight so the entire sky becomes the light source — a dome of soft light miles across.
The most useful natural light skill is recognizing when to seek hard light and when to seek soft light. Hard light is for dramatic landscapes, texture studies, black and white photography where contrast carries the image. Soft light is for portraits, product photography, and any situation where the subject benefits from gentle, even illumination. You cannot change the weather, but you can change your position — move the subject into open shade for soft light, or into direct sun for hard light. Learning to see the difference and act on it is the distinction between a photographer who waits for good light and one who finds it.
| Time of Day | Color Temperature | Light Quality | Best For | Duration |
|---|---|---|---|---|
| Golden Hour (sunrise/sunset) | 3,000K to 4,000K | Warm, directional, soft | Landscape, portrait, everything | ~45 minutes |
| Blue Hour (twilight) | 7,000K to 10,000K | Cool, diffuse, even | Cityscapes, long exposure | ~30 minutes |
| Midday (direct sun) | 5,500K | Hard, high contrast | Black and white, texture | ~6 hours |
| Overcast | 6,000K to 7,000K | Soft, low contrast | Portrait, macro, product | Any time |
| Open Shade | 7,000K to 8,000K | Soft, directional from sky | Portrait, detail shots | Any time |
Golden hour is the 45 minutes after sunrise and before sunset when the sun is low, the light travels through more atmosphere, and the color temperature warms to roughly 3,500K. It is the most forgiving light for photography — directional enough to create depth, soft enough to avoid harsh shadows, warm enough to flatter skin tones. The limitation is the duration. Forty-five minutes is about 30 frames if you are deliberate, 200 if you are not. I plan golden hour shoots by arriving an hour early, scouting compositions, and being ready to shoot the moment the light turns. Wasted golden hour minutes are the most expensive mistake in natural light photography. I learned this at Hovs Hallar one September evening when I arrived 15 minutes before sunset, spent the first 10 of them hunting for a composition I should have scouted that afternoon, and shot exactly 7 frames before the warm light died into blue hour. The drive back was 3 hours. The light will not come back until tomorrow, and tomorrow’s weather is a gamble — the next morning brought thick coastal fog that killed sunrise entirely.
Blue hour is the roughly 30 minutes after sunset or before sunrise when the sun is below the horizon but the sky is still illuminated. The light is cool, diffuse, and even — no shadows, no direction, just a soft blue glow that is ideal for cityscapes, architecture, and long exposures.
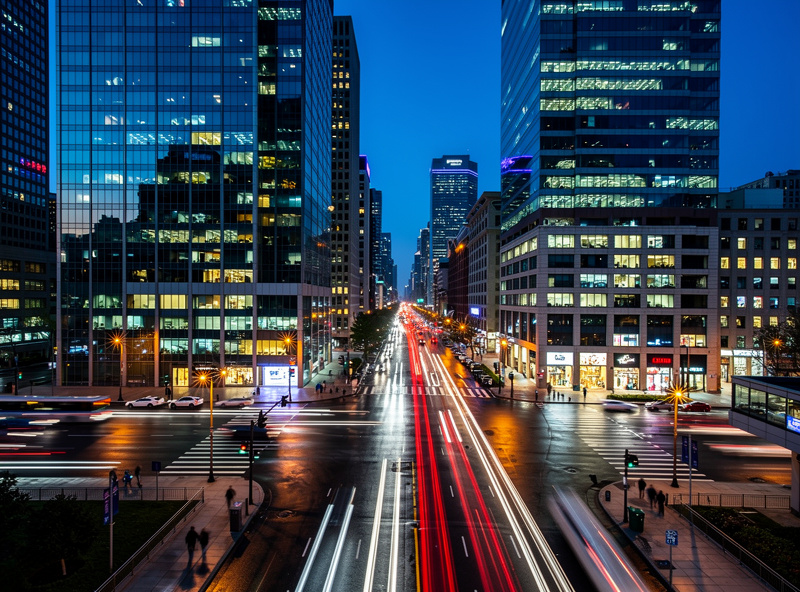
Blue hour light balances naturally with artificial lights — the ambient is cool, the lights are warm — and the resulting images have a natural color contrast that post-processing can simulate but never fully replicate. The night photography guide covers the long exposure techniques that blue hour enables.
Midday light is the most maligned and the most misunderstood. Direct sun at noon is hard, harsh, and unflattering for portraits — but it is also the most abundant light, and the most honest. For black and white photography, midday light creates the high contrast and deep shadows that give monochrome images their graphic power. For texture studies — weathered wood, rust, stone — midday raking light reveals every surface detail. The key to midday shooting is embracing the shadows rather than fighting them. Use the hard light for what it does well instead of trying to soften it for what it does poorly. The photography composition guide covers how shadow shapes become compositional elements in high-contrast light.
Most photographers check the weather forecast hoping for clear skies, and then feel defeated when they get fog, storm clouds, or a flat grey overcast instead. That reaction has the relationship backwards. Every weather condition is a different light source, and the ones that feel like bad luck are often the ones that produce the images worth keeping. Fog acts like the largest, softest diffuser you will ever shoot through — it desaturates color, compresses tonal range, and turns a cluttered background into negative space, which is exactly why fog photographs read as calmer and more minimal than the same scene in clear light. I have driven out specifically chasing coastal fog in Sweden more than once, on mornings I would have stayed in bed for if I only wanted blue sky.
Storm light — the narrow window before or after a storm front when the sky is heavy and dark but a gap in the clouds lets direct sun through — produces some of the most dramatic natural light available, precisely because it combines a hard, directional source with a dark, moody background. That combination almost never happens in stable weather. The tradeoff is unpredictability: the light window can last ninety seconds or twenty minutes, and there is no way to know in advance which it will be, so the practical approach is showing up with the shot already composed and waiting, camera on tripod, rather than trying to chase the light once it appears. Flat, featureless overcast is the condition photographers complain about most, but it is also the most reliable soft light available — consistent for hours, forgiving of any subject, and the condition every product and portrait photographer secretly prefers over harsh midday sun even when they will not admit it.
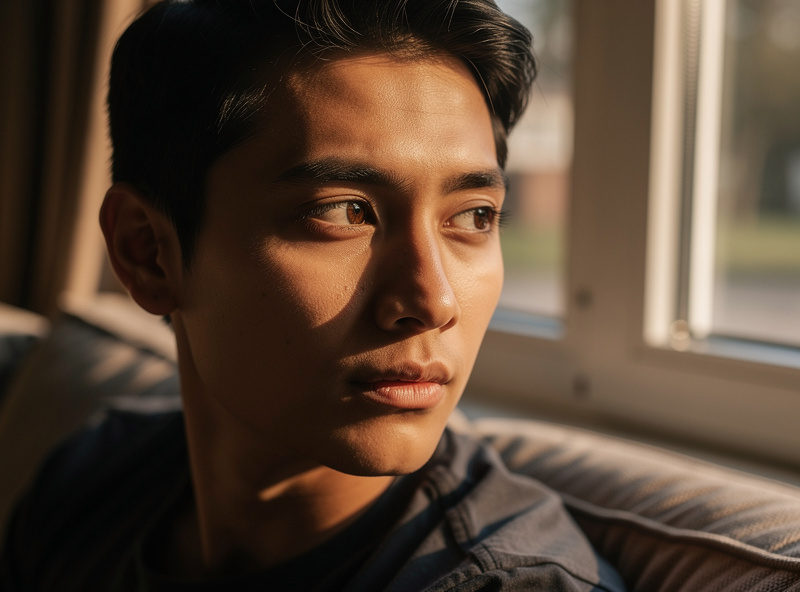
A north-facing window in the northern hemisphere provides soft, consistent light all day without direct sun entering the frame. It is the natural equivalent of a large softbox, and it is the lighting setup I use for documenting workshop projects — leatherwork, hydroponic systems, welded pieces — when I need clean product images. Position the subject at 45 degrees to the window for a classic lighting pattern with shadow on one side and highlight on the other. Move the subject closer for softer light with faster falloff toward shadow, farther away for more even illumination across the entire subject. Use a white reflector or a piece of white foam board on the shadow side to bounce window light back into the shadows and control the contrast ratio.
Window light varies with the size of the window, the direction it faces, and what is outside it. A large south-facing window with direct sun is a hard light source that changes dramatically through the day. A small north-facing window is a consistent soft source but requires higher ISO or a wider aperture. The skill of window light photography is in positioning the subject relative to the window to achieve the quality and direction of light the image needs. This skill transfers directly to studio lighting — a softbox is just a portable window, and a reflector is just a portable white wall. The photography lighting guide covers how the principles of natural light translate to artificial light and back again.
Golden hour — the 45 minutes after sunrise and before sunset — when the sun is low, the light is warm at roughly 3,500K, and the low angle creates flattering depth. If golden hour is not available, open shade at midday provides soft, even light without the harsh shadows of direct sun.
Move the subject into open shade — under a tree, beside a building, or under a porch. Open shade is lit by the sky rather than direct sun, producing soft light without harsh shadows. If you cannot find shade, embrace the hard light for black and white photography where contrast becomes a creative tool rather than a problem.
Position the subject at 45 degrees to a north-facing window. This creates a classic lighting pattern with soft shadow on one side of the face and a triangle of light on the shadow-side cheek. Use a white reflector on the opposite side to fill shadows and control contrast ratio.
Overcast clouds scatter sunlight so the entire sky becomes the light source — a dome of soft light miles across. A large light source relative to the subject produces soft shadows with gradual transitions. Direct sun is a small apparent light source that produces hard shadows with sharp edges.
Approximately 45 minutes after sunrise and before sunset at mid-latitudes. The duration varies by latitude — longer near the poles in summer, shorter near the equator. Arrive at least 30 minutes early to scout compositions so you are shooting the moment the light turns, not searching for a composition while it fades.
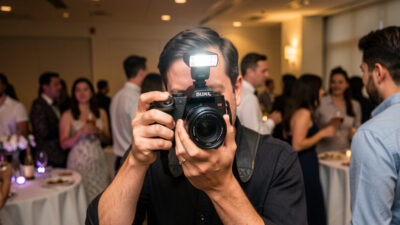
On-camera flash gets a bad reputation it only half deserves. Pointed straight ahead, the built-in…
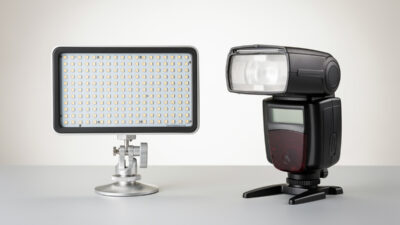
Flash wins for stills — 10 to 15 times more light per dollar, clean base-ISO…
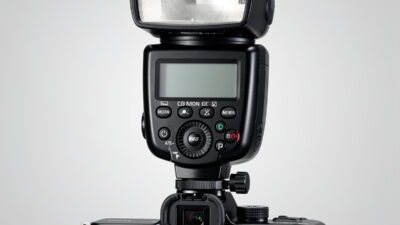
Finding the best speedlights for mirrorless cameras is about matching flash features to your actual…
Leave a Reply