On-Camera Flash Guide for Beginners: Bounce It Right
On-camera flash gets a bad reputation it only half deserves. Pointed straight ahead, the built-in…
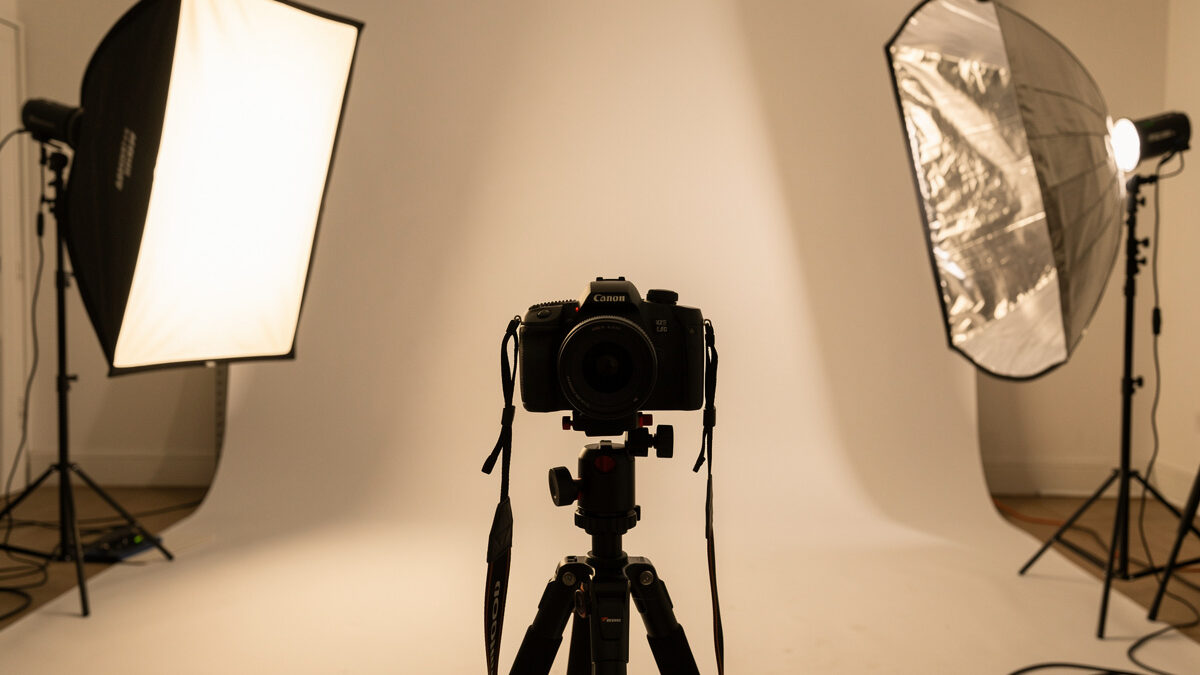
Light determines more about a photograph than any camera body or lens. Direction sculpts, quality softens or hardens, color sets the mood, intensity controls exposure. A $500 camera in good light outshoots a $5,000 camera in bad light every time.
I learned this lesson gradually across years of shooting landscapes at golden hour, portraits by a window, and product shots of workshop builds under whatever light was available. The lighting skills I use most are not the ones that require expensive gear. They are the ones that teach you to see light before you modify it.
What follows is a complete lighting guide organized around how photographers actually work — starting with natural light because it is free and available, moving to speedlights because they are portable and affordable, and ending with continuous lighting and studio strobes for shooters who need complete control. And if you take away one thing from the natural-light section below — the part most photographers skip straight past to get to the flash gear — it will change how you use artificial light forever. No hype about specific brands, no studio-elite jargon. Just the lighting knowledge that makes a measurable difference in your images.
Natural light is the cheapest professional-grade light you will ever have access to, and learning to read it is the highest-ROI lighting skill a photographer can develop. The direction of natural light determines contrast and texture — front light flattens, side light sculpts, back light separates. The quality of natural light is determined by its apparent size relative to the subject — a large light source like an overcast sky produces soft shadows with gradual transitions, while a small light source like direct sun produces hard shadows with abrupt edges. The color of natural light shifts throughout the day — warm and directional at golden hour (roughly 3,500K), neutral during midday (5,500K), cool and diffuse during blue hour and shade (7,000K+). These Kelvin values are not approximations — the CIE colorimetry framework defines correlated color temperature against a black-body radiator, and your camera’s white balance presets (Daylight 5,500K, Cloudy 6,500K, Shade 7,500K, Tungsten 3,200K) map onto that same scale. I have shot the same tree line at noon and at golden hour, and the difference goes beyond the white balance slider — at golden hour the light skims across bark and leaves, throwing long shadows that reveal textures invisible at midday. The air itself looks different through the viewfinder, warmer and heavier with color. A detailed breakdown of natural light techniques for specific scenes rewards careful study — the direction, quality, and color of daylight shift with time of day, weather, and season, and each combination produces a different quality of light.
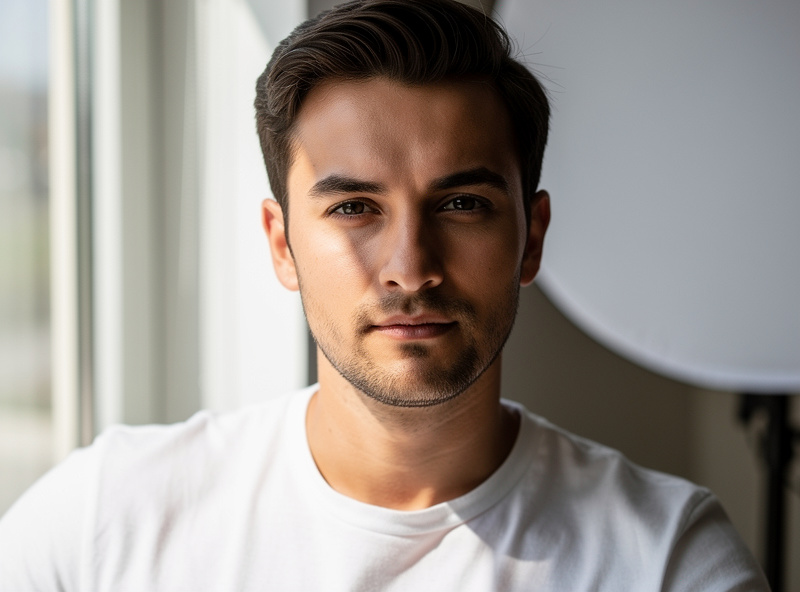
Window light deserves special attention because it is the most accessible controlled light source for indoor photography. A north-facing window in the northern hemisphere provides soft, consistent light all day with no direct sun — it is the natural equivalent of a large softbox. Position the subject at 45 degrees to the window for a classic Rembrandt-style lighting pattern — the focal length you choose for this setup changes the perspective and working distance with a triangle of light on the shadow side of the face. Move the subject closer to the window for softer light with faster falloff, farther away for more even illumination. The same principles apply whether you are shooting a portrait, a product, or the sourdough loaf that came out of the oven looking exactly right. I have documented dozens of workshop projects at a window with nothing more than a reflector for fill, and the images hold up against anything shot with artificial light. For more on the relationship between natural light and specific subjects, the landscape photography guide and portrait lens recommendations cover light from different shooting perspectives.
A speedlight — the hot-shoe mounted flash that sits on top of the camera — is the most accessible artificial light tool. A good speedlight costs between $100 and $300, runs on four AA batteries, and produces enough light to fill shadows outdoors at noon or light an entire indoor portrait when bounced off a ceiling. The mistake every speedlight owner makes at least once — and I made it for the first six months I owned mine — is pointing the flash directly at the subject. Direct on-camera flash produces flat, harsh light with hard shadows landing directly behind the subject. I have a folder of a couple hundred frames from an early family gathering where the entire flash output was hitting subjects from the camera position, and every face looks like a passport photo against an overexposed wall. I deleted most of the folder. The next indoor event I shot used bounce off a white ceiling instead, and the frames look like they were shot by a different photographer entirely. The skill of speedlight use is in redirecting the light: bouncing it off a white ceiling for soft overhead light, off a side wall for directional window-light simulation, or into a small modifier for controlled soft light on the go. The right speedlight balances guide number, recycle time, and wireless compatibility with your specific camera system — features vary significantly between the entry-level $100 units and the $400 flagship models.
The bounce technique alone transforms a speedlight from an emergency tool into a creative light source. In a room with a white or neutral ceiling, point the speedlight head straight up and set it to roughly 1/4 power with TTL metering. The ceiling becomes a large soft light source overhead, producing soft shadows and natural-looking illumination that most viewers cannot distinguish from window light. The ceiling height matters — an 8-foot ceiling gives softer light with more spread than a 12-foot ceiling, which requires more power. A colored ceiling — wood, paint — will tint the bounced light, and correcting white balance after bouncing off a warm wood ceiling is an exercise in frustration. White ceilings only for bounce, or use a bounce card attached to the speedlight to throw a small amount of direct fill forward while the main output goes up.
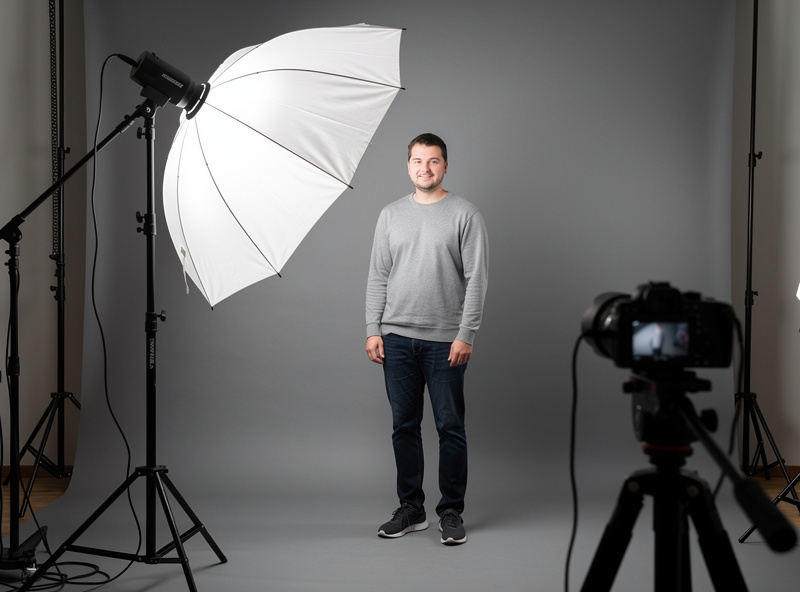
Moving the flash off the camera is the single largest improvement in lighting quality a speedlight user can make. On-camera flash, even bounced, is limited to one direction relative to the subject. Off-camera flash, placed on a light stand at 45 degrees to the subject and above eye level, creates the classic three-dimensional lighting pattern that separates professional-looking portraits from snapshot-looking ones. The barrier to off-camera flash used to be cost — a PocketWizard radio trigger cost $200 — but modern mirrorless systems have built-in wireless flash control that uses the pop-up flash or a small commander unit to trigger remote speedlights. A complete off-camera flash setup — a Godox TT600 speedlight ($65), a light stand ($30), a 43-inch shoot-through umbrella ($20), and a Godox X2T radio trigger ($60) — costs about $175 and opens up lighting possibilities that an on-camera speedlight cannot approach. The Godox system is what I use for my own off-camera work; the wireless radio protocol connects the trigger to the flash without line-of-sight limitations and has been reliable across hundreds of frames. The process of setting up off-camera flash for the first time involves positioning the stand, attaching the modifier, setting the flash to manual mode at 1/8 power, and adjusting from there based on the histogram.
The key shift in thinking that off-camera flash enables is separating the direction of the light from the direction of the camera. When the flash is on the camera, the light always comes from the camera position. When the flash is on a stand, the light can come from any direction — and the direction of light is what creates shape, texture, and depth in a photograph. Front light flattens a face. Side light at 45 degrees reveals cheekbones. Light from above and behind creates a hair light that separates the subject from the background. Each position tells a different story, and off-camera flash lets you choose the story.
A bare speedlight produces a small, hard light source approximately 2 inches across at a distance of 6 feet from the subject. That is the lighting equivalent of the midday sun — harsh shadows, high contrast, unforgiving on skin. A light modifier increases the apparent size of the light source relative to the subject, which softens the light by wrapping it around the subject and creating gradual shadow transitions. The principle is simple physics: the larger the light source appears to the subject, the softer the light. The inverse-square law — light intensity falls as 1/distance², the same physical relationship standardized in ISO 1230 for determining flash guide numbers — means that moving a light source closer to a subject increases both its apparent size and the rate of shadow falloff, two variables every modifier setup must balance. A full understanding of light modifiers — what each type does to light quality and direction — is the difference between flat lighting and the dimensional look that separates skilled photography from snapshots.
The three modifiers worth owning for speedlight photography are a shoot-through umbrella, a small softbox, and a reflector. A 43-inch shoot-through umbrella costs $20 and turns a bare speedlight into a soft light source roughly three feet across — an instant upgrade from hard to soft light. A 24-inch softbox with a speedlight bracket costs $40 and provides more directional control than an umbrella, with less light spilling onto backgrounds. A 5-in-1 reflector costs $25 and serves as fill light, subtractive shading, and background control depending on which surface you use.
The essential camera accessories guide positions modifiers within the broader accessory ecosystem alongside tripods, bags, and straps.
Continuous lights stay on — LED panels, tungsten hot lights, fluorescent banks. Flash fires in milliseconds and then recycles. The fundamental trade-off is that continuous light lets you see the light before you shoot — what you see is what you get — while flash lets you freeze motion and overpower ambient light with a fraction of the power consumption. The decision between them depends on what you shoot. Continuous light is better for video, product photography where you need to see placement, and any situation where the modeling light matters more than the ability to freeze action. Flash is better for portraits where you want sharp catchlights and motion-freezing capability, event photography where you need to overpower venue lighting, and any situation where your subject moves. A full comparison between these two lighting approaches reveals different strengths: continuous lets you see the light before you shoot, flash lets you freeze action and compete with the sun at a fraction of the power budget.
For the photography I do — documenting workshop builds, shooting landscapes, and the occasional portrait — I use continuous LED panels for product work and speedlights for everything that moves. The LED panels cost $80 each, show me exactly where the light falls before I press the shutter, and double as video lights when I need them. The speedlights handle portraits and fill-flash outdoors, where the burst of light freezes motion and competes with the sun in a way continuous lights cannot without drawing hundreds of watts. Two tools, two purposes, and neither one was expensive.
| Photography Type | Primary Light | Modifier | Fill Light | Approximate Cost |
|---|---|---|---|---|
| Natural Light Portrait | Window light | Sheer curtain (diffuser) | White reflector | $25 |
| Indoor Portrait | Speedlight bounced | White ceiling | Bounce card | $150 |
| Studio Portrait | Speedlight in softbox | 24-inch softbox | Reflector or second flash | $300 |
| Product Photography | LED panel or window | Diffusion panel | White foam board | $120 |
| Event Photography | On-camera speedlight | Bounce card or dome | Ambient exposure | $200 |
| Outdoor Fill Flash | Sun (ambient) | Clouds or shade | Speedlight direct | $150 |
| Video / Hybrid | LED panel | Softbox or diffusion | Second LED panel | $250 |
The table above is honest about costs. Good lighting does not require a $2,000 studio strobe kit — a $150 speedlight, a $25 umbrella, and a $25 reflector produce professional-quality light for portraits when used with the techniques described above. The expensive part of lighting is not the gear, it is the time spent learning to see and shape light. That time costs nothing and pays returns on every image you make afterward.
Flash exposure works on two independent variables that do not exist in ambient-only photography: the ambient exposure controlled by shutter speed, aperture, and ISO, and the flash exposure controlled by flash power and aperture. Shutter speed controls ambient exposure but has no effect on flash exposure — the flash duration is roughly 1/10,000 second, much faster than any shutter speed. This separation is the creative foundation of flash photography: you can expose the background independently of the subject. Darken the background by increasing shutter speed, then light the subject with flash at the same aperture. Brighten the background by dropping shutter speed, then add a kiss of fill flash to the subject. This technique — dragging the shutter — is how event photographers capture ambient venue light while freezing subjects with flash.
TTL (Through The Lens) metering lets the camera calculate flash power by firing a pre-flash, measuring the reflected light, and setting the flash output automatically. TTL is fast and accurate in consistent lighting, and it is the right mode for event photography where the subject-to-flash distance changes constantly. Manual flash control locks the flash output to a specific power level — 1/4, 1/8, 1/16 — and keeps it there regardless of subject distance. Manual mode is the right choice for off-camera flash in a controlled setup where the flash-to-subject distance is fixed. The photography composition guide discusses how lighting direction works with composition to direct the viewer’s eye through the frame.
Natural light and artificial light rarely match in color temperature. Window light at midday is roughly 5,500K. A speedlight is also roughly 5,500K — they match by design. An indoor tungsten bulb is 2,700K. A fluorescent office ceiling is 4,000K. Mixing these sources in one frame creates color casts that white balance cannot globally correct — the flash-lit side of the face is neutral while the ambient-lit side is orange. The solution is to gel the flash to match the ambient source. A CTO (Color Temperature Orange) gel over the speedlight shifts its output from 5,500K to roughly 3,200K, matching tungsten ambient light. Set the camera white balance to tungsten, and both light sources render neutral. A CTG (Color Temperature Green) gel matches fluorescent. A set of gels costs $15 and solves the color-mixing problem that no amount of post-processing fixes cleanly.
For photographers shooting in mixed light regularly — events in venues with practical lights, portraits in homes with table lamps — a gel kit is the $15 accessory that saves hours of color correction. The technique is simple: identify the dominant ambient light source, gel the flash to match it, set white balance to that color temperature, and shoot. The portrait lens guide discusses how different lens characteristics interact with different lighting setups for specific portrait styles. Understanding color temperature is also essential for the field photography approach where you cannot control the ambient light at all.
Every camera has a built-in light meter, and every phone has one too, but the skill worth developing is reading light with your eyes before you ever raise the camera. I look for three things walking into any scene: where the shadows fall, how hard their edges are, and how the color of the light is shifting the scene’s overall cast. Hard-edged shadows with visible definition mean a small, harsh source — direct sun, a bare bulb, an on-camera flash pointed straight ahead. Soft-edged shadows that fade gradually into midtone mean a large source relative to the subject — an overcast sky, a bounced flash, a big window. Once you can read that distinction on sight, you stop being surprised by how a scene renders and start predicting it before the shutter fires.
The habit that trained this for me was the same chart-and-field method I use for testing lenses: I would notice a quality of light I liked, stop, and actually work out why — was it the size of the source, the angle, the color, or some combination — instead of just taking the shot and moving on. Doing that consistently, on ordinary days and not just dedicated shooting sessions, builds the kind of intuition that no amount of reading about lighting theory replaces. You start noticing that the light streaming through a kitchen window at 4pm in autumn has a completely different character than the same window at noon in summer, not because anything about the room changed, but because the sun’s angle and the atmosphere it is traveling through did.
The mistakes below account for the overwhelming majority of lighting problems in beginner and intermediate work, and every one of them is a five-second fix once you know to look for it. Squinting subjects in direct sun is the most common outdoor mistake — the fix is turning the subject away from the sun and using it as a backlight or rim light instead, with a reflector or fill flash for the shadow side of the face. Flat, shadowless portraits shot with on-camera flash are the most common indoor mistake — the fix is bouncing the flash or moving it off-camera, covered above, rather than accepting the flat result as the ceiling of what flash can do.
Mixed color casts are the mistake that looks like a camera problem but is actually a lighting problem — a portrait with an orange side from tungsten room light and a blue side from a window looks like a white balance failure, but no single white balance setting fixes two different color temperatures in the same frame. The fix is gelling the flash or turning off the mismatched source entirely, not chasing the problem in post-processing after the fact. Overexposed backgrounds behind a flash-lit subject are the fourth common mistake, usually from leaving the camera on auto exposure modes that expose for the ambient light rather than the flash-lit subject — manually setting a faster shutter speed darkens the background while the flash exposure on the subject stays the same, since shutter speed does not affect flash exposure at normal sync speeds. Recognizing which of these four problems you are looking at is most of the battle; the fixes themselves take seconds once you know which lever to pull.
A catchlight is the small bright reflection of the light source visible in a subject’s eye, and it is disproportionately responsible for whether a portrait feels alive or flat. A subject lit with no catchlight — light coming from directly behind the camera, or bounced so diffusely that no distinct reflection forms — reads as dull even when every other technical element of the shot is correct. Window light and umbrellas both produce a large, soft catchlight that fills a good portion of the iris; a bare speedlight or a small on-camera flash produces a small, hard pinpoint catchlight that reads as slightly harsher but still present. The one lighting setup to avoid for a portrait is any configuration that produces no catchlight at all — light from directly overhead, or bounced off so many surfaces that no single source remains identifiable in the eye.
Position matters as much as size. A catchlight sitting at 10 or 2 o’clock in the eye, roughly where the light source actually sits relative to the face, reads as natural. A catchlight at the very bottom of the eye — from a light positioned below the subject, or from an on-camera flash on a body held low — reads as unsettling in a way most viewers cannot articulate but immediately notice. This is a five-second check worth building into your shooting habit: glance at the eyes in the LCD preview, confirm the catchlight is where you expect it, and adjust the light position before you keep shooting rather than discovering the problem back at the computer.
The one-light setup — key light in an umbrella at 45 degrees, reflector for fill — is the starting point. The two-light setup adds a second light for background separation, a hair light, or background illumination, and it covers nearly every portrait and product scenario a hobbyist photographer encounters. The second light, placed behind and above the subject and aimed at the back of the head and shoulders, creates a rim of light that separates the subject from the background. This hair light or rim light technique is the single biggest visual jump from a one-light portrait — it adds depth and dimension that the one-light setup lacks. The second light does not need to be expensive — a $65 manual speedlight with a $15 grid or snoot focuses the light into a tight beam that creates the rim effect without spilling onto the background.
For product photography, the two-light setup is a key light from one side and a fill light or reflector from the other, with the camera positioned straight on. The ratio between key and fill — 2:1 for subtle shadows, 4:1 for dramatic contrast — controls the mood of the shot, and adjusting it is as simple as moving the fill light farther away or reducing its power. I use this exact setup for photographing leatherwork, welded pieces, and workshop builds — one LED panel at 45 degrees, a white foam board on the opposite side, and the camera on a tripod with a 35mm equivalent prime lens. The entire setup costs under $200 and produces product images that look professional. The camera that captures those product shots is the same one I use for landscape work, covered in the landscape photography guide, and the skills transfer directly between shooting disciplines.
For more on how lighting tools integrate with the broader camera system, the camera buying guide and the essential camera accessories guide cover body and accessory choices that work with specific lighting setups.
If I were starting from scratch today with $200 in my pocket, I would buy one manual speedlight, one light stand, one shoot-through umbrella, and spend the first month shooting at a north-facing window with a $25 reflector. Master natural light and one off-camera light source, and you have covered 90% of the lighting situations a hobbyist photographer will ever face. Good light on a mid-range body produces better images than bad light on a flagship body — every time, without exception. The light is the foundation. Everything else builds on it.
Natural window light and a $25 white reflector. A north-facing window provides soft, consistent light all day without direct sun. Position the subject at 45 degrees to the window and use the reflector on the shadow side for fill. This setup costs almost nothing and teaches light direction and quality better than any artificial light.
A speedlight for photography, an LED panel for video. A speedlight produces more light per dollar, freezes motion, and works outdoors as fill flash against the sun. An LED panel shows you the light before you shoot, which is better for product photography and learning light placement.
Bounce the flash off a white ceiling or wall instead of pointing it directly at the subject. This turns the entire ceiling into a large soft light source overhead. Use TTL metering and set the flash to about 1/4 power. The result looks like soft window light rather than harsh direct flash.
One manual speedlight like a Godox TT600 ($65), a radio trigger set ($40), a light stand ($30), and a shoot-through umbrella ($20) — about $155 total. This setup provides off-camera flash with control over light direction and quality, and it is the configuration I recommend for learning off-camera lighting.
A 43-inch shoot-through umbrella for $20. It turns a bare speedlight into a soft light source roughly 3 feet across, which softens shadows dramatically compared to bare flash. It is the cheapest way to improve light quality, and the technique works equally well for portraits and product photography.
Yes, when you control its direction and quality. Window light positioned at 45 degrees to the subject with a reflector for fill produces portraits indistinguishable from those shot with studio strobes. The key is not the light source but how you position the subject relative to it.
No for digital photography — the camera histogram and LCD preview replace the light meter for most situations. A handheld light meter is useful in a multi-light studio setup where you need to balance multiple lights to specific ratios, but for one-light and two-light setups, the camera preview is faster and more accurate.
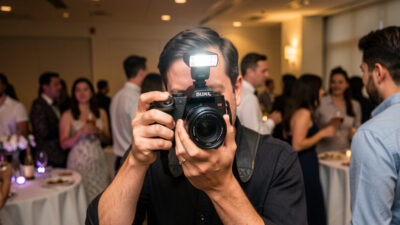
On-camera flash gets a bad reputation it only half deserves. Pointed straight ahead, the built-in…
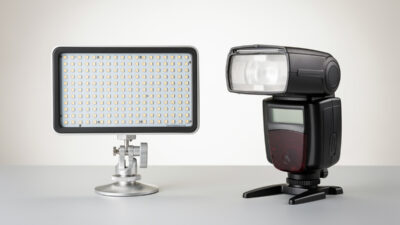
Flash wins for stills — 10 to 15 times more light per dollar, clean base-ISO…
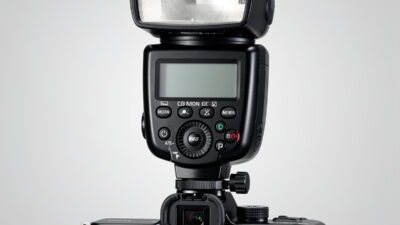
Finding the best speedlights for mirrorless cameras is about matching flash features to your actual…
Leave a Reply