Best Tripods for Mirrorless Cameras: Stability Without the Weight
The best tripod for a mirrorless camera is rated for at least double your heaviest…
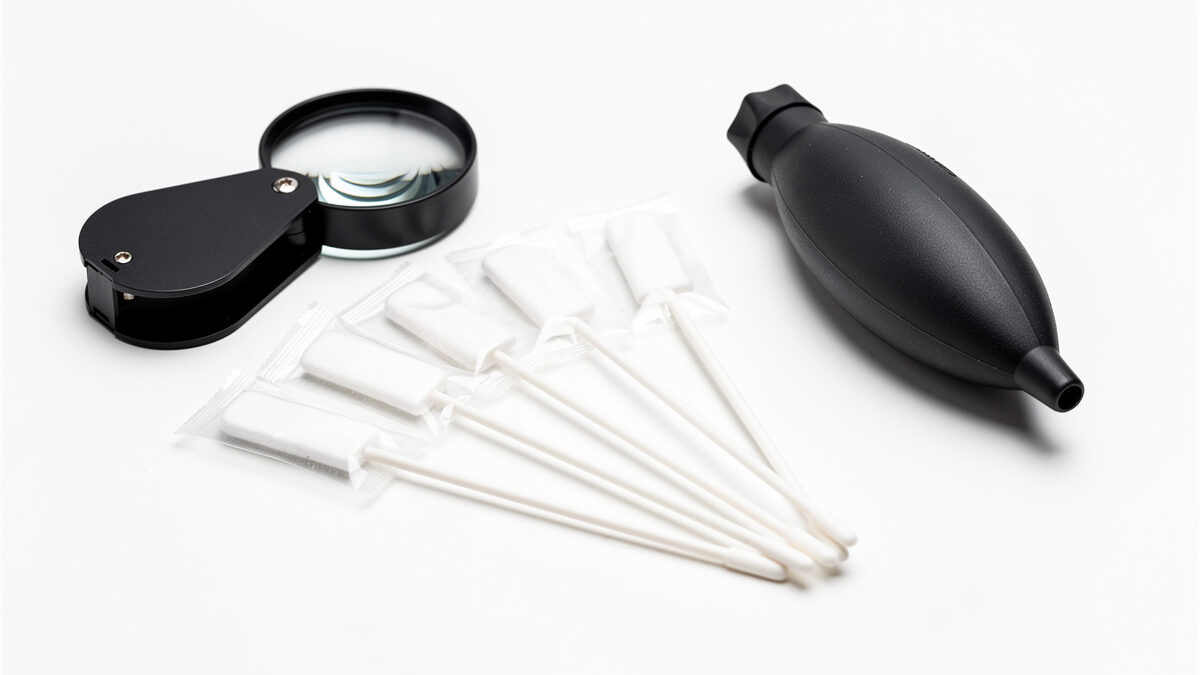
Sensor dust is the silent killer of landscape shots. You will not notice it at f/2.8. Stop down to f/11 and suddenly the sky is dotted with dark spots that take minutes to clone out per image. I have spent hours removing sensor spots from a single landscape shoot — time that a two-minute cleaning session would have prevented. A proper camera sensor cleaning kit costs what a single professional cleaning costs, and it pays for itself on the first use.
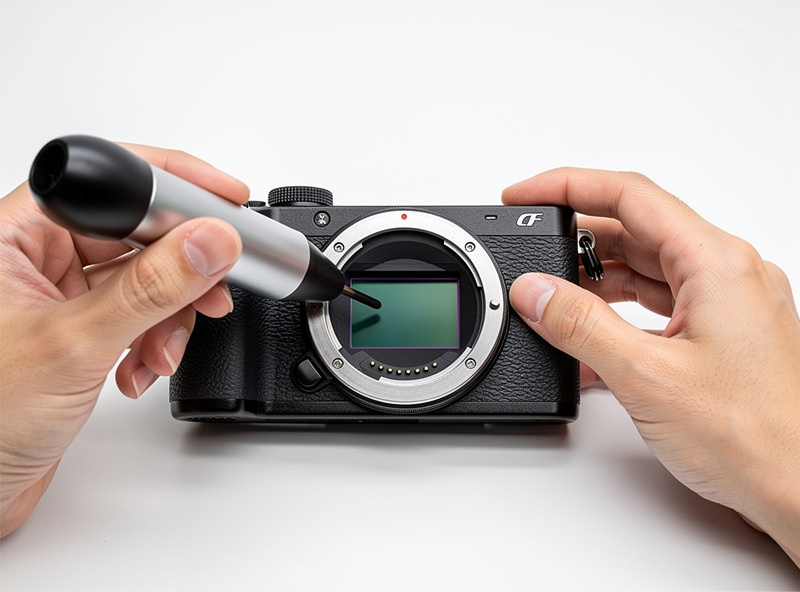
What follows is everything I have learned about keeping a camera sensor and lenses clean after years of shooting landscapes in dusty conditions and documenting workshop projects in environments that are not kind to precision optics. No fear-mongering about damaging the sensor — just the practical cleaning routine that keeps my images spot-free.
The camera sensor is covered by a glass filter stack — not the bare silicon sensor itself. What you clean is glass, and glass is harder to scratch than most beginners fear. Fujifilm’s own X-T5 sensor cleaning documentation covers the glass filter stack that sits over the sensor and walks through blower-first cleaning before recommending manual intervention only for dust the automatic cleaning cycle cannot clear — the same two-stage instinct professional service centers use. The real risk is not scratching the sensor but pushing dust around without removing it, which leaves streaks that are more visible than the original dust. A proper two-stage approach — dry cleaning first, wet cleaning only if needed — removes dust without introducing new problems.
Dry cleaning starts with a rocket blower. Hold the camera with the lens mount facing down so gravity helps dust fall out rather than settle back in. Lock the mirror up or use the sensor cleaning mode in the menu, which exposes the sensor. Give the blower five to six firm squeezes directed at the sensor surface without touching it. This removes loose dust — the kind that moves between frames and causes inconsistent spots. After blowing, take a test shot of a plain white surface at f/22. Inspect at 100% on your computer. If spots remain, proceed to wet cleaning. If the sensor is clean, you are done — and for 60% of cleaning sessions, dry cleaning alone is sufficient.
Wet cleaning uses sensor swabs matched to your sensor size — APS-C, full-frame, or micro four thirds — and sensor cleaning fluid like Eclipse Optic Cleaning Fluid (methanol-based, Photographic Solutions formulation) or VisibleDust Smear Away (synthetic blend, manufacturer-published as safe for sensor coatings including the anti-aliasing filter glass). Apply two drops of fluid to the swab, wait 10 seconds for the fluid to saturate the fabric, and swipe across the sensor in one smooth motion from left to right. Flip the swab and swipe back right to left with the clean side. One pass per side, one swab per cleaning.
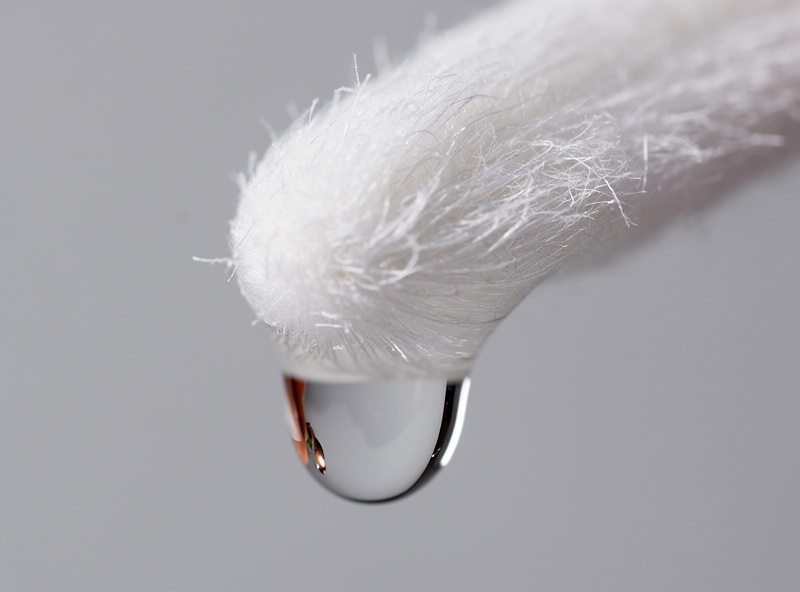
Using more than one swab is acceptable — reusing a swab is not. The swab collects dust and oils, and a second pass with a used swab smears them back onto the sensor.
The first time you do this, your hands will shake. That is normal. Hold your breath during the swipe for stability, and move the swab at a steady walking pace — not slowly enough to leave streaks, not fast enough to skip across the surface. After the third cleaning session, the entire process takes under two minutes, and the money saved versus paying a shop for each cleaning funds a lens or a memory card. The essential camera accessories guide covers how cleaning fits into the broader maintenance workflow.
| Tool | Purpose | Approximate Cost | Priority |
|---|---|---|---|
| Rocket Blower | Removes loose dust without contact | $10 | Essential — buy first |
| Sensor Loupe (7x or 8x) | Inspect sensor for dust and smears | $30 | Recommended — saves trial-and-error |
| Sensor Swabs (size-matched) | Wet-cleaning swabs for stubborn spots | $20 for 12 | Essential — buy with fluid |
| Sensor Cleaning Fluid | Eclipse or VisibleDust formula | $10 | Essential — paired with swabs |
| Sensor Gel Stick | Stamps dust off without fluid | $30 | Optional — effective but technique-sensitive |
| Arctic Butterfly (charged brush) | Electrostatically attracts dust | $80 | Skip — a blower works for 10% of the price |
The essential three — blower, swabs, and fluid — cost about $40 total and handle every sensor cleaning situation. The sensor loupe is a $30 quality-of-life upgrade that lets you inspect the sensor under magnification before and after cleaning, which prevents the trial-and-error loop of clean, shoot, inspect, clean again. I bought a loupe after my second wet cleaning and wish I had bought it before the first. Being able to see exactly where the dust is before you touch the sensor makes cleaning twice as fast.
The sensor gel stick is the contentious tool in the kit. It works by pressing a silicone gel pad against the sensor — the dust sticks to the gel and lifts off with it. It is faster than wet cleaning and leaves no fluid residue, but the technique requires a light touch; pressing too hard transfers gel residue to the sensor, which is harder to remove than the original dust. I used a gel stick for a year before returning to wet cleaning — the consistency was harder to achieve, and when it failed, it failed worse. Wet cleaning with swabs is more forgiving, and for a tool you use every two months, consistency matters more than speed.
Lens cleaning is simpler than sensor cleaning because the front and rear elements are more accessible and more durable. The routine: blow loose dust off with a rocket blower, brush remaining particles away with a lens pen brush in a circular motion from center outward, and clean smudges with a microfiber cloth and a drop of lens cleaning fluid applied to the cloth — never directly to the lens. Fluid applied directly to the lens can seep past the front element seal and reach internal elements, which turns a cleaning job into a repair job.
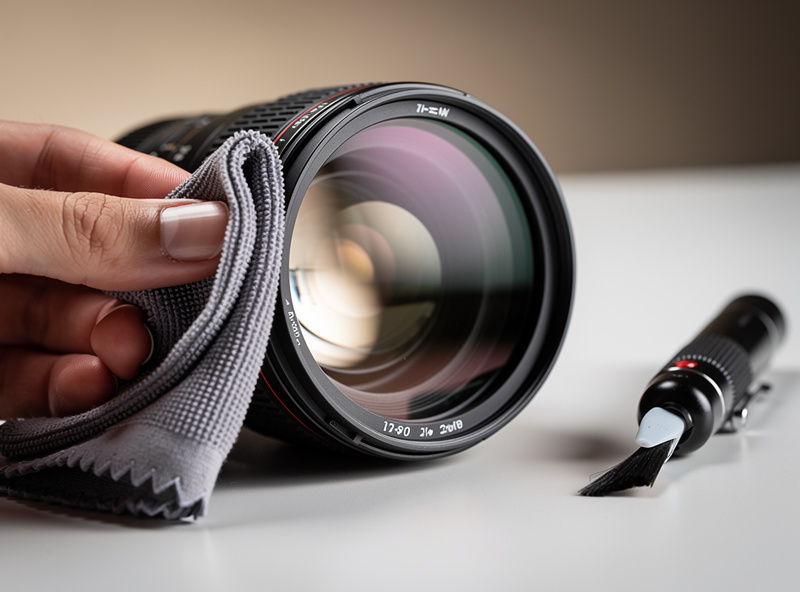
A lens pen is a $10 tool with a retractable brush on one end and a carbon-impregnated cleaning pad on the other. The pad uses carbon powder to absorb oil from fingerprints without scratching the lens coating. A lens pen handles 80% of field cleaning situations and fits in a pocket. For the remaining 20% — dried salt spray, tree sap, stubborn oil — a microfiber cloth with fluid is necessary. I carry both in my bag and use the lens pen for quick field cleans and the cloth-and-fluid combination for the deep clean at home. The macro photography guide covers lens cleaning for close-up work where dust and pollen are constant threats.
A UV filter on every lens is a polarizing topic among photographers. The optical argument against them is legitimate — any additional glass in the light path can introduce flare, reduce contrast, or create ghosting in backlit scenes. The practical argument for them is equally legitimate — a scratched front element costs $200 to $400 to replace, and a scratched filter costs $30. For lenses used in dusty, sandy, or wet environments, a UV filter is cheap insurance.
My rule: a high-quality UV filter from B+W or Hoya on any lens I shoot outdoors in adverse conditions. B+W’s own published spec for its MRC multi-coating puts light transmission above 99.5%, which is why on my copies the optical impact of a quality protective filter only shows up in extreme backlight — a cheap uncoated filter is a different story. No filter on the lens I use for studio product photography or controlled indoor work. The filter is a tool for specific conditions, not a default accessory for every lens. When I am documenting a workshop build — welding, grinding, sawdust — the filter stays on. When I am shooting in clean studio light, it comes off. The decision is about the shooting environment, not the lens. A $40 UV filter that prevents a $300 front element replacement is a good trade. A $40 UV filter that introduces flare into every backlit portrait is a bad trade. Use it where it protects, remove it where it degrades.
The cheapest sensor cleaning is the one you never have to do, and most sensor dust traces back to a handful of avoidable habits rather than bad luck. Changing lenses in the field is the single biggest culprit — every lens swap is a window where dust, pollen, and sand can drift straight onto an exposed sensor, and the habit that reduces this risk costs nothing: point the camera mount downward during the swap, work quickly, and do it with your back to the wind rather than facing into it. I learned this shooting garden and workshop documentation where sawdust and pollen are constantly in the air, and the difference between swapping lenses with the wind at your back versus in your face is the difference between a clean sensor and a five-minute cleaning session that night.
A body cap and rear lens caps matter more than people give them credit for. Every minute a body sits in a bag without a lens mounted and without the body cap on is a minute the sensor is exposed to whatever is floating around inside that bag — a bag that has carried a sandwich, a rain jacket, and a handful of loose gear accumulates more airborne debris than you would expect. I keep a cap on every unmounted body as an absolute rule, the same way I never leave a lens uncapped on either end when it is not actively mounted. Zoom lenses are a particular offender here because their internal barrel design pumps air in and out as you zoom, which can pull dust from inside the barrel toward the mount over years of use — not something you can fully prevent, but another reason a periodic sensor check pays for itself even if you have not changed a lens in weeks.
A consistent cleaning schedule prevents the buildup that becomes harder to clean later. I clean my sensor every two months or before any shoot where I will be above f/8 — whichever comes first. I clean lenses whenever I notice reduced contrast or visible smudges, which works out to about once a month for frequently used lenses. I inspect the sensor before every landscape trip by shooting a white wall at f/22 and checking at 100% on the computer — a five-minute check that saves hours of spot removal in post-processing. The landscape photography guide covers the aperture ranges where dust becomes visible and how to test for it in the field.
If you shoot in a dusty environment — and I do, because the same camera that shoots landscape also documents workshop projects and garden beds — clean more frequently. Dust accumulates faster than you expect, and the first sign is almost always a landscape shot at f/11 where the sky reveals spots you did not know were there. Prevention through regular cleaning costs less time than removal through post-processing, and it produces images that do not need to be rescued in software.
It is possible but unlikely with proper tools. The sensor surface is a glass filter stack, not bare silicon. Using sensor-specific swabs and fluid, with a gentle single-pass swipe, is safe. The greater risk is not cleaning at all and accumulating dust that becomes visible at small apertures and requires extensive post-processing to remove.
Shoot a plain white surface at f/22 at base ISO. Inspect the image at 100% on a computer screen. Dark spots that appear in the same position across multiple frames are sensor dust. Spots that move between frames are on the lens. If spots are visible at f/8 and above, clean immediately.
Dry cleaning uses a rocket blower to remove loose dust without touching the sensor — it is the first step in every cleaning session. Wet cleaning uses sensor swabs with fluid to remove stuck particles and oil residue that a blower cannot dislodge. Dry first, wet only if dust remains after the blower.
No. A UV filter is protective insurance for lenses used in dusty, sandy, or wet conditions. For controlled indoor or studio photography, the filter adds unnecessary glass that can introduce flare and reduce contrast. Use a filter where it protects, remove it where it degrades image quality.
Clean lenses whenever you notice reduced contrast or visible smudges — typically once a month for frequently used lenses. A rocket blower and lens pen handle most field cleaning. Deep cleaning with fluid and a microfiber cloth should be done at home in a controlled environment, not in the field in wind or dust.
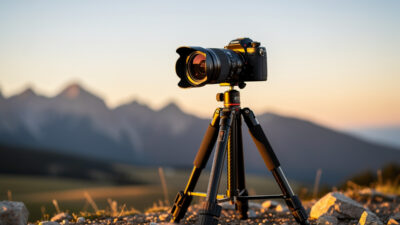
The best tripod for a mirrorless camera is rated for at least double your heaviest…
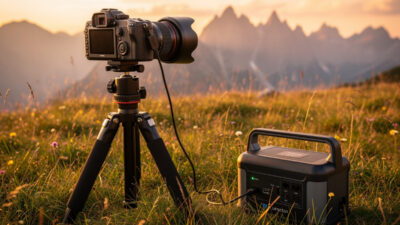
Stock camera batteries cover one day, a 100Wh USB-PD power bank covers two to three,…
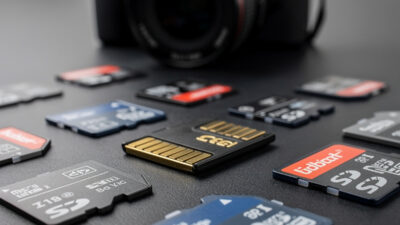
A $30 memory card holds images worth hundreds of dollars in travel and hours of…
Leave a Reply