Food Photography for Beginners: The Whole Workflow
Food photography for beginners comes down to three levers, in this order: light, angle, and…
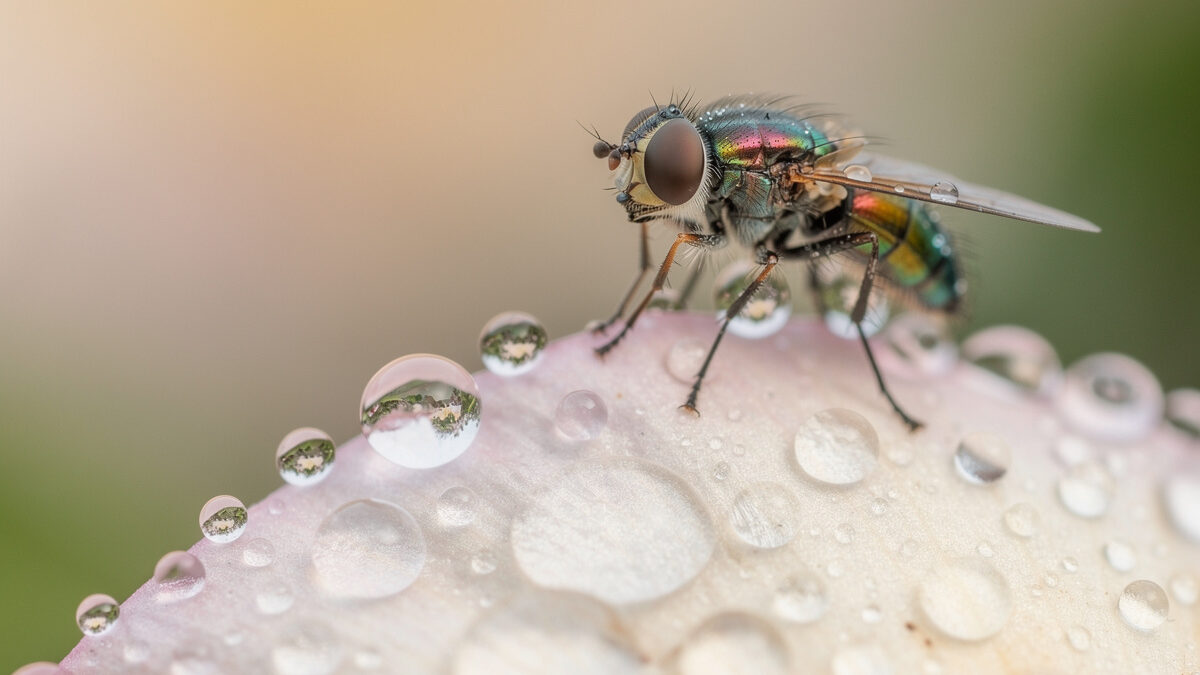
Macro photography captures subjects at 1:1 magnification or greater, filling the camera frame with objects as small as insects, flower petals, and water droplets. A dedicated macro lens with 1:1 reproduction ratio focuses close enough to photograph subjects at life-size on the sensor. For a full frame sensor measuring 36x24mm, a 1:1 macro captures detail invisible to the naked eye — individual pollen grains, compound eye facets, and microscopic surface textures.
Macro photography requires specialized equipment and technique beyond standard photography. The depth of field at 1:1 magnification is under 2mm at f/5.6, requiring focus stacking for sharp results. Wind moves flowers at magnification, demanding fast shutter speeds or patience. Insects flee from vibration, requiring silent electronic shutters and slow approach techniques. Mastering macro photography opens an entirely new world of visual subjects.
I learned this the hard way on my Fuji X-T5 — three wasted mornings chasing dragonflies before I figured out the approach angle matters more than the lens you’re holding. What follows is the macro workflow I’ve settled on after burning through a few hundred failed frames and two sets of extension tubes, shooting on both my 40MP X-T5 and my Sony a7 IV as a full-frame reference. If you walk away with one thing from this guide, make it this: the light and your approach determine the shot far more than which macro lens is mounted.
A true macro lens with 1:1 magnification is the foundation of macro photography. The 100mm focal length is the most versatile — it provides comfortable working distance (15-30cm from the subject) that does not spook insects while producing sharp, detailed images. The Nikon Z MC 105mm f/2.8 VR S ($1,000), Canon RF 100mm f/2.8L Macro IS USM ($1,400), and Sony FE 90mm f/2.8 Macro G OSS ($1,100) are the top three options. I do most of my handheld macro work with my X-T5 and a set of extension tubes behind the XF 56mm f/1.2 — the 40MP sensor shows every vibration, so I lean hard on flash at anything under 1/250s.
Shorter macro lenses (60mm) require you to be 10cm from the subject, which frightens insects and casts your shadow on the scene. Longer macro lenses (150-200mm) provide more working distance but cost more and weigh more. The 90-105mm range balances working distance, size, and price for most macro subjects.
A tripod with a center column that tilts horizontally is essential for focus stacking. The tripod holds the camera at the precise angle needed while you adjust focus in tiny increments. Ball heads are too imprecise for macro — use a geared head (Manfrotto 405, $350) or a macro focusing rail ($50-150) that slides the camera forward and backward in 1mm increments. I run a $60 rail on my carbon travel tripod — the 1mm tick marks let me step through a 20mm depth for a focus stack in under two minutes, which matters when morning light is shifting fast.
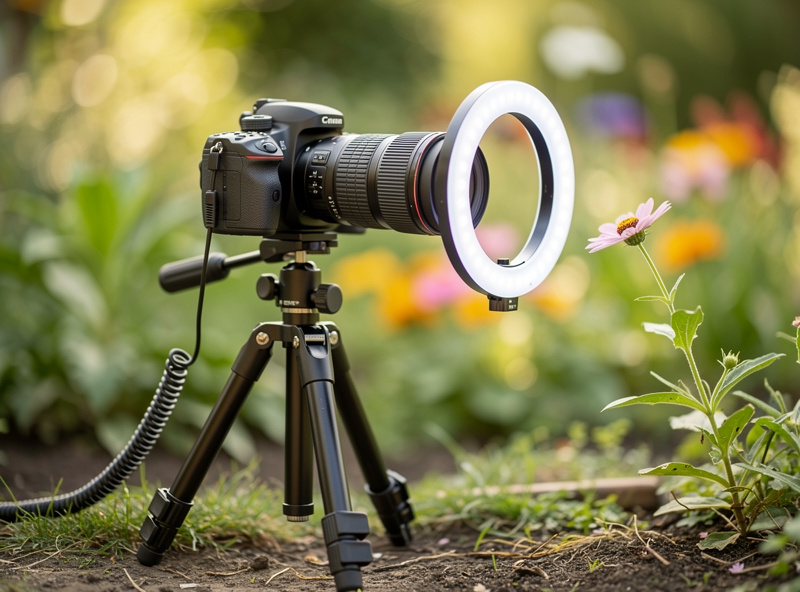
Lighting determines macro image quality more than any other factor. Ring lights mount on the lens front and provide even, shadowless illumination for flowers and stationary subjects. Twin flash units (Canon MT-26EX-RT, $800; Nikon R1C1, $600) position two small flash heads on flexible arms around the subject for directional, natural-looking light. A simple $30 LED panel works for beginners learning macro technique.
Extension tubes ($30-200) and close-up diopters ($30-150) offer budget entry into macro photography without buying a dedicated macro lens. Extension tubes mount between the lens and body, reducing minimum focus distance. They add magnification to any lens but lose infinity focus and reduce light by 1-2 stops. Close-up diopters screw onto the lens filter thread like a magnifying glass — they are simpler but add optical aberrations.
Focus stacking combines 10-100 images taken at slightly different focus distances into a single composite image where the entire subject is sharp. At 1:1 magnification, the depth of field at f/8 is approximately 3mm — too thin to render a 15mm insect sharp from head to tail in a single shot. Focus stacking solves this by capturing the head sharp in one frame, the thorax in the next, and the abdomen in a third.
I’ll walk you through my manual stacking workflow next — because the in-camera automated method on my X-T5 has a catch I wasn’t expecting the first time I trusted it for a 20-frame sequence.
Manual focus stacking involves shooting on a tripod, manually turning the focus ring 1-2mm between each exposure, and combining the images in software (Helicon Focus or Zerene Stacker). A 30-frame stack takes 5-10 minutes to shoot and 30 seconds to process. The result is a tack-sharp image across the entire subject that no single frame achieves.
I made the classic beginner error my first season: stopping down to f/22 thinking more depth of field would fix everything. The resulting shots looked soft across the frame — diffraction chewed up the fine detail I was trying to capture. Once I switched to f/5.6 and learned stacking, the difference was night and day. Even a 6-frame handheld stack at f/5.6 on my X-T5 out-resolves a single f/22 shot on any lens I’ve tested on my chart.
Automated focus stacking is available on many 2024-2026 cameras, but “automated” means different things depending on the brand. The OM System OM-1 Mark II shoots up to 15 focus-stacked frames and stitches the composite in-camera automatically. Canon’s R5 Mark II also does true in-camera depth compositing — it shoots the bracketed sequence and assembles the final stacked JPEG itself in about 30 seconds, no computer required. My own X-T5 doesn’t do that: it only shoots the focus-bracketed sequence (up to 999 frames, spacing set automatically) and hands you the raw files — you still merge them in Helicon Focus or similar software afterward. I learned that distinction the annoying way, expecting a finished composite on the back of the camera and getting a folder of 20 unstacked frames instead. Know which one your body actually does before you’re relying on it in the field.
Use f/5.6 to f/8 when focus stacking — the sharpest aperture range for most macro lenses. Stopping down to f/16 or f/22 increases depth of field but introduces diffraction softening that reduces overall sharpness. Focus stacking at f/5.6 produces sharper results across a 20mm depth than a single shot at f/22 because diffraction never degrades the image.
Insects are the most challenging macro subjects because they move. Approach slowly from the side (not from above, which triggers flight response). Shoot early morning when insects are cold and sluggish. Dew-covered insects at dawn are the ultimate macro subjects — the water droplets add sparkle and the insect’s reduced metabolism allows close approach.
Flowers are the most accessible macro subjects because they do not move. Overcast days provide soft, even light that reveals petal texture without harsh shadows. Backlighting a translucent flower petal with the sun behind it creates a glowing effect that showcases veins and cellular structure. Wind is the main challenge — use a $10 plant clamp to hold stems steady.
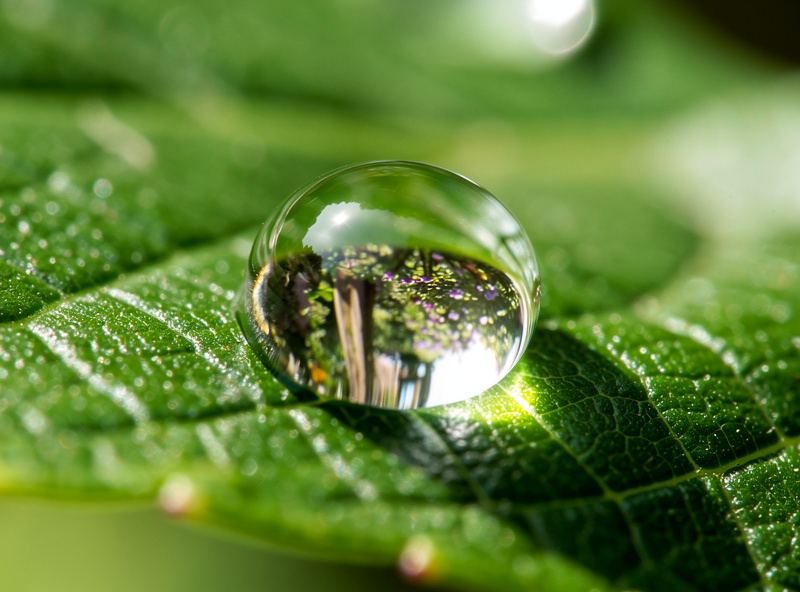
Water droplets and rain create abstract macro compositions. A single droplet on a leaf surface reflects the surrounding environment as a tiny fish-eye image. Freezing the splash of a water drop hitting a pool requires flash duration under 1/10,000 second — achieved with off-camera flash at minimum power. This technique produces crown-shaped splash patterns that last 1-2 milliseconds.
Product and food macro photography uses the same techniques in a controlled environment. Watchmakers, jewelers, and electronics manufacturers photograph their products at 1:1 to 5:1 magnification for catalogs and e-commerce. The controlled environment allows precise lighting setup without wind, vibration, or subject movement challenges.
Shoot in manual mode or aperture priority with exposure compensation. Auto modes make poor decisions at macro distances because the metering system was designed for normal shooting distances. Manual mode gives you full control over the exposure triangle.
Use f/5.6 to f/8 for single-shot macro — the sharpest aperture range that provides adequate depth of field. Use f/4 or wider when focus stacking to maximize per-frame sharpness and speed up the stacking process (fewer frames needed). Avoid f/16 and smaller apertures where diffraction degrades sharpness.
Set shutter speed to 1/250 second or faster for handheld macro. At 1:1 magnification, camera shake is amplified — a vibration that is invisible at normal distances becomes a blur at macro scale. Use flash to freeze motion when ambient light requires shutter speeds below 1/125 second. Flash duration at 1/10,000 second freezes even fast-moving insects.
Set ISO as low as possible (100-400) because macro images are viewed at extreme magnification where noise is visible. Use flash to maintain low ISO rather than raising ISO to achieve faster shutter speeds. The noise penalty of ISO 3200 is visible in macro prints that would be invisible in a landscape image at normal viewing distance.
Use single-point autofocus on the subject’s eye or most important feature. Continuous autofocus hunts at macro distances — switch to single-shot AF and recompose, or use manual focus with focus peaking enabled. Focus peaking highlights in-focus edges with colored outlines, making manual focus at macro distances precise and fast. I keep focus peaking set to red (high) on my X-T5 — it’s the quickest visual confirmation I’ve found for nailing focus on insect eyes, more responsive than the blue peaking on my a7 IV.
| Method | Magnification | Cost | Image Quality | Working Distance | Best For |
|---|---|---|---|---|---|
| Dedicated macro lens (100mm) | 1:1 | $400-1,400 | Excellent | 15-30cm | All macro subjects |
| Extension tubes + kit lens | 0.5-1.5:1 | $30-200 | Good | 5-15cm | Budget macro |
| Close-up diopter filter | 0.25-1:1 | $30-150 | Adequate | 10-20cm | Occasional close-ups |
| Reverse lens adapter | 1-3:1 | $10-30 | Variable | 2-5cm | Extreme magnification |
| Microscope objective + adapter | 5-20:1 | $100-500 | Excellent | 1-3mm | Microscopic subjects |
If I were starting macro photography today with $200 and the body I already own, I’d buy a set of extension tubes and a $30 LED panel, then spend the rest on gas to get to a meadow at dawn. The gear matters, but the light and the approach — getting low, moving slow, shooting when insects are cold and flowers are still — matter more. Every keeper macro shot I’ve printed started with a subject I sat next to for 10 minutes, not a piece of glass I bought. For a deep dive into lighting macro subjects with controlled reflections, check out my vinyl record macro lighting guide — the same techniques apply to any glossy surface.
A dedicated macro lens with 1:1 reproduction ratio is ideal. The 90-105mm focal length range provides comfortable working distance for insects and flowers. Budget alternatives include extension tubes ($30-200) added to your existing lens or close-up diopter filters ($30-150). These reduce image quality but offer macro capability without a new lens purchase.
Yes, with accessories. Extension tubes mount between your regular lens and camera body, reducing minimum focus distance and adding magnification. A 50mm lens with a 25mm extension tube achieves approximately 0.5:1 magnification. Close-up diopter filters screw onto the lens like a magnifying glass. Neither matches a dedicated macro lens in sharpness or convenience.
f/5.6 to f/8 is the sharpest aperture range for most macro lenses. This provides 2-4mm of depth of field at 1:1 magnification. For more depth of field, use focus stacking at f/5.6 rather than stopping down to f/16-f/22 where diffraction softens the image. When using flash, f/8 provides enough depth for many single-shot insect photographs.
Mount the camera on a tripod, set manual focus, and take a series of photos while shifting focus 1-2mm between each shot. Start focused on the nearest point of the subject and end on the farthest point. Import all frames into Helicon Focus or Zerene Stacker software, which automatically blends the sharpest areas from each frame into one image.
Blur at macro distances comes from three causes: camera shake (use 1/250s or faster, or flash), insufficient depth of field (use f/5.6-f/8 or focus stacking), and missed focus (use single-point AF on the subject’s eye or manual focus with focus peaking). At 1:1 magnification, even breathing causes the camera to move enough to shift focus — brace yourself or use a tripod.
True macro photography achieves 1:1 magnification or greater — the subject is reproduced at life-size or larger on the sensor. Close-up photography captures subjects at less than 1:1 magnification, filling more of the frame than normal but not at life-size. Most close-up shots use 0.25-0.5x magnification and can be captured with any lens at minimum focus distance.

Food photography for beginners comes down to three levers, in this order: light, angle, and…
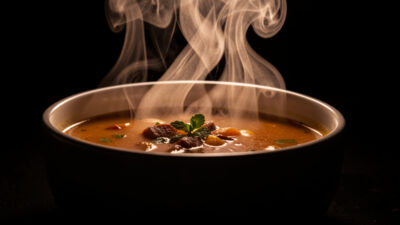
You can make food look freshly served without lying about it: backlight real steam against…
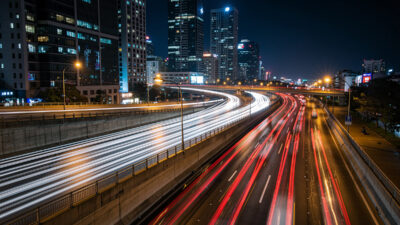
What Camera Settings Work Best for Night Photography? For night photography, use manual mode with…
Leave a Reply