Macro Focus Stacking on a Rail vs. Moving the Camera
Past about life-size magnification your total depth of field collapses to roughly half a millimetre…
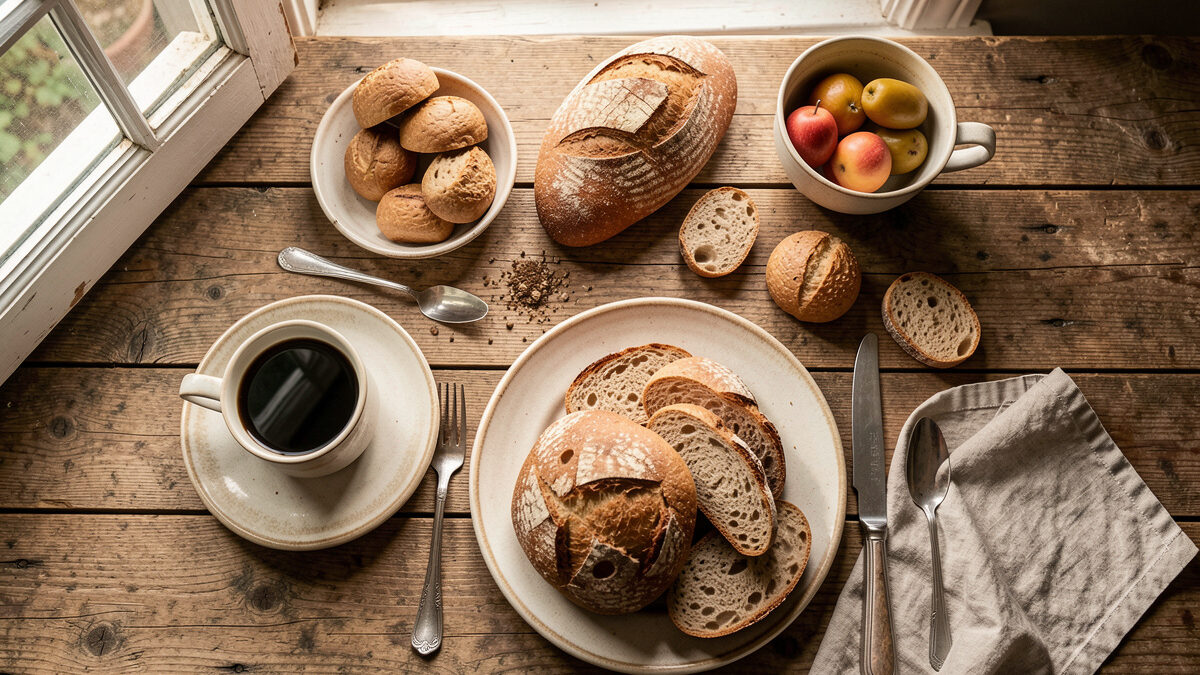
Food photography for beginners comes down to three levers, in this order: light, angle, and lens. Get north-facing window light, pick between an overhead or 45-degree angle to match the dish, and shoot a short macro or a 50mm-equivalent prime. Nail those and a $12 plate of pasta out-photographs a restaurant’s phone snap every time.
I came to food photography sideways. I shoot lenses for a living on this site — charting aperture sweeps on a test wall, chasing coma and field curvature — but the camera that does that work also documents every other project in my workshop, and the one subject that refused to look good with gear alone was food. My first serious attempt was a sourdough loaf I’d babied for three days. I shot it on my Fujifilm X-T5 under the kitchen’s ceiling LED, wide open on the XF 35mm f/1.4, and the crumb looked grey and dead. Forty megapixels of resolving power and it was inedible-looking. The fix had nothing to do with the sensor. It had everything to do with the window I was standing three feet away from and never used.
That lesson is the spine of this guide. Beginners reach for a new body or a faster lens when the actual bottleneck is a $0 north window and a piece of white foam board. Below I’ll walk the whole workflow the way I shoot it — light first, then angle, then glass, then styling, then the edit — and point you to the deep-dive on each step. This is the map; the spokes are the terrain.
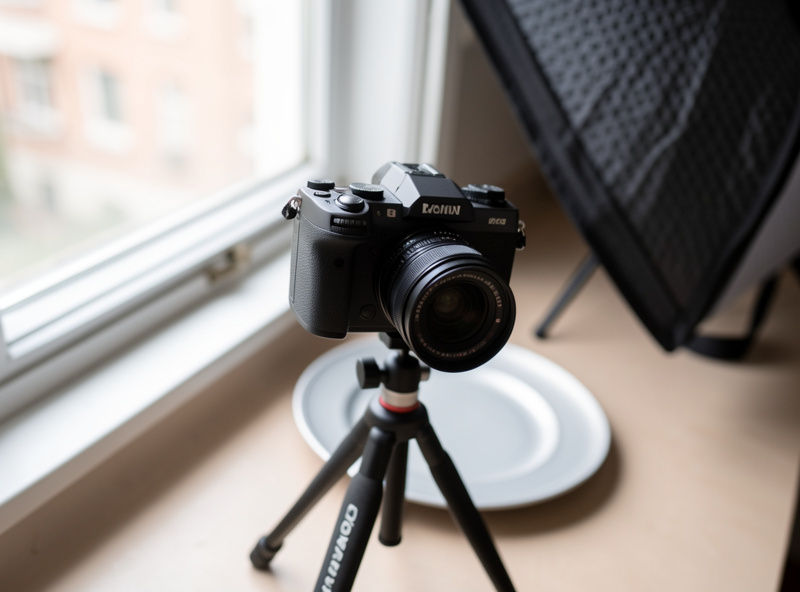
Less than you think. A camera with manual white balance, one prime lens in the 35–60mm range, a north-facing window, and a piece of white foam board. That kit — often under $500 used — covers 90% of the food images you see online. The sensor barely matters; a 24MP body from 2018 prints a menu shot beautifully.
Here’s the reframe I wish someone had handed me: food photography is a lighting-and-styling discipline that happens to use a camera. The gear obsession that drives most of what I write about elsewhere — micro-contrast, MTF curves, which copy of a lens is sharper wide open — is almost irrelevant at the plate. A dish is a static subject on a table. You control the light, the angle, the background, the moment. That control is the whole game, and control is cheap.
What you do need is discipline about light. Overhead kitchen bulbs are the enemy: they’re usually warm tungsten (around 2700–3200 Kelvin), they come from directly above so the food casts a flat shadow into its own plate, and they mix badly with any daylight leaking in. My kitchen-LED sourdough failed on all three counts. Kill the overheads, turn to the window, and the same loaf comes alive. I break the whole light discussion down in window light for food, because it’s the single highest-leverage skill here.
Window light is large, soft, directional, and free — the exact qualities that flatter texture and color on a plate. A north-facing window (in the northern hemisphere) gives you consistent, shadowless-but-shaped daylight around 5000–6000K all day, no bulb to buy, no color cast to fight. It’s the cheapest professional-grade light there is.
The physics is simple: the bigger the light source relative to the subject, the softer the shadows. A window a couple of feet from a plate is enormous relative to that plate, so it wraps the food in gentle gradation instead of the hard, ugly shadow a bare bulb or on-camera flash throws. Softness is what makes a strawberry look like a strawberry and not a red blob.
Direction is the other half. Light coming from the side or the back of the dish rakes across the surface and reveals texture — the blistered crust of bread, the sheen on a sauce, the sugar crystals on a doughnut. Front light (the pop-up flash, the phone torch) flattens all of that into cardboard. On my own table I put the window at roughly 45 to 90 degrees to the camera and let the shadow side fall dark, then bounce a whisper of it back with foam board. If your kitchen only has a south window that blasts hard sun, you diffuse it with a cheap 5-in-1 collapsible diffuser or even a white bedsheet taped over the glass. Full walkthrough — direction, diffusion, and how to control the shadow side — lives in the window light guide.
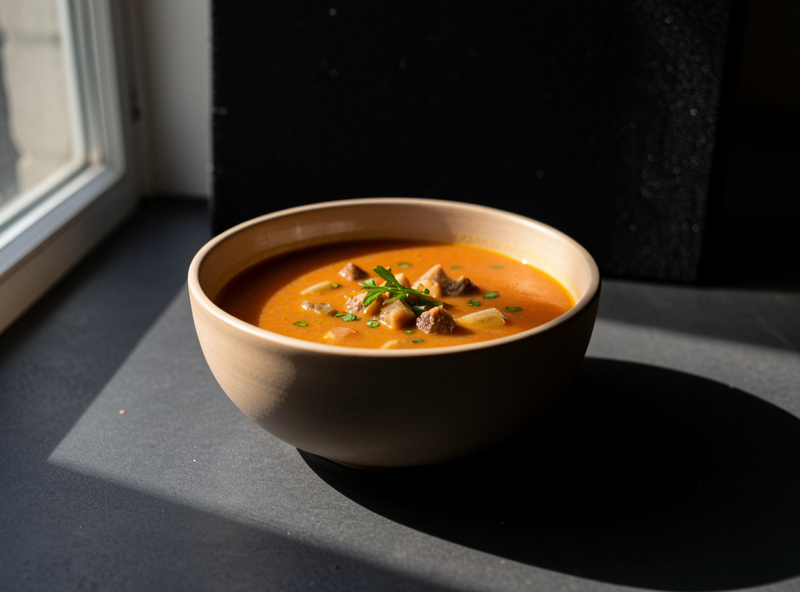
Match the angle to the food’s geometry. Shoot flat, spread-out dishes (pizza, a cheese board, a breakfast spread, anything where the story is on top) from directly overhead at 90 degrees. Shoot tall, layered dishes (a burger, a stacked cake, a bowl of ramen with height) from around 45 degrees so you see the side and the depth. Getting this wrong is the most common beginner miss I see.
Think about what the camera can see. A pizza has no meaningful side — its whole personality is the top, so an overhead flat-lay shows every topping and reads instantly. A layered slice of cake photographed from overhead becomes a sad circle; drop to 45 degrees and every stratum of sponge and cream is right there. When I photograph a bowl of soup I usually split the difference and shoot slightly higher than 45 so the liquid surface reads without going full overhead and losing the bowl’s form.
The overhead angle also brings a hazard: your own shadow, and the tripod’s. Shooting straight down means the camera — and you — sit between the window and the food unless you plan the geometry. I keep the window to the side so my rig never blocks it, and I use a tripod arm that lets the camera hang out over the table. The full decision tree, plus how to keep your body out of the frame, is in overhead vs. 45-degree food shots.
A short macro or a normal prime in the 35–60mm range (full-frame equivalent) is the sweet spot. On my APS-C X-T5 that’s the XF 35mm f/1.4 (≈53mm equivalent) for full-table scenes and a macro when I want the crumb or the sugar crystals filling the frame. Skip ultra-wides — they distort the plate — and skip long teles for tight tables. Perspective, not sharpness, is what you’re choosing.
Focal length changes how the food sits in space. A wide 24mm-equivalent stretches the nearest edge of the plate and bends straight table lines — a plate photographed too wide looks like it’s falling toward you. A 50mm-equivalent renders the plate the way your eye expects, with honest proportions. A short macro (something in the 60–90mm-equivalent range) compresses just slightly and, more importantly, focuses close enough to fill the frame with texture. My XF 35mm f/1.4 is my do-most-things food lens; when I want the blistered holes of a sourdough crumb edge to edge, I reach for a macro.
One trap: don’t shoot everything wide open. That XF 35mm at f/1.4 gives a depth of field so shallow that one raspberry is sharp and the rest of the tart is mush. For a plate I usually stop down to f/4–f/5.6 so the whole dish holds, then let the background fall soft. Depth of field is the lever here, and it’s worth understanding how aperture and distance trade off before you blame the lens. My full reasoning on glass — why a short macro or a 50mm, and where each one wins — is in best lens for food photography.
Negative fill, a good surface, and three honest props beat a cabinet of expensive dishware. A black foam board on the shadow side (negative fill) adds depth for $4; a weathered wood board or a sheet of textured paper gives you a background; a linen napkin, a fork, and a few loose crumbs tell the story. Restraint reads as intentional; clutter reads as amateur.
Styling is really composition plus editing-in-camera. The surface sets the mood — cool marble for bright, clean dishes; dark, scarred wood for rustic, moody ones. Props should support the food and imply a human just stepped away: a half-folded napkin, a spoon resting in the bowl, a scatter of the same ingredient that’s in the dish. I keep a shoebox of thrift-store cutlery and two cutting boards, and that’s genuinely most of my “prop kit.”
Negative fill is the trick nobody tells beginners about. Everyone talks about adding light with a reflector, but on the shadow side of a food shot you often want to subtract — put a black card there to deepen the shadow and give the food form and weight. On my table a black flag on the near side is what separates a flat snapshot from something with dimension. The whole cheap-styling system — props, surfaces, and negative fill — is in food styling on a budget.
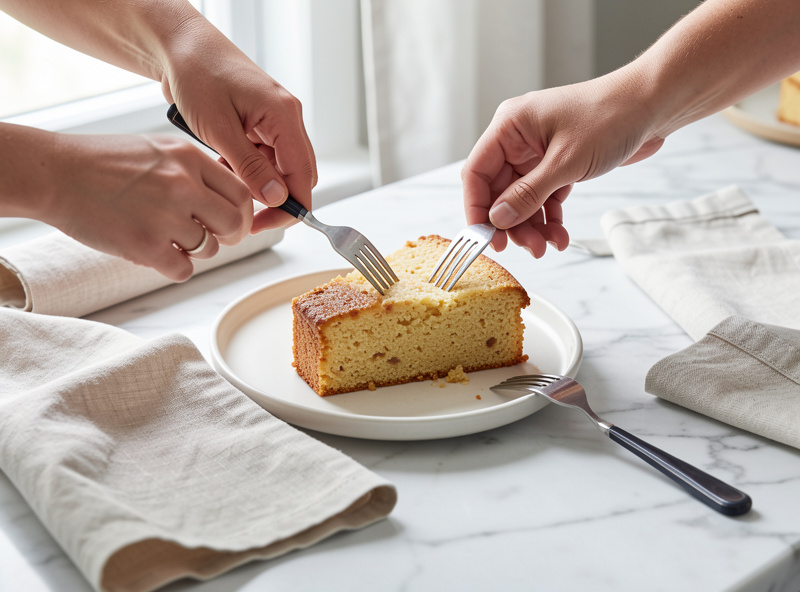
Rake the light hard across the surface and get close. Texture — the open crumb of good bread, the crust blister, the sugar on a doughnut — only appears when light skims the surface at a low angle, throwing tiny shadows into every hole and ridge. Front light erases it. Side or back light plus a macro focal length is the recipe, and it’s where food photography and my sourdough obsession finally meet.
This is the shot that started me caring about food photography at all. A well-fermented crumb is a landscape of irregular holes with translucent, gelatinized walls, and it photographs like terrain: it needs a low, raking key light to carve out those holes and a lens that resolves the fine gluten strands. I cut the loaf, place the cut face nearly parallel to a low window, and let the light graze it. The difference between flat overhead light and a raking side light on the same crumb is the difference between grey oatmeal and something you can almost taste. My full texture method — for bread, and for anything with surface — is in how to photograph the sourdough crumb.
Yes — and the honest tricks are the ones worth learning. Real steam is faint and vanishes in a second; backlighting it against a dark background is what makes it show. A light mist of water on greens or fruit reads as “just washed.” A dab of oil brings a dull sauce back to life. None of these lie about the food — they restore on camera what your eye sees in person but the sensor flattens.
The line I won’t cross is inedible fakery — I’m not spraying motor oil on pancakes for a syrup stand-in or gluing anything. But a spritz of water from a cheap mister, a warm dish backlit so its real steam catches the light, a brush of neutral oil to wake up a matte surface: those are legitimate. The key with steam is direction and background — it has to be backlit against something dark or it’s invisible. The full honest-appetite toolkit, and where I draw the line, is in steam, drips, and freshness.
Start with white balance — it makes or breaks appetite appeal. Food shot under mixed or tungsten light comes out sickly yellow-green, and no amount of contrast saves it. Shoot RAW, set white balance in Lightroom off a neutral point, then nudge slightly warm; edible food usually wants to sit just a touch warmer than technically “correct.” Get color right and the edit is 80% done.
I shoot RAW into Lightroom Classic on a calibrated monitor for exactly this reason: white balance is a slider in RAW and a compromise in JPEG. I’ll click the eyedropper on a white plate rim or a neutral prop, then warm the temperature a few hundred Kelvin because a clinically neutral sauce looks dead — appetizing food skews warm. From there it’s modest contrast, a careful lift of the shadows I deliberately let go dark, and restraint on saturation (over-saturated food looks plastic and, weirdly, less tasty). The reference I still send people to on this is Cambridge in Colour’s primer on white balance and color temperature. My exact edit-for-edible workflow is in editing food photos.
Here’s how the five levers stack up — where each one lives on the priority list, what it costs, and which spoke goes deep. If you’re starting today, work down this table top to bottom; light and angle cost nothing and move the image the most.
| Lever | Beginner priority | Typical cost | Biggest mistake | Deep dive |
|---|---|---|---|---|
| Light (window) | Highest — do first | $0 | Using overhead kitchen bulbs | Window light for food |
| Angle | High | $0 | Overhead on tall food, 45° on flat food | Overhead vs. 45° |
| Lens | Medium | $150–600 used | Ultra-wide distortion; shooting wide open | Best lens for food |
| Styling | Medium | $0–30 | Cluttered props; no negative fill | Food styling on a budget |
| Texture technique | Situational | $0 | Flat front light on crumb/crust | Sourdough crumb & texture |
| Freshness cues | Situational | $0–10 | Steam not backlit; over-oiling | Steam, drips & freshness |
| Editing | Final step | $0 (Lightroom sub) | Wrong white balance; over-saturation | Editing for edible color |
Light, angle, lens, styling, edit — in that order. Spend your first month on window light alone; it moves the image more than any purchase. Add angle discipline next, then a single good prime, then a few props, and only then worry about the edit. Most beginners invert this — they buy a lens first and wonder why their photos still look flat under a ceiling bulb.
The reason the order matters is compounding. Good light makes a mediocre lens look great; a great lens can’t rescue bad light. I’ve watched people spend $1,200 on a lens to fix images that a free window and a $4 foam board would have fixed instantly. My X-T5 and a7 IV are lovely bodies, but on the food table they’re just capable boxes — the window is doing the real work. Learn to see the light first and everything downstream gets easier.
The sensory tell that you’re getting it: when you turn off the overheads and rotate the plate so the window rakes across it, you’ll hear yourself go “oh.” The sauce suddenly has a highlight that slides as you move; the crust throws little shadows; the greens go from grey to alive. That moment — the plate catching the light — is the whole hobby in one second, and it costs nothing.
Manual mode, base ISO, a small aperture, and a tripod. Set ISO to your sensor’s base (ISO 125 on my X-T5, ISO 100 on the a7 IV) for the cleanest color and most detail, pick f/4–f/5.6 for depth, and let the shutter fall wherever it needs to — on a tripod, a static plate doesn’t care if the exposure is one second. Food is the one subject where you have all the time in the world.
This is the freedom beginners don’t realize they have. Because the dish isn’t moving, everything that makes fast-action photography stressful evaporates. There’s no need to crank ISO to freeze motion, no need to shoot wide open to gain shutter speed. Lock the camera down, drop to base ISO, and expose to the right — push the histogram as far toward the highlights as you can without clipping the brightest specular highlight on a sauce, because that ETTR habit protects color and keeps the shadows clean when you lift them later. I meter off the histogram, not the meter needle; food scenes fool the meter constantly because a dark wood background drags the average down and tricks it into overexposing the food.
Two settings save more shots than any other. First, a two-second self-timer or a remote release, so pressing the shutter doesn’t shake a one-second exposure. Second, manual white balance set to “daylight” while shooting so the preview roughly matches reality — I still fine-tune in RAW, but a wildly wrong in-camera preview makes it impossible to judge styling on the back of the screen. I learned that the hard way styling a whole board of food to a green-tinted preview, then finding in Lightroom that my “balance” of colors was built on a lie the screen told me.
Use the frame like any other photograph: place the hero off-center on a thirds line, leave deliberate negative space, and let cutlery or a napkin edge lead the eye in. Odd numbers of objects (three cookies, five berries) read as more natural than even ones. Composition is where food photography stops being documentation and starts being a picture.
The overhead flat-lay has its own grammar. Think of the frame as a design surface: the main dish anchors one third, secondary elements (a smaller bowl, a folded napkin, scattered ingredients) balance the opposite corner, and empty table space gives the eye somewhere to rest so the image doesn’t feel crammed. A common beginner reflex is to center the plate and fill every inch — it reads as cramped and static. Shift the hero off the middle and suddenly there’s tension and flow.
For 45-degree shots, use the natural lines of the food and props as leading lines. A fork laid pointing toward the dish, the edge of a runner, the line of a table’s grain — all of them can pull the viewer into the hero. I also watch the background: at 45 degrees whatever sits behind the plate is in the shot, so I keep it dark and simple, or let it fall soft with that f/4–f/5.6 aperture doing gentle separation. The plate is the subject; the background’s only job is to not compete.
Follow the same seven steps every time and consistency stops being luck. The workflow below is exactly the order I run at my own table, from killing the lights to exporting the file — light first, camera last, edit to finish. Build the habit and each shoot gets faster and more predictable.
Here’s the sequence. One: turn off every overhead and artificial light in the room so only window light remains — mixed light is the number-one color killer. Two: place the food on your chosen surface near the window, with the light coming from the side or back. Three: choose the angle — overhead for flat food, 45 degrees for tall food. Four: add negative fill (black card on the shadow side) and, only if the shadows are too heavy, a whisper of bounce with white foam board. Five: set the camera to base ISO, f/4–f/5.6, daylight white balance, on a tripod with a timer. Six: shoot, chimp the histogram, adjust styling and exposure, shoot again — food photography is iterative, and my keeper is rarely the first frame. Seven: import the RAW, set white balance, and finish the edit.
That loop is the entire hub in practice, and every step has a spoke that goes deeper. Master the loop once and you can photograph anything from a weeknight dinner to a three-day sourdough with the same calm, repeatable process — no panic, no gear envy, just light and a plate and a little patience.
As an Amazon Associate I earn from qualifying purchases.
No. A 24MP body from 2018 and one prime lens in the 35 to 60mm equivalent range covers almost everything. Food is a static subject you fully control, so light and styling matter far more than the sensor. I shoot a 40MP Fujifilm X-T5, but on the food table it is doing the same job a much cheaper body would.
Light, specifically soft directional window light. Kill the overhead kitchen bulbs and shoot near a north-facing window with the light coming from the side or back of the dish. This one change fixes more beginner food photos than any lens or camera upgrade.
Match the angle to the food. Flat, spread-out dishes like pizza or a breakfast board shoot best from directly overhead at 90 degrees. Tall, layered dishes like burgers or stacked cake shoot best from around 45 degrees so you see the height and layers.
Usually f/4 to f/5.6 for a whole plate so the dish stays sharp front to back, letting only the background go soft. Avoid shooting wide open at f/1.4 for full dishes, since the depth of field is so shallow that only a sliver of the food is in focus.
Almost always wrong white balance from tungsten or mixed light. Shoot RAW, set the white balance off a neutral point in editing, then nudge slightly warm. Correcting color is usually 80 percent of what makes food look edible again.
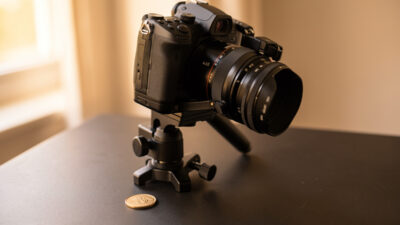
Past about life-size magnification your total depth of field collapses to roughly half a millimetre…
What Is Photography Composition and Why Does It Matter? Photography composition is the deliberate arrangement…
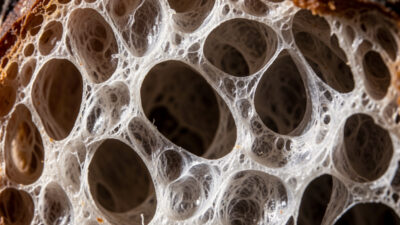
To photograph a sourdough crumb, rake a low side light across the cut face and…
Leave a Reply