Photography Flash Guide: Speedlights, Off-Camera, and Light
Flash is not the enemy of natural light — it is the tool you reach…
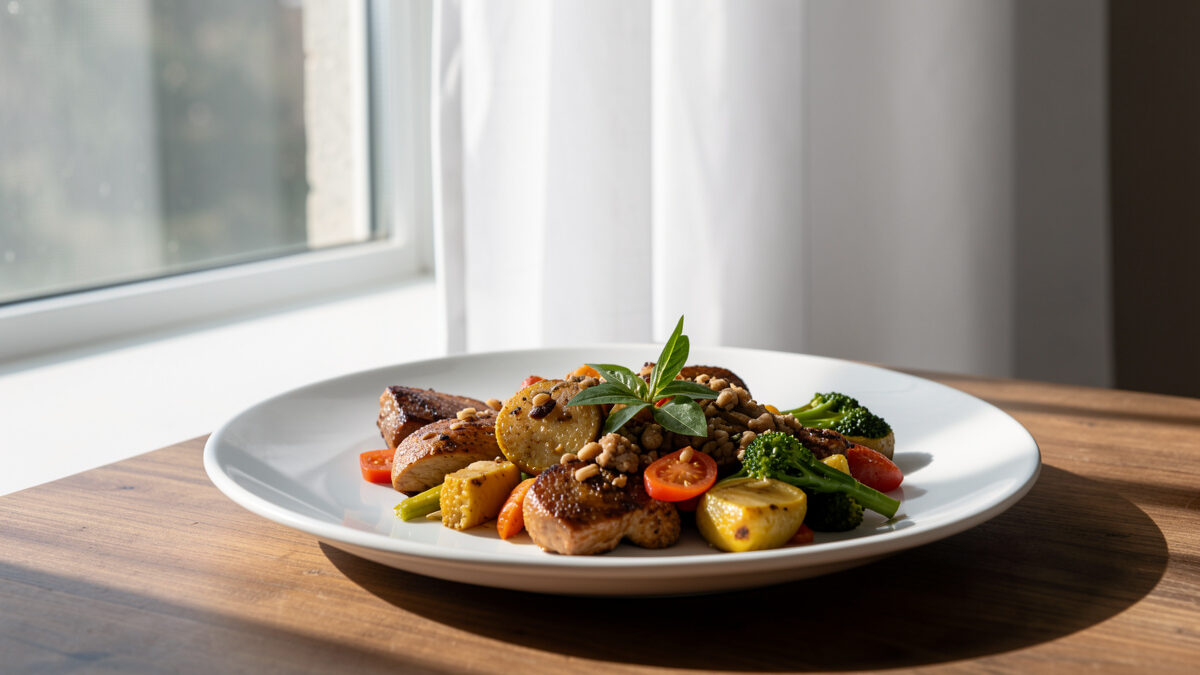
Window light is the best food light there is: place the dish beside a north-facing window with the light striking it from the side or back, and diffuse any hard sun with a sheer curtain. That single free source — large, soft, directional, roughly 5000–6000K — flatters texture and color better than most studio kits. Direction and diffusion are the only two dials you turn.
I fought this for months before I surrendered to it. I have an off-camera flash, reflectors, a 5-in-1 diffuser, a whole lighting habit — and for food I use almost none of it. The window wins. My first decent sourdough shot happened the day I turned off every bulb in the kitchen and just rotated the loaf next to the glass until the crust lit up. Nothing I own throws light that good for free. Here’s how to read a window and bend it to the plate.
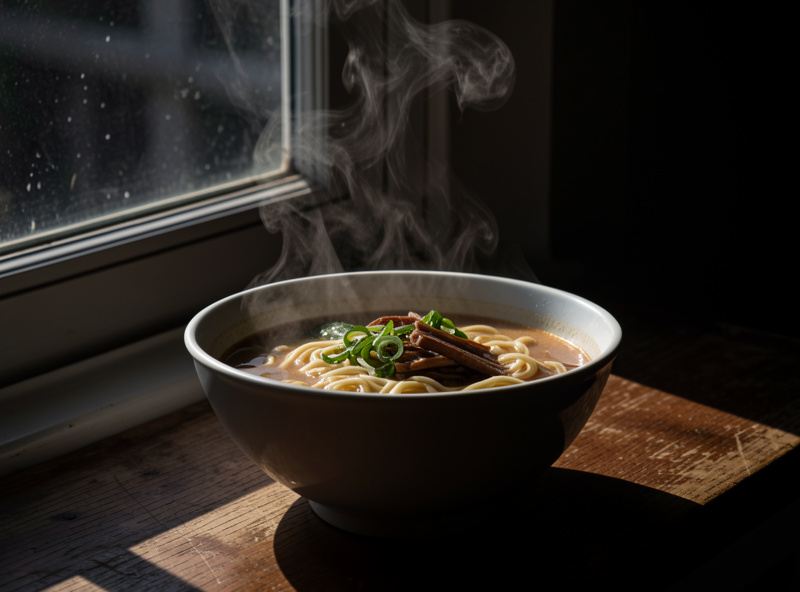
If you haven’t yet, it’s worth seeing where light sits in the whole process — I rank it the single highest-leverage skill in the beginner workflow, above angle, lens, and everything else you might be tempted to buy.
Because it’s a big, soft source close to the subject, and softness reveals texture without harshness. A window a couple of feet from a plate is enormous relative to that plate, so it wraps the food in gentle shadow gradients instead of the hard black edges a bare bulb or on-camera flash stamps down. Soft, directional light is what makes a strawberry read as a strawberry.
The rule underneath it is simple: the larger the light source relative to the subject, the softer the shadow transition. A bare bulb is a tiny point, so it throws razor shadows; a window is a wall of light, so it feathers. And because light falls off with distance — the inverse-square law means intensity drops with the square of distance — a plate close to the window is brightly, softly lit while the background a foot further back naturally goes darker, giving you free separation. I use that fall-off constantly: pull the plate near the glass and the background sinks into shadow on its own.
Color is the other gift. North-facing daylight sits around 5000–6000K and stays reasonably consistent through the day, unlike the warm 2700–3200K of tungsten bulbs that turn food yellow-green. Consistent neutral-to-cool daylight is the easiest color to correct to something appetizing later. If color temperature is new to you, the fundamentals are well laid out on the color temperature reference.
North-facing is the safest all-day choice in the northern hemisphere; it never gets direct sun, so the light stays soft and steady. East and west windows give beautiful but brief directional light at sunrise and sunset and harsh contrast midday. A south window is the brightest and the trickiest — gorgeous once diffused, brutal raw. Match the window to the hour.
Here’s how the orientations actually behave at my table over a shooting day:
| Window direction | Light quality | Best time to shoot | How I handle it |
|---|---|---|---|
| North | Soft, cool, constant, no direct sun | All day | Shoot straight, no diffusion needed |
| South | Very bright, hard when sunny | Any time, but diffuse | Sheer curtain or diffusion panel over glass |
| East | Warm, directional at sunrise; flat later | Early morning | Use raw at dawn; diffuse if sunny |
| West | Warm, directional at sunset | Late afternoon / golden hour | Beautiful raw; watch the warm cast |
If you only have a bright, sunny window, don’t despair — you diffuse it, which is the next dial. And if you have zero good natural light, a single cheap LED panel bounced through the same diffusion behaves like a small window; the principles below still apply.
Put something translucent and white between the sun and the food. A sheer curtain, a shower curtain, a sheet of baking parchment taped to the glass, or a proper collapsible diffusion panel all turn a hard sunbeam into the soft wall of light you want. The bigger and closer the diffuser, the softer the result.
Diffusion works by enlarging the source. Raw sun through a clear window is effectively a point source — the sun is huge but so far away it acts like a spotlight, and it throws hard-edged shadows that look severe and unappetizing on food. Stretch a white sheet across the window and suddenly the whole sheet glows; now your source is the size of the window, right next to the food, and the shadows go buttery. On my brightest window I keep a length of white ripstop I can pin up in ten seconds, and it’s the difference between harsh and dreamy.
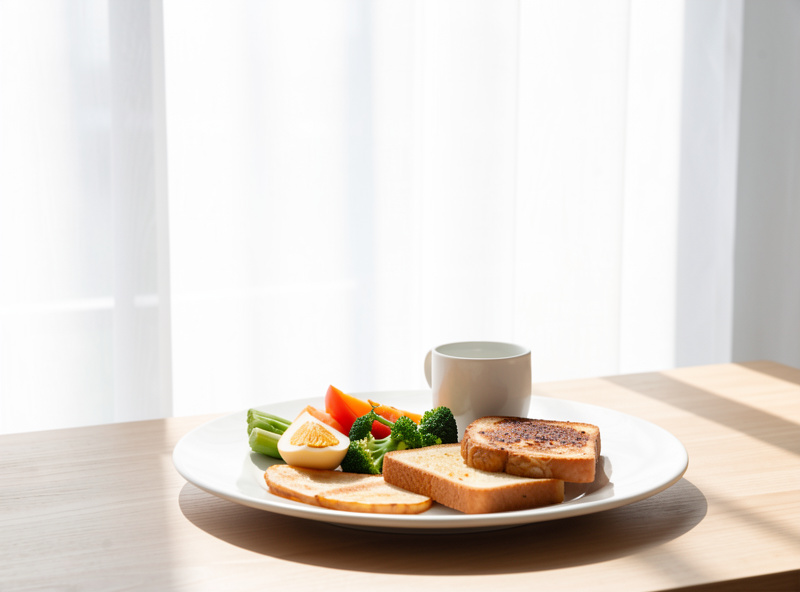
One caution I learned the annoying way: don’t diffuse with anything colored or warm-toned. I once used an off-white linen that looked neutral to my eye and every shot came out faintly jaundiced — the fabric was tinting the light. Now I test any diffuser by shooting a white plate through it and checking the white balance is still neutral. Fabric, parchment, panel — whatever you use, it has to be truly white or it poisons the color before the food ever reaches the sensor.
Side and back, almost never front. Light raking across the food from the side (90 degrees to the camera) or from behind the dish (backlight) skims the surface and reveals every texture — the crust, the sheen, the steam. Front light, coming from the camera’s position, flattens all of it into a lifeless snapshot. Rotate your setup until the light comes from behind or beside the plate.
Backlight is the food photographer’s secret weapon. With the window behind the dish, the light rims the edges of the food, makes sauces and glazes glow, and — crucially — lights up steam and translucent things like a glass of juice or the gelatinized walls of a good crumb. It also throws the shadows toward the camera, which you then manage with fill or fill’s opposite. Side light is the everyday workhorse: it carves texture across the surface and gives the food dimensional form. I default to side light for solid dishes and swing to backlight the moment steam or translucency is part of the story.
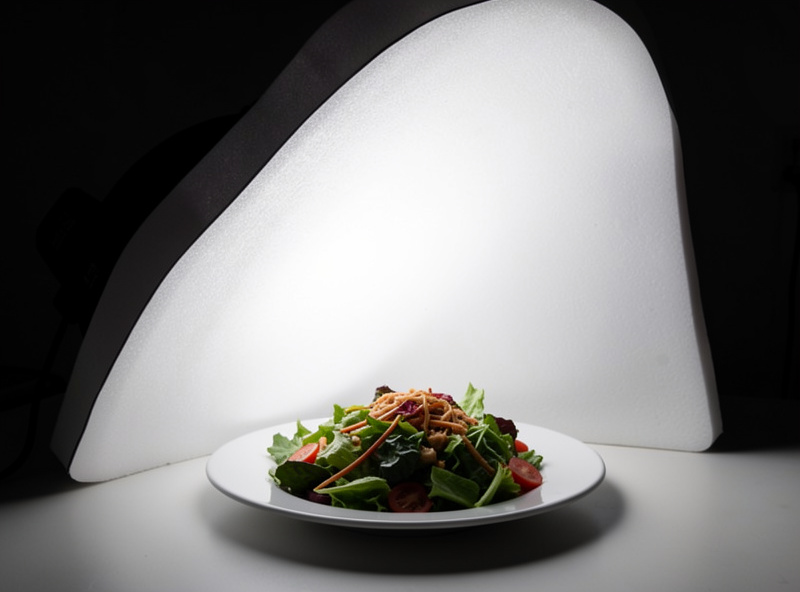
The sensory tell you’ve got it right is immediate. Rotate the plate so the window rakes across it and you’ll watch a highlight slide along the edge of a sauce, little shadows pop out of a crumb, the greens go from grey to alive. That “oh” moment — the plate catching the light — is the whole reason side and back beat front. Front light never gives you that; it just records the food. Side light makes it look like something you want to eat.
With fill and negative fill — a white card to lift the shadow, or a black card to deepen it. Directional window light makes one side of the food bright and the other side dark; how dark you let that shadow go sets the mood. Bounce light back with white foam board for a soft, even look, or add a black flag to deepen the shadow for drama. This is the last dial, and it’s the one that separates flat from sculpted.
Most people’s instinct is to fill — to bounce light into the shadow so nothing goes too dark. A sheet of white foam board on the shadow side, angled to catch spill from the window and throw it back, gently opens the shadows and is perfect for bright, clean, airy food. But the move nobody teaches beginners is the opposite: negative fill. Put a black card on the shadow side and you subtract light, deepening the shadow and giving the food weight and dimension. On a moody dark-and-rustic shot, a black flag on the near side is what turns a flat plate into something with real form.
I keep both within arm’s reach at the table — white foam board on one side, black on the other — and I dial the mood by choosing which one faces the food. Bright breakfast scene? White, filling the shadows soft. Dark, brooding bowl of stew? Black, letting the shadow side fall almost to black. That single choice does more for the feel of a food photo than any camera setting. The full styling context for those cards — and where surfaces and props fit — sits alongside this in the lens and setup decisions and the broader beginner workflow.
As an Amazon Associate I earn from qualifying purchases.
A north-facing window in the northern hemisphere, because it never receives direct sun and stays soft and consistent all day. East and west windows give beautiful directional light early or late, and a south window is very bright and needs diffusing before use.
Put something translucent and truly white between the sun and the food, such as a sheer curtain, a white sheet, baking parchment taped to the glass, or a collapsible diffusion panel. This enlarges the light source and turns hard shadows into soft ones.
From the side or the back, almost never the front. Side and back light rake across the food and reveal texture, sheen, and steam, while front light flattens everything into a lifeless snapshot. Rotate your setup so the window is beside or behind the dish.
Negative fill means placing a black card on the shadow side of the food to subtract light and deepen the shadow, adding form and drama. It is the opposite of a white reflector, which lifts the shadow for a brighter, airier look.
Yes. Diffuse the direct sun with a white sheet or panel over the glass to turn the hard beam into a soft, large source. Diffused south light can be some of the most beautiful food light there is once you tame the harshness.

Flash is not the enemy of natural light — it is the tool you reach…
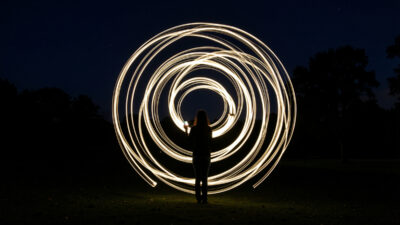
Light painting is a long-exposure technique where you work in a dark scene, open the…
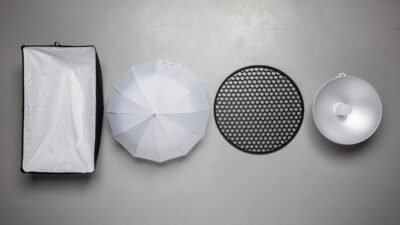
Light modifiers are tools placed between your flash and your subject that reshape light quality…
Leave a Reply