Off-Camera Flash for Beginners: Your First Wireless Flash Setup
Why Off-Camera Flash Changes Everything Taking your flash off the camera gives you control over…
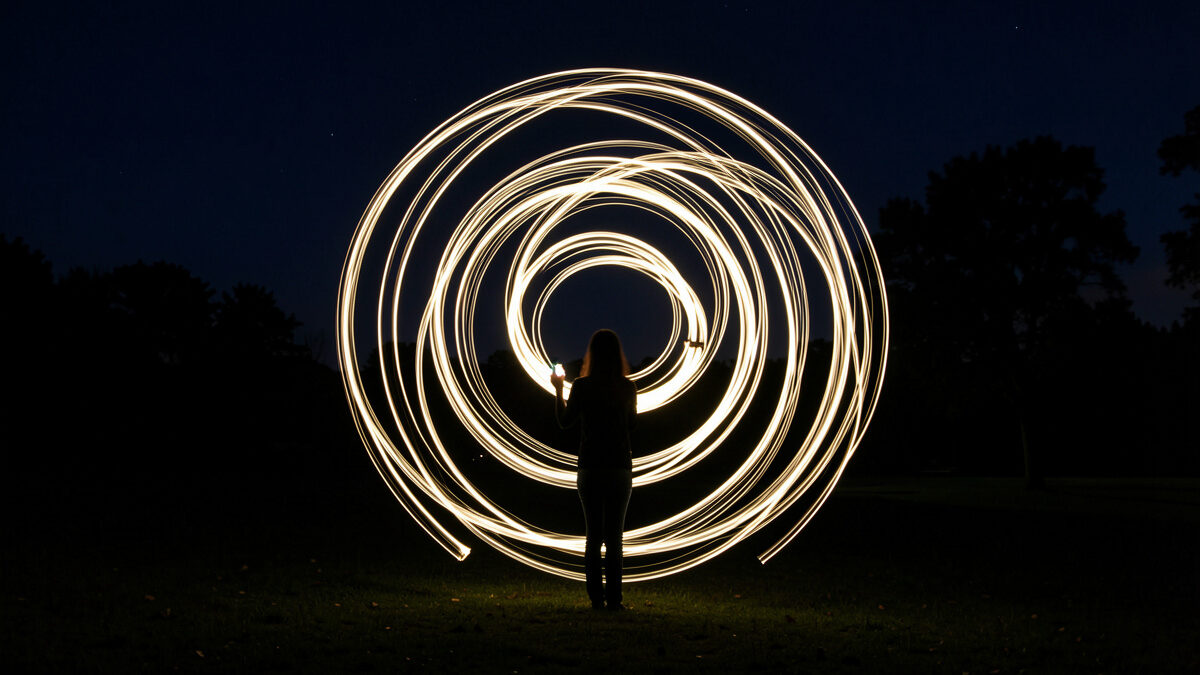
Light painting is a long-exposure technique where you work in a dark scene, open the shutter for many seconds, and move a light source through the frame to draw shapes or selectively illuminate a subject. The camera records the accumulated light as a glowing trail or a lit object, while everything you don’t touch with light stays black. It’s the one long exposure where you add light instead of filtering it away.
I got into this documenting workshop projects after dark with my Fujifilm X-T5, and it’s the most immediate fun you can have with a tripod — you make a 20-second frame, look at the back of the camera, and see a drawing that existed only in motion. But it fails fast if you get the basics wrong: too much ambient light, a shutter that’s too short, or a light source that’s too bright and you get a blown-out mess. Here’s the foundation that gets you glowing trails on the first night out.
You need a camera with a bulb or long-shutter mode, a tripod, a dark environment, and a handheld light source — that’s the entire kit. Unlike daytime long exposure, you need no ND filter at all, because the darkness itself is doing the light-blocking. The dark is your ND. Everything hinges on starting with a genuinely dark scene so your light source is the brightest thing in the frame.
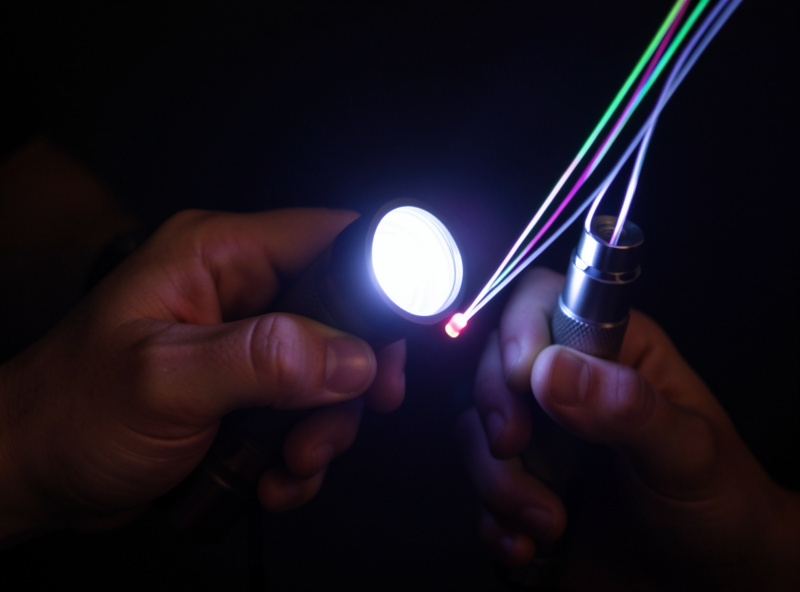
For the light, an ordinary LED flashlight gets you started, but the tools that make it sing are cheap: a small flashlight for illuminating objects, and something with a colored or fiber-optic tip for drawing trails. I use a plain LED torch to light subjects and a fiber-optic wand and a couple of colored gels over a penlight to draw. Sparklers and steel wool are the dramatic options you see online — genuinely spectacular, genuinely a fire hazard, and not where a beginner should start. Begin with a flashlight in a dark yard. You can pick up a decent LED flashlight for light painting for the price of a coffee round and learn everything on it before spending more.
As an Amazon Associate I earn from qualifying purchases.
Start with bulb mode or a 20-to-30-second shutter, ISO 100 to 400, and an aperture around f/8, then adjust from there. The long shutter gives you time to move the light through the frame, the low ISO keeps the dark background clean and black, and f/8 gives enough depth of field to keep both your subject and your light trails acceptably sharp. These are starting points you’ll refine by looking at the histogram.
The exposure logic is different from daytime long exposure but the platform discipline is identical — base ISO, a locked tripod, and a remote release, all the same fundamentals from the daytime long exposure guide. The difference is that the ambient darkness sets your background exposure while your moving light sets your subject exposure, and you control them separately. If the background is coming out grey instead of black, lower the ISO or shorten the shutter; if your light trails are blowing out to featureless white, move the light faster, use a dimmer source, or stop the aperture down. Focus is the sneaky problem: it’s dark, so autofocus struggles. I focus on my subject with a flashlight held on it or by torchlight, then switch to manual so it holds for the whole session. Nothing wastes a night faster than a stack of beautifully drawn but out-of-focus trails.
Open the shutter, then move your light source through the frame facing the camera to draw trails, or facing your subject to illuminate it — and keep moving, because wherever the light lingers records brightest. To draw a clean line, sweep steadily; to light an object evenly, “paint” it with broad strokes and never hold the beam still on one spot. The speed and steadiness of your hand is the whole craft.
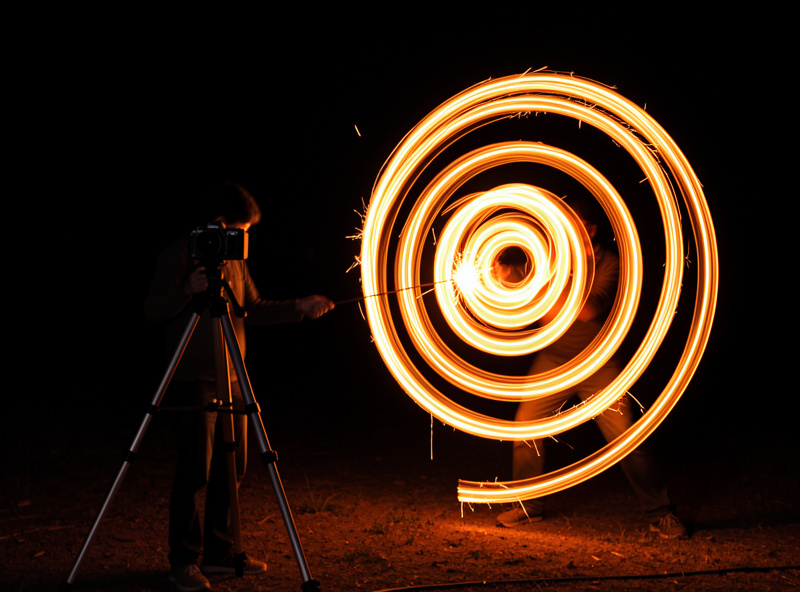
There are two fundamentally different moves and it helps to keep them separate in your head. Drawing means pointing the light at the camera and moving it to trace glowing shapes in the air — spirals, letters, outlines. Because the light points at the lens, it records as a bright trail and you the person stay invisible as long as you keep moving and wear dark clothes. Illuminating means pointing the light at a subject — a car, a tree, a barn — to reveal it out of the dark, sculpting it with pools of light and shadow. You can do both in one frame: light a subject for the first ten seconds, then draw a trail around it for the last ten. Wearing black and staying in constant motion is what keeps you from ghosting into the shot — the same erase-by-motion principle behind removing people from a scene with a long exposure, just used on purpose.
The mistake I made for weeks was moving too slowly and holding the beam still, which blew every highlight to mush. Light painting rewards a confident, brisk hand. I also learned to plan the drawing before opening the shutter — rehearse the motion in the dark once, then do it for real — because you can’t see your own trail while you’re making it and you’re working blind. The rehearsal is what separates a clean spiral from a scribble.
To light a subject, open a long shutter and walk around it in the dark sweeping your flashlight across the parts you want revealed, building the illumination stroke by stroke over the whole exposure. Because you control exactly where the light lands, you can sculpt a subject with far more nuance than a single flash — brightening the texture you want and letting the rest fall into shadow. It’s like dodging and burning in real time.
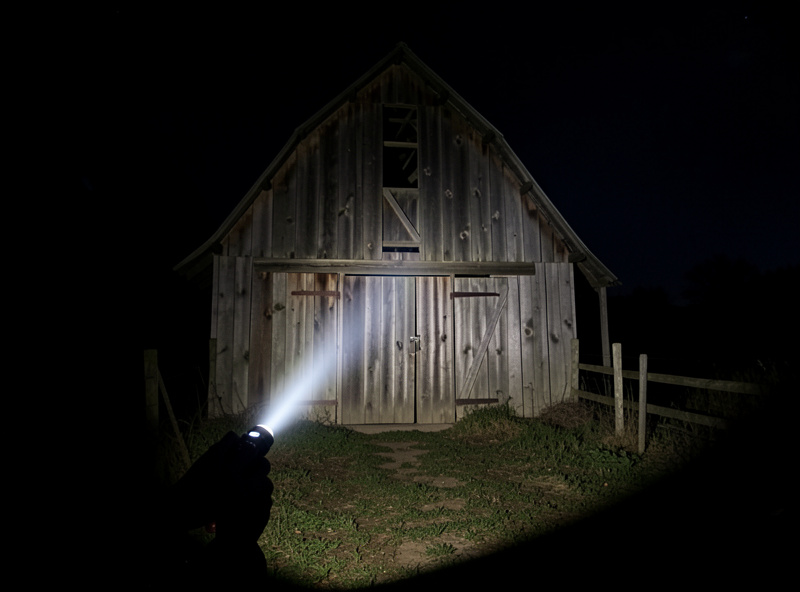
I like this on textured objects — an old welded frame from the workshop, weathered barn wood, the grain of a leather piece — because raking the flashlight across the surface at a low angle throws the texture into sharp relief the way front-flash never could. The tricks that matter: keep the light moving so you don’t get a hard hotspot, feather the edge of the beam for gradual falloff, and stand where the camera can’t see you or move fast enough that you don’t register. A two-minute exposure gives you plenty of time to walk a full circle around a subject and light it from several angles. For frames this long you’ll want a release that can hold bulb without your hand on the camera — the options are in the best remote shutter releases and intervalometers, and if your subject comes out soft the causes are in why your long exposures are soft.
The usual failures are too much ambient light, moving the light too slowly, forgetting to lock focus, and letting yourself appear in the frame. Each one is easy to fix once you know to watch for it, and each one has ruined a night for me at least once. Ambient light is the sneakiest, because a scene that looks dark to your eye may still record a muddy grey background over 30 seconds.
Shoot somewhere genuinely dark — away from streetlights and after full dark — and if the background still isn’t black, drop the ISO and shorten the shutter until it is. Move your drawing light briskly and keep illuminating strokes broad and constant. Lock focus manually before you start. Wear dark clothing and stay moving so you never ghost in. And check the histogram, not the rear-screen thumbnail — light trails look brighter on the screen than they are, and the histogram tells you the truth. Get those five things right and the frame does the rest. There’s something genuinely meditative about it too: standing in a dark field, hearing nothing but your own footsteps, drawing a shape you can’t see and won’t know worked until the shutter closes. When it does work, it feels like magic every time.
No. Any camera with a bulb mode or a long shutter setting works, along with a tripod. You do not need an ND filter because the darkness itself blocks the light. A basic LED flashlight is enough to start, and you can add colored or fiber-optic tools as you improve.
Start with 20 to 30 seconds, or bulb mode for longer, at ISO 100 to 400 and around f/8. The long shutter gives you time to move the light, the low ISO keeps the background black, and f/8 provides enough depth of field. Adjust based on the histogram after your first frame.
Wear dark clothing and keep moving the entire time the shutter is open. Because a long exposure only records what stays in one place, a person in constant motion in dark clothes does not register. Point your drawing light at the camera and your body stays invisible behind it.
Your light source is too bright, you moved it too slowly, or you held it still. Move the light faster, use a dimmer source or a diffuser, and stop the aperture down. Wherever the light lingers records brightest, so a steady brisk sweep gives clean trails instead of a white smear.
Yes. The scene must be dark enough that your handheld light is the brightest thing in the frame, otherwise the background records as muddy grey instead of black. Shoot after full dark, away from streetlights, and lower your ISO and shutter time until the untouched background comes out black.
For the exposure fundamentals that underpin all of this, the PhotoPills long-exposure guides are a clear reference, and if you experiment with steel wool or sparklers, read a fire-safety primer such as the NFPA guidance first — those techniques throw real sparks.
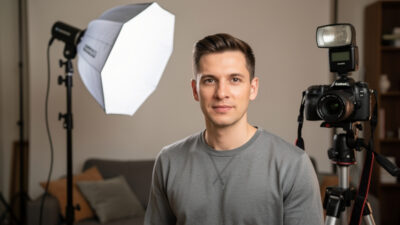
Why Off-Camera Flash Changes Everything Taking your flash off the camera gives you control over…
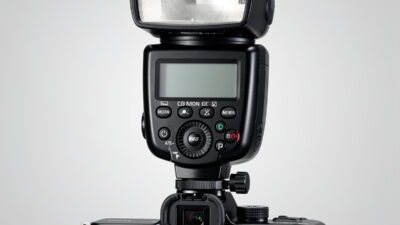
Finding the best speedlights for mirrorless cameras is about matching flash features to your actual…
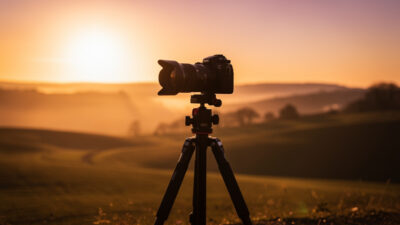
Natural light is the cheapest professional-grade light source you will ever have access to, and…
Leave a Reply