Landscape Photography Guide: Best Settings, Lenses, Locations
For landscape photography, use aperture priority mode at f/8 to f/11, ISO 100-400, and focus…
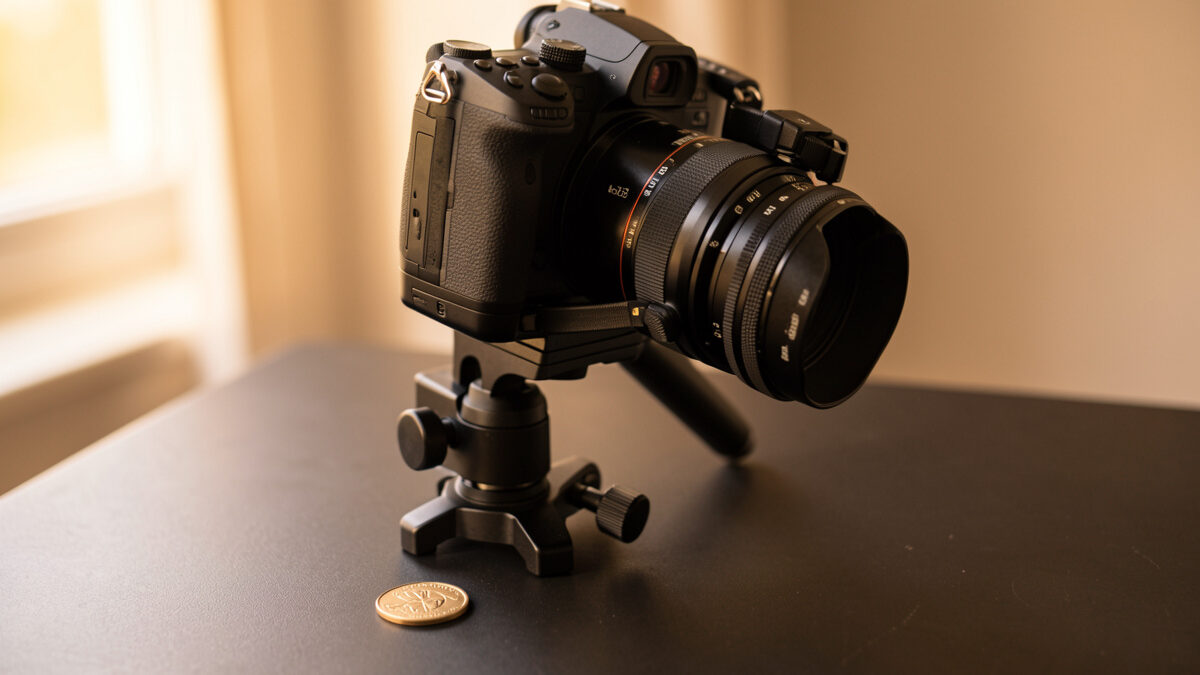
Past about life-size magnification your total depth of field collapses to roughly half a millimetre at a marked f/8 — so to get a whole macro subject sharp you stack frames, and between frames you advance the focal plane either by winding a geared focus rail or by edging the entire camera forward by hand. The rail gives you linear, repeatable steps of a tenth of a millimetre or less; moving the camera is free, fast, and needs no extra gear, but because the lens pivots and translates on an arc, magnification drifts from frame to frame and the stacking software has to fight it.
That magnification drift is the whole argument. Below 1:1 it barely matters; above it, it is the difference between a clean stack and a haloed mess you throw away. I have built macro stacks both ways on my Fujifilm X-T5, with a geared rail bolted on and with the camera nudged by hand on a geared head, and I now choose between them based almost entirely on magnification and on whether the subject will hold still. What follows is the practical breakdown rather than a spec-sheet argument, because the choice is genuinely situational.
At macro distances depth of field shrinks with the square of magnification — double your magnification and you quarter your working depth of field. At 1:1 on an APS-C sensor, a marked f/8 gives you only about 0.5mm of total sharp zone, and you cannot buy more by stopping down because the lens is already sitting at an effective f/16.
That effective-aperture point is the one most people miss, and it is why stopping down does not save you in macro the way it does in a landscape. The aperture the sensor actually sees is the marked value multiplied by one plus the magnification: at 1:1, a marked f/8 is f/16 in both light-gathering and diffraction terms. Cambridge in Colour’s depth-of-field treatment lays out the arithmetic in full, but the take-away is brutal — on my 40-megapixel X-T5, diffraction is already softening the frame at an effective f/16, so f/11 or f/16 marked at 1:1 (effective f/22 to f/32) is actively worse, not better. You cannot stop your way out of a macro depth-of-field problem. The landscape depth-of-field reflex that says “stop down to f/16 for more sharpness” runs exactly backwards here.
So you stack. You shoot a run of frames, each focused on a slightly different sliver of the subject, and let software composite only the sharp slice from each. The only real question is how you advance that sliver between frames, and there are exactly two honest methods: move the focal plane through the subject with a rail, or move the whole camera forward by hand.
A focus rail translates the camera and lens straight forward along the optical axis, so the subject-to-sensor distance changes while magnification stays essentially constant. Moving the camera by hand does the same thing in principle, but on an arc — so framing, perspective, and magnification all shift slightly from frame to frame.
This is the clean way to think about the difference. Both methods change focus by changing subject distance rather than by turning the lens’s focus ring, and that matters: most macro lenses focus by moving internal elements, which itself changes magnification and effective aperture as you turn the ring. Internal-focus breathing is exactly why I avoid focus-ring stacking at high magnification — I lock the ring at the magnification I want and then drive focus with distance instead. The piece on why focus stacks fail goes deeper on focus breathing as an artifact source.
The rail keeps magnification constant because it slides the entire camera-and-lens assembly as a rigid unit along a straight track. Nothing pivots. The subject grows or shrinks in the frame only by the tiny amount that depth-of-field geometry demands. Move the camera by hand — rocking the geared head, sliding the column, or nudging a tripod foot — and the lens traces an arc around the subject: the angle shifts a touch, the working distance shifts, and the subject’s apparent size drifts. Below about 1:2 you will never see it. At 2:1 and beyond the stacking engine starts struggling to align frames that are nominally the same shot.
A geared macro focus rail bolts between the tripod head and the camera body, and a micrometer-style knob drives the assembly forward in fine increments — typically around a millimetre per full turn, so a tenth of a turn is roughly a hundred microns. You wind the knob, shoot, wind again, and the plane of focus marches through the subject in equal slices.
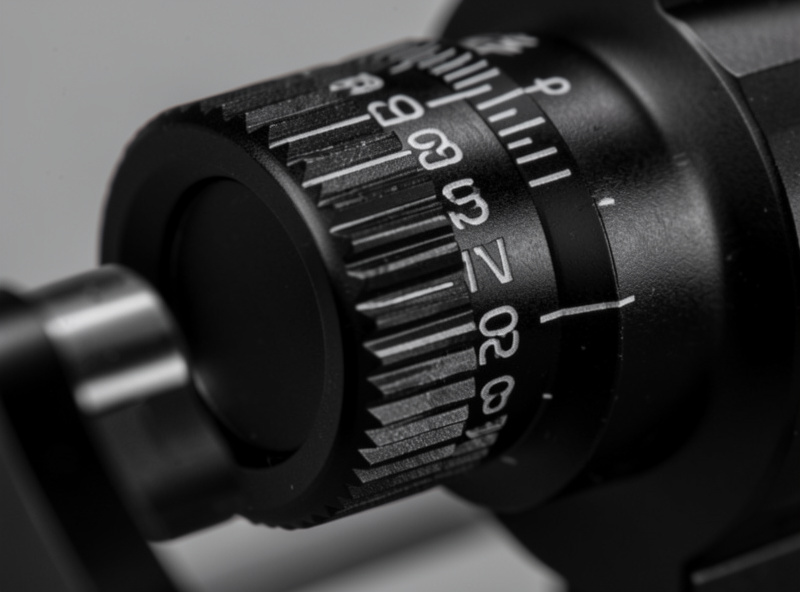
My rail is a Velbon Super Mag Slider, the old geared four-way unit, and what I paid for it second-hand is less than the price of a single quality UV filter. You can find comparable geared macro rails in the same bracket new. What that money buys is repeatability: each detent of the fine knob is the same small step as the last, so I can lay down a stack with even, overlapping focus slices and predict in advance how many frames a subject will need. On a coin the size of a Swedish krona shot at 1.5:1, I know I need roughly 1.5mm of total travel to cover the relief, so at 0.15mm steps that is about ten frames plus margin. That predictability is the rail’s real value — not precision for its own sake, but knowing before I press the shutter that the stack will not have a gap in it.
The trade-off is weight, bulk, and setup time. The rail adds a rigid chunk of metal between head and body, it is one more axis to level, and outdoors it catches every gust and every footstep through the tripod. It also has a hard travel limit — most four-way rails move only a few centimetres, which is plenty for a coin or a pinned beetle but useless for anything larger. For static, tabletop, high-magnification work it is the correct tool. For a dragonfly on a stem in a breeze it is the wrong one, and it will cost you the shot while you level it.
Moving the camera means easing the whole tripod-and-lens rig forward between frames — sliding the centre column, rocking the geared head a fraction, or physically inching the tripod feet. It costs nothing, sets up in seconds, and works at lower magnifications where the arc drift stays below the stacking engine’s alignment tolerance.
I do this constantly at magnifications up to about 1:1 when I am outdoors and the rail would slow me past the point of the insect staying put. You lock focus on the near edge of the subject, shoot, ease the geared head forward a hair, shoot again, and repeat until the plane of focus has walked through to the far edge. Done carefully it produces clean stacks; done carelessly it produces the halos and misalignments I will get to in a moment. The method’s great virtue is that you already own everything required — no rail, no slider, no extra axis to balance.
The hidden cost is consistency. Your step size is whatever your hand produced on that frame, so some gaps are too wide and some frames overlap too much, and you only discover at the processing stage whether you left a soft band across the subject. There is also that arc problem in full force: rock the head rather than slide it and the lens sweeps through an angle, the subject’s perspective shifts, and at high magnification the software simply cannot reconcile the changing geometry. At 1:1 and below, fine. At 3:1, broken on the first frame.
| Attribute | Geared focus rail | Moving the camera by hand |
|---|---|---|
| Step precision | Repeatable, set by knob pitch (~0.1mm) | Variable, set by hand feel |
| Magnification drift | Negligible — straight linear travel | Notable above 1:1 — lens arcs around subject |
| Cost and gear | One extra rail between head and body | Zero — tripod you already own |
| Field portability | Heavy, catches wind and vibration | Light, fast to deploy |
| Setup time | Several minutes to mount and level | Seconds |
| Best magnification range | 1:1 and above, mandatory past 2:1 | Up to about 1:1, living subjects |
Aim for about 20 to 30 percent overlap between the sharp slice of one frame and the next, which at 1:1 on APS-C works out to a step of roughly 0.1 to 0.2mm. Too large a step leaves a soft band across the subject; too small a step wastes frames and adds noise to the blend.
The overlap is the only number that truly matters, because the stacking engine needs to find a continuous sharp region across every pair of adjacent frames. Cut the step too fine and you shoot forty frames where fifteen would do, each one adding its own noise and alignment error to the final composite. Space them too far apart and there is a gap in sharpness that no software can invent detail to fill — you get a band of softness that reads as a smudge in the print and cannot be fixed after the fact.

I work the step out empirically rather than from a calculator. I find the total depth of field for the magnification and aperture I have chosen — at 1:1 and marked f/8 that is roughly 0.5mm — and I divide it into three or four overlapping slices, which lands me near 0.15mm. At 3:1 the depth of field has fallen to something like 0.05mm, so the step drops to around 0.015mm, fifteen microns, smaller than I can hit reliably by hand. That number is the threshold where the rail stops being a convenience and becomes a requirement.
I use the rail for any static subject at or above about 1.5:1 — coins, watch parts, pinned insects, product details — where I need repeatably small, linear steps. I move the camera by hand for living subjects below 1:1, where setup speed matters far more than step precision because the subject will leave before the rail is level.
The mistake that taught me the threshold was a watch movement I shot at about 2:1 by rocking the geared head, because I could not be bothered to bolt the rail on. Sixty frames, all beautifully exposed, and Zerene Stacker returned a composite with soft halos around every gear tooth and bridge edge — the classic symptom of magnification changing between frames. The engine could not align teeth that were a slightly different size in frame thirty than in frame twenty-nine, so it blended the mismatched edges and produced a ghosted outline I could see from across the room. I re-shot the same movement with the rail and the same sixty frames stacked clean on the first pass. The lesson sat hard: above 1:1, the arc drift from hand movement exceeds the alignment tolerance, and linear travel is no longer optional. Zerene Stacker’s own documentation describes exactly this haloing mode under magnification-change artifacts.
The opposite mistake is reaching for the rail when stopping down would have removed the need to stack at all. At 1:4 magnification and f/11, total depth of field on the X-T5 is already deep enough that a single frame covers most flat subjects, and a quick three-frame hand stack covers nearly everything else. Bolt the rail on for that and you spend ten minutes of setup solving a problem the aperture ring already solved. The manual stacking field steps piece has the workflow for deciding when a stack is even necessary before you reach for any tool.
The one genuine advantage of moving the camera that nobody talks about is that you can stack a living subject that will not hold still for a rail setup. A bee on a flower will sit through a four-second hand stack that the same bee will abandon during the thirty seconds it takes to mount and level a rail. The in-camera focus bracketing option is the faster cousin of this — the body drives the lens’s internal focus motor in a high-speed burst — and for genuinely skittish subjects it beats both manual methods. Remember it is still moving internal elements rather than the sensor plane, so the same focus-breathing caveats apply and the magnification is not as locked as a rail would give you.
Below 1:2, do not stack at all — just stop down. From 1:2 to about 1:1, moving the camera by hand is plenty. From 1:1 to 2:1, the rail wins on reliability but careful hand movement still works. Above 2:1, a geared rail is effectively mandatory and above 5:1 you want a motorised stepper.
Depth of field falls with the square of magnification, so the decision curve steepens fast. At 1:2 you have a comfortable millimetre or two of depth of field at f/11 and most subjects need a single frame. At 1:1 you are at half a millimetre and stacking becomes routine. At 3:1 your depth of field is measured in tens of microns and the step size is smaller than the vibration from your own hand on the tripod — there is no honest way to hand-stack that, and even the rail benefits from a remote release and shutter-shock damping. At 5:1 and beyond, which is where dedicated extreme-macro shooters live and which I only reach by reversing a vintage Helios 44 on a set of extension tubes, every step is a controlled vibration event and a geared or stepper rail is the only sane path.
That reversed-Helios rig is worth a sentence because it is the cheap path into this magnification range and it fits the glass-first instinct perfectly — a thirty-dollar M42 vintage prime on tubes will take you past 2:1 for less than the cost of a tripod plate, and the swirly rendering has a character no modern flat-field macro lens produces. The catch is that working distance collapses to a few centimetres, lighting gets physically awkward because the front element nearly touches the subject, and the focus plane is so thin that only a rail lets you walk through it cleanly. The vintage-and-adapted lane is its own rabbit hole, but for stacking it obeys exactly the same magnification rule as everything else.
As an Amazon Associate I earn from qualifying purchases.
If I were starting macro stacking from zero tomorrow, I would not buy a rail first. I would learn to hand-stack at 1:1 and below until I could produce a clean composite without thinking, because that teaches you step size, overlap, and the feel of walking the plane of focus — skills the rail does not give you, it only makes them easier to execute. Then, the first time a subject at 2:1 came back haloed because my hand steps drifted, I would buy the rail, and I would understand immediately why I needed it. The rail is the right answer to a specific problem; learning to recognise that problem by hand first is what makes you the shooter who reaches for the right tool.
Once the rail-versus-camera decision is made, the rest of the technique is identical regardless of how you drove the plane of focus. The full focus stacking guide pulls the whole workflow together, the manual field-stacking steps cover the capture sequence in order, and when a stack goes wrong the artifacts and fixes breakdown names every failure mode I have personally produced and how I corrected it. For choosing the software that blends the frames, the stacking software comparison covers Zerene, Helicon, and Photoshop head to head. And if you want the simpler path where the body does the driving with no rail at all, in-camera focus bracketing is the no-extra-gear route.
Only above about life-size magnification. At 1:1 and below you can hand-stack by moving the camera; from roughly 1.5:1 up, the magnification drift from hand movement exceeds the stacking software’s alignment tolerance and a geared rail becomes the reliable path.
Aim for 20 to 30 percent overlap between the sharp slice of one frame and the next. At 1:1 on an APS-C sensor that is about 0.1 to 0.2 millimetres; at 3:1 it drops to around 0.015 millimetres, which is where hand movement stops being viable.
Yes, up to about 1:1. Ease the whole tripod and lens forward between frames, lock focus with the ring, and keep your steps small and even. Above 1:1 the arc drift changes magnification frame to frame and the stack develops halos around edges.
Usually magnification drift between frames, often from moving the camera on an arc or from focus breathing as the lens’s internal elements move. A geared rail translating the camera straight forward keeps magnification constant and removes the halo source.
From about 1.5:1 onward, and effectively mandatory above 2:1. Below 1:1 a hand stack or in-camera focus bracketing covers most subjects; the rail’s repeatably small linear steps only become necessary once your depth of field is measured in tens of microns.

For landscape photography, use aperture priority mode at f/8 to f/11, ISO 100-400, and focus…

Macro photography captures subjects at 1:1 magnification or greater, filling the camera frame with objects…
Clean field audio for video photographers requires a $25 lavalier microphone plugged into a $100…
Leave a Reply