Hyperfocal Distance Made Simple: Getting Everything in Focus
Hyperfocal distance is the closest focus setting that keeps everything from half that distance out…
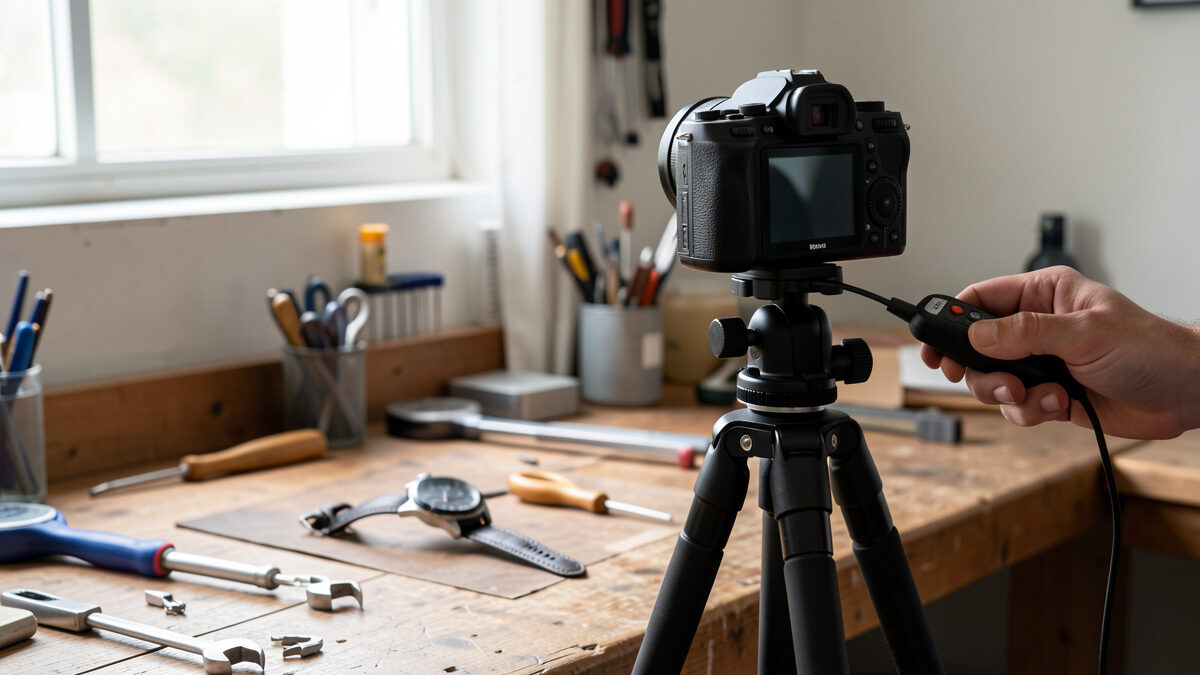
Manual focus stacking is the field discipline of locking your camera on a tripod, freezing every setting, then stepping the focus from the nearest point you want sharp to the farthest and firing a frame at each step — typically five to twelve frames for a landscape or still-life, overlapping each sharp slice by about a third. No menu diving, no bracket mode, no interval math; just a tripod, a manual focus ring, and the patience to overlap each slice cleanly.
The reason to learn it by hand before you ever touch an in-camera bracket mode is that the manual method teaches you what the camera is actually doing for you later. Every failure you hit by hand — a gap between frames, a brightness shift, a subject that moved — is a failure the automatic mode would have handed you disguised as success, and you would not have known how to read it. The workflow pulls together the depth-of-field theory from the focus stacking guide and the one-frame technique from the hyperfocal distance guide, so this is where those two threads become a repeatable field procedure.
The gear list is shorter than people expect, and most of it is about removing ways to move the camera between frames. You need a solid tripod with a head that locks dead still — a geared head is ideal because it lets you nudge the composition without re-leveling. You need a way to fire the shutter without touching the body, which means either a cable release or the camera’s two-second self-timer delay. You need a lens you can focus manually with confidence, and you need a body that shows you where the focus plane is landing, either through magnified live view or focus peaking.
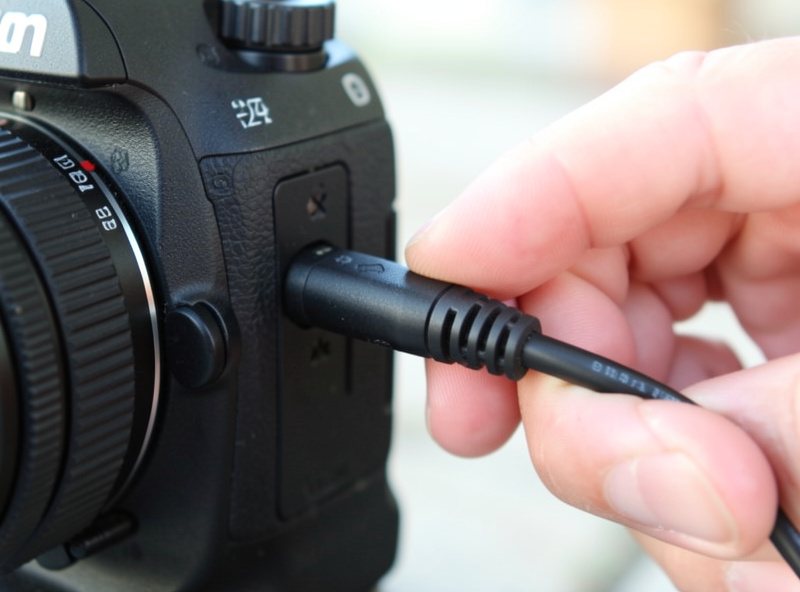
On my bench this is an X-T5 on a carbon travel tripod with a geared head, a wired cable release, and whatever prime I have mounted — usually the XF 23mm for landscape or the XF 35mm for product work. A cable shutter release for a mirrorless body is the one piece I would buy first, because the two-second timer gets tedious across a twelve-frame run and a fingertip on the shutter button is a sub-pixel shift you will see in the merge. The lens matters less than people think — a cheap prime that you can focus smoothly beats an expensive zoom with a stiff, notchy ring. The focus peaking technique I rely on makes it easy to see each slice land, and that visual feedback is what lets you space the steps by eye.
The setup is the part most people skip, and it is the part that decides whether the run merges cleanly or fights you for an hour. The goal is to make every frame identical except for where the focus plane sits, which means locking down everything that could possibly drift. Shoot RAW, set the exposure manually so the brightness never changes, fix the white balance so color does not shift, set ISO to its base value, turn autofocus off, and turn in-body stabilization off once the camera is tripod-mounted.
Aperture gets its own decision because it defines the depth of each slice. Pick it based on the per-frame depth of field you want at the sharpest point of the lens — usually f/8 on my copies, where the primes are near their peak and each frame holds enough depth that you do not need dozens of frames to cover the subject. Then fix that aperture for the entire run; changing it mid-stack shifts the depth of field and the magnification slightly, and the merge shows the seam. Once exposure, aperture, ISO, white balance, focus mode, and stabilization are all locked, the only thing left to vary is the focus ring itself. The shutter and ISO side of reaching that aperture is the exposure triangle at work, and the sharpness side — confirming f/8 really is your lens’s peak — is the aperture sweep on my chart.
With the setup locked, the shooting sequence is a short loop you run until the whole subject is covered. Frame the shot and lock the tripod head. Set your manual exposure and confirm it on the histogram with the focus at the mid-point of the subject. Then walk the focus from near to far in evenly spaced steps, firing one frame at each step.
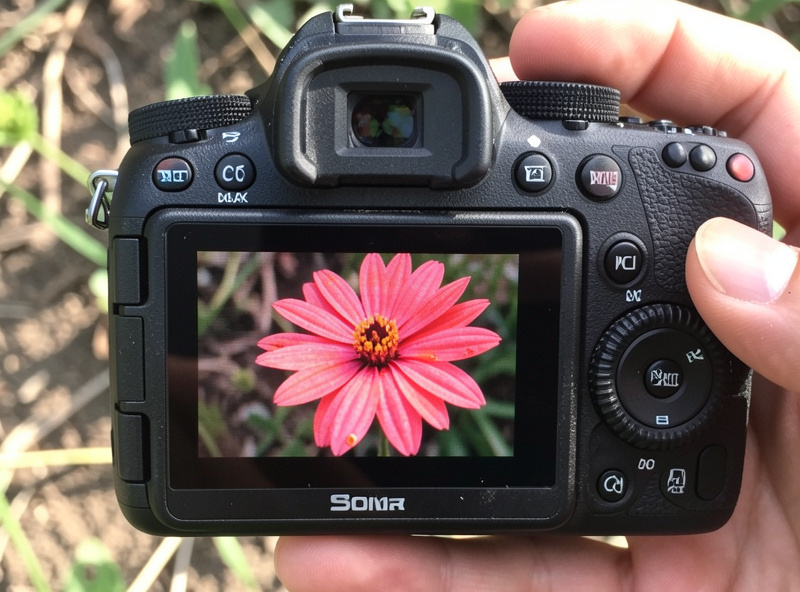
In detail: focus on the nearest part of the subject you want sharp and fire frame one. Rotate the focus ring a small amount so the sharp plane moves visibly deeper into the subject — watch the peaking crawl across the petals, the focus ticker counting forward — and fire frame two. Repeat that step, keeping the increments even, until the sharp plane has passed the farthest part of the subject by one extra frame for safety. That is the whole run. Count the frames as you go, do not rush, and keep your hands off the body between shots — trip the cable release and let go. Five to twelve frames covers most landscape and still-life subjects; a close flower or a watch face might take fifteen to twenty. When you have fired the last frame, the capture side is done and the stack is ready to merge. Photoshop’s Auto-Blend Layers, set to the Stack Images method, does the alignment and blending natively — Adobe’s step-by-step is at its focus-stacking help page — while Lightroom Classic handles the HDR and panorama merges but does not merge focus itself. For macro runs most shooters skip both and send the set straight to Zerene Stacker or Helicon Focus.
The overlap rule is the single most important number in manual stacking, and it is roughly a third. Each new frame should pick up the focus where the previous frame was just starting to lose acceptable sharpness, so the sharp band of one slice overlaps the sharp band of the next by about a third of its depth. That guarantees the merge engine always has clean, in-focus pixels to choose from along every edge, and it is what prevents the halos that appear when there is a gap no frame owns.
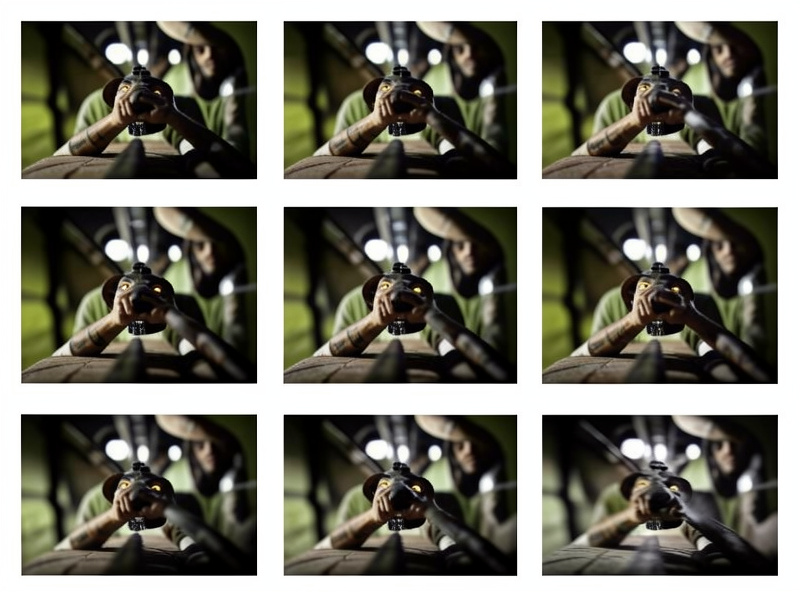
In practice you judge the overlap by eye using focus peaking or magnified live view. Focus on the near point, note where the peaking ends, then step the focus until the peaking has moved just past where it ended on the last frame — that is your roughly-one-third step. If the peaking jumps a long way with a tiny turn of the ring, your steps are too coarse and you will leave gaps; if it barely moves, you are wasting frames and adding merge time for no gain. The alignment math behind why a third is enough — and where the merge engine actually stitches the seams — is laid out in the Zerene Stacker usage guide at zerenesystems.com/cms/stacker/docs/howtouseit. At macro distances the steps become tiny and the frame count climbs fast, which is exactly why high-magnification work usually moves to a focusing rail rather than the focus ring — that decision is covered in the macro rail versus camera move deep dive. For landscape and product distances, the ring and a one-third overlap are all you need.
The classic mistakes are few, and they are the same ones every time. The first is leaving auto-ISO on, which I did on a twelve-frame product stack early on — the brightness drifted a third of a stop across the run as the lighting subtly changed, and the merge produced ugly color banding right at the seam where two differently-exposed frames met. The fix is manual exposure, always, checked on the histogram before frame one. The second is taking steps that are too large, which leaves gaps the merge fills with halos along high-contrast edges; the fix is smaller steps and the one-third overlap. The third is touching the camera between frames, which shifts the framing and produces alignment artifacts; the fix is a cable release and hands off.
The fourth mistake is movement in the scene itself — wind in a flower, a subject that settles, a tripod leg that slowly sinks on soft ground. Movement between frames is the one failure the software cannot fix, because two frames captured two different shapes of the same subject and no algorithm can decide which is true. The only remedies are a faster shutter to freeze the motion, a deflector to block the breeze, or reshooting in still conditions. If your merged file reads soft and you are not sure which of these hit, the blur diagnosis guide separates a stacking artifact from ordinary softness, and the full catalog of failures and fixes sits in the focus stacking artifacts guide. Most of these mistakes are capture problems disguised as software problems, and recognizing that is what turns a stacker from someone who fights the merge into someone who rarely has to.
The five-second habit that saves more stacks than any gear is checking coverage before you break down the tripod. After the last frame, scroll back through the run at full magnification on the rear screen and confirm that every part of the subject was critically sharp in at least one frame, with no gaps where nothing was in focus. If you find a stretch of the subject that was never quite sharp in any frame, reshoot that section with a smaller step before you move — it takes thirty seconds in the field and is impossible to fix at the computer.
What you are looking for is continuity: the sharp plane should travel smoothly from the nearest point to the farthest, with each frame’s sharp band overlapping the next. A gap shows up as a band of the subject that looks equally soft in every frame — no single capture owned it. Catching that on the rear screen is the difference between a stack that merges in one click at home and a stack you have to reshoot entirely because you already packed up. Treat the review as part of the shot, not an afterthought, and the failure rate drops to nearly zero.
If I were teaching someone this from scratch, I would have them stack a single static object on a table before they ever took the technique outside. A watch, a rusted tool, a small figurine — something with depth that does not move, lit by a window. Set the X-T5 on the tripod, lock everything manual, shoot eight frames with a one-third overlap, merge it in Lightroom, and study the result. That first controlled merge teaches the overlap, the alignment, and the review habit in one sitting, with none of the wind and light variables that make field stacks frustrating.
From there the progression is natural. Take the same discipline to a landscape with a strong foreground, then to a flower at closer range, and only then to true macro on a rail. At every step the non-negotiables are identical: tripod, locked head, manual exposure, fixed aperture, autofocus off, stabilization off, cable release, and a coverage check before you pack up. Get the capture clean and the software barely matters; get the capture sloppy and no software rescues it. Manual focus stacking is not a clever trick — it is a discipline, and like any discipline it rewards the people who do the boring setup every single time.
As an Amazon Associate I earn from qualifying purchases.
Not reliably. Every frame must align pixel-for-pixel at the merge, so even tiny shifts between handheld frames produce ghosting and soft edges. A locked tripod plus a cable release or two-second delay is the baseline the technique depends on.
Five to twelve frames covers most landscape and still-life subjects. Closer subjects with shallower per-frame depth need more, a flower might take fifteen to twenty, and true macro can climb into dozens. Count frames as you go until the focus plane has passed the farthest point.
Roughly a third. Step the focus so each new frame picks up just past where the previous frame started losing sharpness, giving the merge engine clean in-focus pixels along every edge. Too large a step leaves gaps and halos; too small wastes frames.
Yes. Shoot fully manual exposure with ISO at base, fix the white balance, and keep the aperture constant for the whole run. Any drift in brightness or color between frames shows up as banding or seams at the merge.
This walkthrough is the field half of a wider workflow. The focus stacking guide is the parent overview, and hyperfocal distance tells you when one frame is enough. For the camera-driven version, in-camera focus bracketing automates exactly this loop, and the software comparison picks the right tool for the merge. When a run goes wrong, the artifacts and fixes guide diagnoses what happened, and focus peaking for manual lenses sharpens the technique that makes hand-stepped stacks reliable.

Hyperfocal distance is the closest focus setting that keeps everything from half that distance out…

Moving the focus point beats focus-and-recompose almost every time at a wide aperture. Recomposing after…

Soft photos almost always trace to one of three causes: motion blur, missed focus, or…
Leave a Reply