Finding Your Lens Sharpness Peak: The Aperture Sweep on My Chart
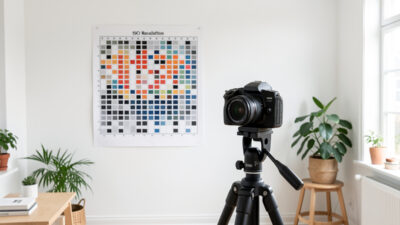
Nearly every lens is softest wide open, sharpest two to three stops down, and soft…
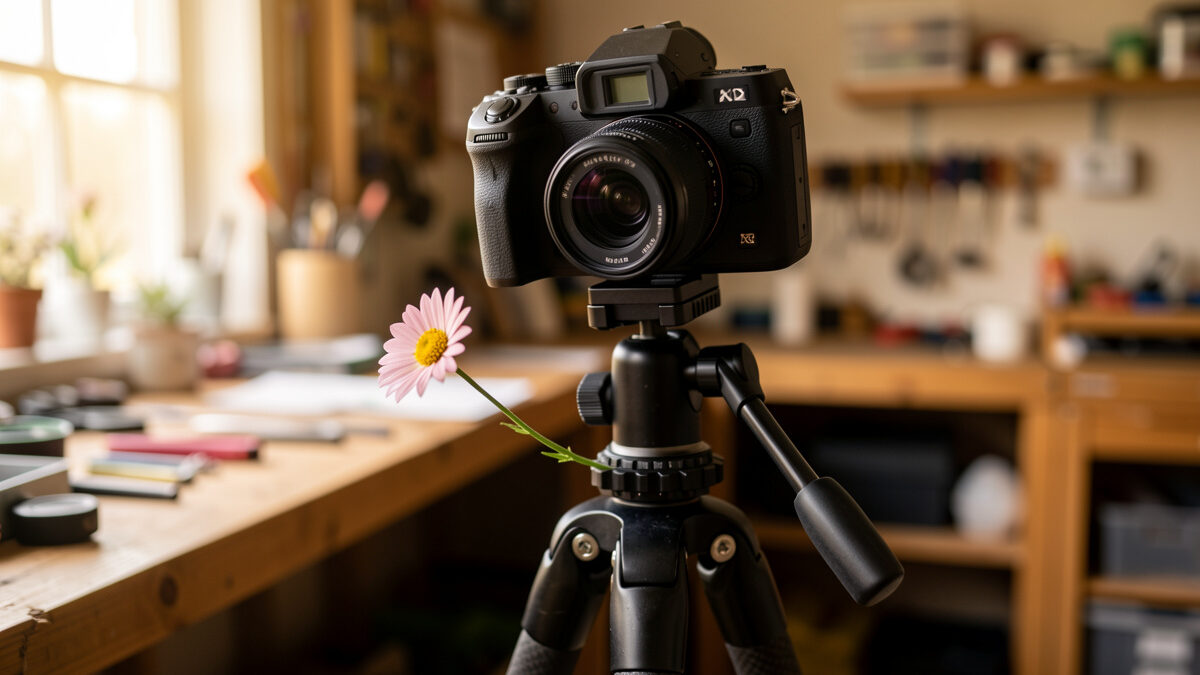
Focus stacking merges several frames focused at different distances into one image where every plane lands sharp. A five-frame stack at f/5.6 beats a single frame at f/22 because it dodges the diffraction that softens fine detail past about f/11 on my 40-megapixel APS-C body — you keep the sharpness the aperture would have stolen.
Depth of field is the wall every shooter runs into eventually. Stop down to push it deeper and diffraction erases the sharpness you just bought; open up to sidestep diffraction and only a sliver of the scene stays in focus. For decades the only answers were a compromise — pick the aperture that hurt least and accept what it cost you. Focus stacking breaks that trade cleanly. You shoot a run of frames, each critically sharp at its own focus distance, and let software pick the sharpest pixels from each one. The result is a single image that could not exist as one exposure: front-element-close foreground, infinity background, both crisp in the same file.
I run this workflow across two mounts — a Fujifilm X-T5 and a full-frame Sony a7 IV — and I have charted enough lenses against the wall to know exactly where the corner softness creeps in and where to stop down to kill it. This guide is the map I wish I had owned the day I first smeared a wildflower stack handheld and threw away a whole afternoon of frames. It pulls together the depth-of-field theory, the field technique, the software, and the failures into one place, with the separate pieces broken out into their own deep dives where you need more.
Focus stacking is the practice of capturing a sequence of frames focused progressively deeper into a scene, then blending the sharpest slice from each frame into one final file. You reach for it whenever the depth of field a single exposure can deliver — even stopped all the way down — is not deep enough to hold the whole subject sharp. The technique does not invent sharpness; it relocates sharpness that genuinely exists across several captures into one place.
You need it most in three situations, and recognizing them fast is half the skill. The first is macro and close-up work, where depth of field collapses to a millimeter or two at life-size magnification and no aperture will rescue you. The second is the wide landscape with a strong near foreground — the rock two meters from the tripod that also wants to read sharp against an infinite ridge. The third is product and still-life photography, where a client expects every edge and every label to resolve. You almost never need it for portraits, street, or anything where shallow depth of field is the entire point of the frame; stacking there is a category error. For the foundational controls underneath all of this, my aperture and depth-of-field guide covers the mechanics in more depth than this overview can.
Depth of field is the range of distances in front of and behind the focus point that read as acceptably sharp in the final print, and it shrinks along three axes at once: as you focus closer, as you open the aperture wider, and as you mount a longer focal length. At macro distances the numbers get brutal — at 1:1 magnification the total depth of field on a 40-megapixel APS-C sensor can sit under a single millimeter even stopped to f/16. That is the physics focus stacking exists to defeat.
The key insight is that depth of field is a perception, defined by a circle-of-confusion threshold rather than a hard boundary. Sharpness falls off gradually on either side of true focus, and “in focus” really means “close enough that the blur circle stays below the size your eye resolves at a given print size.” That is why stopping down helps — it shrinks the blur circle across a wider band of distances — and also why stopping down too far hurts: diffraction spreads every point of light into a larger Airy disk, and once that disk exceeds the circle of confusion, the whole image goes uniformly soft, edge to edge. There is no aperture that gives you everything. The exposure triangle governs the brightness side of this, and my exposure triangle guide covers how aperture, shutter, and ISO trade against each other; here we are living entirely inside the aperture leg of that triangle.
This is also why the idea of a single sharpest aperture is sensor-dependent, and why keeping two mounts on the bench is more than vanity. On the 40-megapixel X-T5, whose pixel pitch sits near 3 microns, diffraction becomes measurable on my chart by roughly f/8 — past that point the Airy disk the aperture produces is wider than the pixels resolving it, and fine detail visibly softens even as the depth of field keeps growing. The full-frame a7 IV, with its larger photosites, forgives about a stop more before the same softening shows up. That gap is the whole reason a stacking strategy earns its keep: a five-frame stack at f/5.6 keeps you on the sharp side of the diffraction limit while delivering the depth that only f/16 would buy in a single shot — and f/16 on a 40-megapixel sensor is a sharpness tax you never recover in post.
Hyperfocal distance is the closest focus setting that keeps everything from half that distance out to infinity acceptably sharp, and for a large share of landscape frames it makes stacking unnecessary. Focus at the hyperfocal point at f/8 or f/11 and the depth of field stretches from halfway to that point all the way to the horizon — one exposure, no merge, no software. The trick is knowing when your scene actually fits inside that envelope and when it does not.
The rule of thumb most shooters learn — focus one-third of the way into the frame — is an approximation that works because the acceptably sharp band extends roughly twice as far behind the focus point as in front of it. It falls apart when you have a foreground element closer than about twice that hyperfocal distance, which is exactly the moment you either reach for a focus stack or accept that the foreground goes soft. On my X-T5 at 23mm and f/8, the hyperfocal distance sits around two meters, meaning everything from roughly one meter to infinity reads sharp; if I want a flower at forty centimeters to also resolve, no single frame will deliver it. That is the practical line, and I have written a full hyperfocal distance guide that walks through reading the scales and the charts without the math getting in the way. Cambridge in Colour’s depth-of-field tutorial at cambridgeincolour.com/tutorials/depth-of-field.htm is the reference I still cross-check my mental numbers against.
The field trick that survives even when the hyperfocal scale is too cramped to read — or the lens does not have one at all — is the double-distance method. Focus on the nearest thing you want sharp, read its distance off the lens barrel or the focus readout, then refocus to twice that distance. That places the far edge of the depth of field at infinity and the near edge back at your original subject, which is every shooter’s default hyperfocal approximation, and it works because depth of field extends roughly twice as far behind the focus point as in front of it. On a wide lens stopped to f/8 it is usually all the precision a landscape needs, and I lean on it constantly when the printed scale is unreadable in low light.
Manual focus stacking means locking the camera on a solid tripod, fixing exposure and white balance so nothing drifts between frames, then refocusing in small overlapping steps from the nearest point you want sharp to the farthest and firing a frame at each step. Overlap each sharp slice by roughly a third so the software always has clean pixels to choose from. Done right it produces a set of frames the blender can stitch with no argument; done wrong it produces halos and ghosting that no software fully fixes.
The discipline is what trips people, and it tripped me. Early on I shot a wildflower stack handheld at f/8 absolutely convinced the in-body stabilization would carry it — the merge came out as a smeary, doubled mess because every frame was framed from a slightly different position and the alignment engine could not match the pixels. The lesson, paid for in a wasted afternoon: focus stacking is a tripod discipline, full stop. Lock the head, trip the shutter with a two-second delay or a cable release so you never touch the body, and disable autofocus so the lens cannot hunt between frames. Manual focus is more reliable than autofocus for this, and the focus peaking and manual-focus technique I rely on makes it easy to see exactly where each slice lands. I walk through the full step sequence and the mistakes in the dedicated manual focus stacking guide.
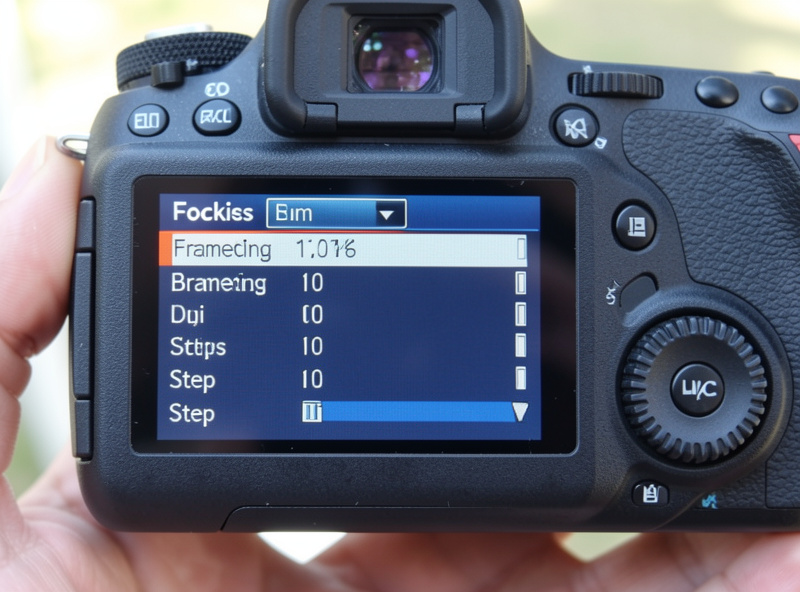
Modern bodies like my Fujifilm X-T5 and my Sony a7 IV will fire a pre-set bracket automatically, stepping the focus a calculated increment between each frame. You set the number of frames, you set the step width, you press the shutter once, and the camera runs the whole sequence in about two seconds. The focus plane crawls visibly through the scene — the rapid clack-clack-clack of the shutter, the depth ticker counting up on the rear screen — and you walk away with a clean, evenly spaced stack ready to merge.
The appeal is obvious: the spacing is consistent, the interval is repeatable, and you are not guessing whether you overlapped enough. The catch is that you are trusting the camera’s interval math, which is conservative on some bodies and aggressive on others, and the step value has to be matched to your magnification. At macro distances you need a far smaller step than the camera’s default, or you get gaps the software cannot bridge. The other catch is that the body fires the run at its current framing — if wind is moving your subject, an automatic burst of eight frames captures eight different shapes of the same flower, and the merge ghosts. Knowing when to trust the automation and when to take manual control is the real skill, and the in-camera focus bracketing guide covers the menu settings, the step math, and the trust thresholds in detail.
The step value scales with magnification in a way worth memorizing. Most bodies let you choose a step from one to ten, and the manual frames it in terms of the depth of field at your current aperture and focal length. At a landscape focus distance the default middle step is generous and a handful of frames covers the whole scene; at macro distances that same step leaves gaps the software cannot bridge, so you dial the step toward its minimum and push the frame count into the dozens. The reliable field test is to watch the focus plane travel across the rear screen as the bracket runs — if you can see a slice of the subject go sharp, then sharp again on the next frame with nothing crisp in between, your step is too large. Halve the step and roughly double the count, and the gaps close.
The blend itself happens in software, and the tool you pick matters as much as the captures. Lightroom and Photoshop handle landscape and product stacks cleanly through the Lightroom-to-Photoshop round-trip — select the frames, open them as layers in Photoshop, and Auto-Blend Layers does the alignment and blending. Dedicated tools like Zerene Stacker and Helicon Focus are built for the hair-thin depth of field of macro, where the generic mergers start producing artifacts. The right choice depends on subject movement, magnification, and how much control you want over the blend.
My split is straightforward. For landscapes and still product work where the subject is static and the depth is modest, the Lightroom-to-Photoshop round-trip is fast and good enough that I rarely open anything heavier. For macro — where I am stacking thirty or forty frames at high magnification and the depth per frame is razor-thin — I reach for a dedicated tool, because the alignment and the masking of which frame owns which pixel is exactly what those programs were engineered to do. Zerene’s PMax and DMap methods handle the kind of high-contrast edges that leave halos in a generic blender; their usage guide at zerenesystems.com/cms/stacker/docs/howtouseit documents the algorithm differences if you want the under-the-hood detail. The full feature-by-feature breakdown, including where Photoshop’s own auto-blend layers fit, is in the focus stacking software comparison.
The three classic stack failures are halos along high-contrast edges where the blend cannot decide which frame owns the pixel, ghosting from a subject that shifted position between frames, and movement artifacts when wind or a vibrating tripod shifts the scene mid-run. All three are capture problems disguised as software problems — by the time you see them in the merge, the frames are already broken, and no amount of slider work fully recovers.
Halos are the signature artifact: bright or dark fringes along the border between a sharp foreground subject and its out-of-focus background, where two frames both claim the edge and the blender splits the difference. They are worst at high magnification and high contrast, and the fix is overlap — more frames, smaller steps, so every transition is gradual. Ghosting is what you get when the subject moves: a doubled petal, a leaf with two outlines, because frame three caught the flower one way and frame seven caught it another. There is no cure for that except reshooting in still air or masking the subject manually. Movement artifacts from a tripod that flexed, or a front element that rotated slightly as focus traveled, look like smeared streaks across the merged frame and are the reason a locked-down, cable-released setup is non-negotiable. If your merged file reads soft and you cannot tell why, the blur diagnosis guide separates stacking artifacts from ordinary softness, and the focus stacking artifacts and fixes guide walks through each failure and its specific remedy.
For most landscapes, simply stopping down to your lens’s sharpest aperture — almost always somewhere in the f/8 to f/11 band — covers the depth you need and makes a stack unnecessary. You only reach for stacking when a foreground element sits too close for a single frame to hold both it and the distant ridge. Past about f/16, diffraction costs you more sharpness than the extra depth earns back, which is why f/22 is a trap, not a solution.
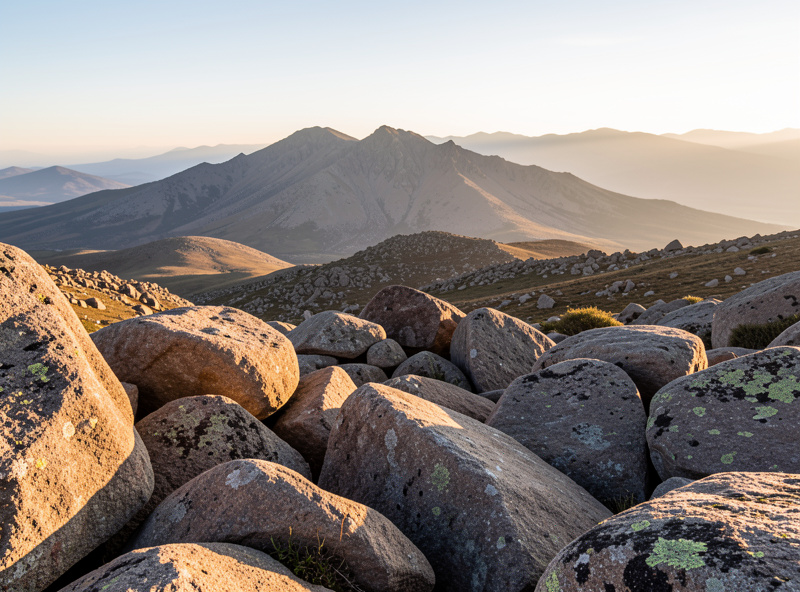
This is where the chart-AND-field method earns its keep. Every lens has a sharpest aperture you can only find by shooting a tripod-locked sweep from wide open to f/16 and reading the results on a flat target — my find-your-sharpest-aperture guide is exactly that procedure. On most of my primes the peak sits around f/5.6 to f/8; by f/11 the diffraction is faintly visible on the 40-megapixel sensor and by f/16 it is clearly costing detail in the corners. So the landscape decision becomes a real calculation: can a single frame at f/11 hold the foreground? If yes, shoot it — you keep peak sharpness and skip the merge entirely. If the foreground is too close, shoot two or three frames, one focused near and one at the hyperfocal, and blend. The dedicated landscape depth-of-field aperture guide runs the numbers and the field calls.
At macro magnifications the depth of field is so thin that a focus rail — a geared slider that moves the whole camera forward in measured increments — gives repeatable, evenly spaced slices that the software loves. Turning the focus ring by hand works too, but at 1:1 and beyond the ring moves the internal focusing elements in ways that shift focal length and field of view slightly between frames, which complicates the alignment. The rail sidesteps that by leaving the lens fixed and moving the entire assembly as a unit.
The trade-off is mechanical and worth knowing. A rail adds weight, cost, and setup time, and at very high magnifications even a good rail’s gearing can be coarser than the depth of field you are trying to step through — you end up with gaps. Turning the ring is faster and lighter and fine for modest magnifications where focus breathing is minimal. The deeper question is whether your lens breathes badly enough to matter, which is a copy-specific thing you can only learn by testing your own glass. I cover the gear, the spacing math, and the breathing test in the macro focus rail versus camera move deep dive, and the broader close-up fundamentals sit in the macro photography equipment and technique guide.
Most scenes can be solved by one of five approaches, and the table below maps which one fits your situation. Read it as a triage: pick the lightest method that covers your depth of field, and only escalate to a stack when the simpler options genuinely cannot hold the scene.
| Approach | Best for | Frames | Gear needed | Control | Post effort |
|---|---|---|---|---|---|
| Hyperfocal single shot | Wide landscapes, foreground beyond ~1 m | 1 | Camera and lens only | Low — set aperture, focus one-third in | None |
| Stop down to f/16 | Static scenes needing a touch more depth | 1 | Tripod to handle the slower shutter | Low — but diffraction caps the gain | None |
| Manual focus stack | Awkward scenes, older bodies, full control | 4–15 | Tripod, cable release, patience | High — you set every slice by eye | One merge in Lightroom or Photoshop |
| In-camera bracket + software | Repeatable landscape and product stacks | 3–30 | Body with bracket mode, tripod | Medium — you trust the interval math | One automatic merge |
| Macro rail + dedicated stacker | Close-up and 1:1+ magnification | 20–80 | Focusing rail, tripod, Zerene or Helicon | Very high — sub-millimeter spacing | Heavy — alignment and retouching |
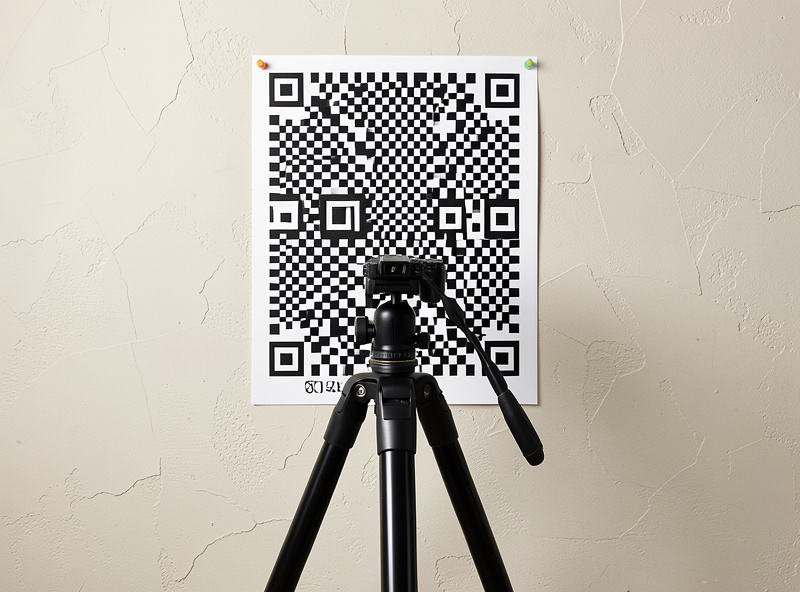
A focus stack is only as clean as the captures that go into it, and the settings that matter are the ones that keep every frame identical except for where the focus plane sits. Shoot RAW, lock the aperture so the depth of field stays constant across the run, lock the shutter and ISO so brightness never shifts, and fix the white balance so color does not drift frame to frame. Any of those moving between frames hands the merge engine a problem it was not designed to solve, and the artifact shows up as a seam or a color band right where the blend happens.
Aperture is the one people get wrong first. Pick the aperture for the run based on the per-frame depth of field you actually want — wide enough that each slice is clean and clear of diffraction, stopped down enough that each frame holds real depth so you do not need eighty frames to cover the subject. For landscape and product work I usually land around f/8, where most of my primes sit at their peak and each frame holds enough depth that a handful of slices covers everything. For macro I open toward f/5.6 to f/8 and accept that I will need many more frames, because the depth per frame is the binding constraint there, not the aperture sharpness. Whatever you pick, it stays fixed for the entire run — changing aperture mid-stack shifts the depth of field and the magnification slightly, and the merge shows the seam.
Shutter speed has to freeze the subject and the camera for every frame, not just the slowest one in the run. Wind moving a flower between frames is the classic macro killer, and the only real fixes are a faster shutter, a deflector to block the breeze, or reshooting in still air. Once you are on the tripod, disable in-body stabilization — IBIS floating between frames is exactly the kind of sub-pixel shift the alignment engine fights hardest against, and a locked-down tripod does not need it. Manual white balance, manual exposure, ISO locked low, stabilization off, autofocus off, and a shutter tripped with a two-second delay or a cable release: that checklist is the difference between a stack that merges in one click and one you fight for an hour.
If I were building this skill from zero, I would not start with macro and an eighty-frame rail stack. I would pick a static, forgiving subject — a still-life on a table, a chunk of rusted metal, a watch face — set up on the tripod, and shoot a five-frame manual stack with the lens wide enough that focus breathing is not a factor. Merge it in Lightroom, print it at A4, and study where it broke. That first successful merge teaches you more about overlap, alignment, and movement than any number of menu dives.
From there the path forks by subject. For landscapes, master hyperfocal distance first and reach for a two- or three-frame stack only when the foreground demands it — most of my landscape frames are still single exposures at the sharpest aperture, and that is the right answer far more often than stacking. For macro, invest in the rail and a dedicated stacker early, because the depth-of-field physics there leave no shortcut. Across both, the non-negotiables are the same: tripod, locked head, fixed exposure, no autofocus between frames, and a shutter tripped without your hand on the body. Get the capture clean and the software almost does not matter; get the capture sloppy and no software on earth will save you. That is the whole game.
Focus stacking is shooting several frames focused at different distances through a scene, then blending the sharpest slice from each into one image so the whole depth reads sharp. It beats stopping down alone because it avoids the diffraction that softens detail past about f/11.
It depends on depth. A landscape with a near foreground may need only two or three frames; a product shot typically four to ten; a macro subject at 1:1 can need 20 to 80 frames because the depth of field per frame is under a millimeter.
Rarely well. Because each frame must align pixel-for-pixel at the merge, even small shifts between handheld frames produce ghosting and soft edges. A locked tripod plus a cable release or two-second delay is the reliable baseline.
It is faster and more consistent, and on bodies like the Fujifilm X-T5 or Sony a7 IV it handles the spacing math for you. Manual stacking gives finer control and works on any body, so the better choice depends on magnification and how much movement is in the scene.
For landscape and product stacks the Lightroom-to-Photoshop round-trip (open the frames as layers and run Auto-Blend) is fast and clean. For macro and very high magnification, dedicated tools like Zerene Stacker and Helicon Focus produce fewer halos and ghosts because they are engineered for thin depth of field.
Halos come from too little overlap between frames at high-contrast edges, where the blender cannot decide which frame owns the pixel. The fix is shooting more frames with smaller focus steps so every transition is gradual rather than abrupt.
Each layer of focus stacking has its own guide. Start with hyperfocal distance explained if your scenes are mostly landscape, move into manual focus stacking for the field technique, then in-camera focus bracketing when you want the body to drive. For the desktop side, the software comparison picks the right blender, and artifacts and fixes diagnoses what went wrong. The two depth-of-field deep dives — landscape aperture and macro rail versus camera move — cover the specialist ends of the scale.
Nearly every lens is softest wide open, sharpest two to three stops down, and soft…
Hyperfocal distance is the closest focus setting that keeps everything from half that distance out…

You can gain one to two stops of handholdability without spending a krona, just by…
Leave a Reply