How to Shoot Silky Water: Waterfalls and Seascapes
To shoot silky water, put the camera on a rigid tripod, add an ND filter…
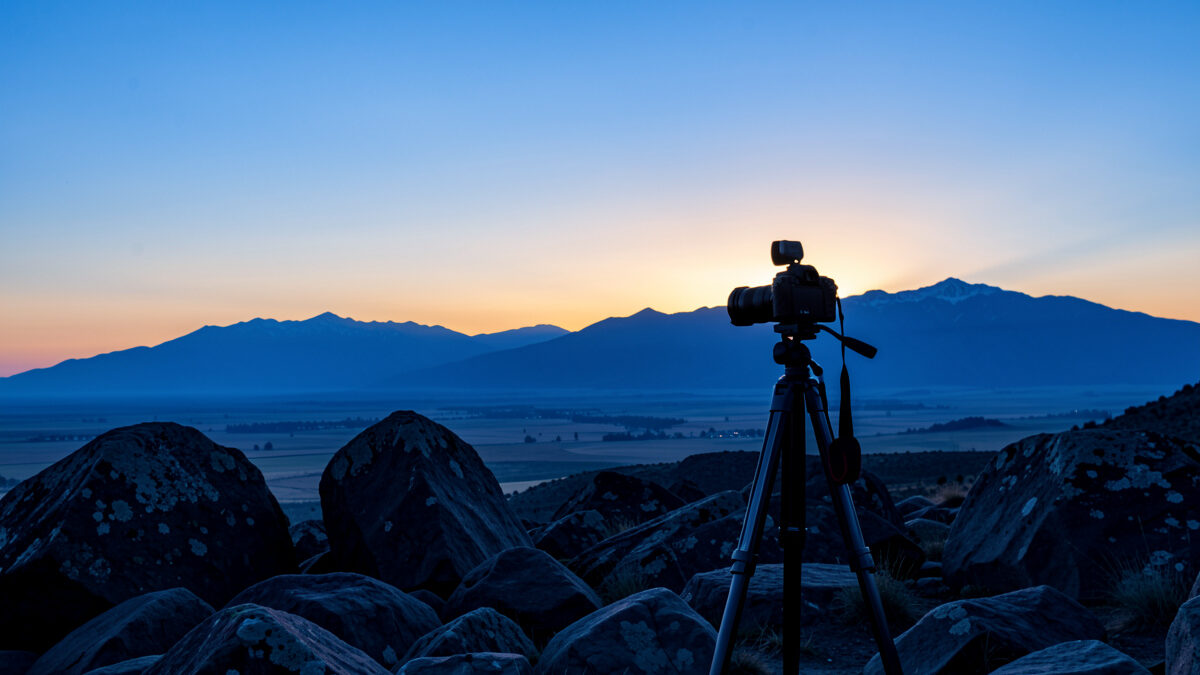
Hyperfocal distance is the closest focus setting that keeps everything from half that distance out to infinity acceptably sharp in a single frame, and it is the answer to the question every landscape shooter eventually asks: where exactly do I focus so the whole scene reads crisp? On my Fujifilm X-T5 with a 23mm lens at f/8, that point sits about two meters away, which means everything from roughly one meter to the distant horizon lands sharp without a second exposure.
The reason this matters is that depth of field is not symmetric. Acceptable sharpness extends roughly twice as far behind your focus point as it does in front of it, and hyperfocal distance is the specific focus setting that exploits that asymmetry to the fullest — push the far edge of the sharp band all the way out to infinity, and the near edge comes as close as physics allows. Get it right and one frame does the work of a stack; get it wrong and you either lose the foreground or waste sharpness on empty sky. This is the foundational depth-of-field technique that everything else in the focus stacking guide builds on, so it is worth understanding cold before you reach for a multi-frame workflow.
Strip the jargon away and hyperfocal distance is a single number for a given lens, aperture, and sensor: the exact distance to focus at so that the depth of field stretches from half that distance all the way to infinity. Focus at two meters and everything from one meter to the horizon is sharp; focus at four meters and everything from two meters out is sharp, but you have traded away a meter of near sharpness you did not need to give up. The number changes with focal length and aperture, but the principle is always the same — one focus distance that maximizes the usable sharp band.
The concept only exists because depth of field is defined by a tolerance, not a cliff edge. There is no hard line where sharp becomes blurry; instead, blur increases gradually on either side of true focus, and “acceptably sharp” means the blur circle stays small enough that your eye reads the point as clean at a given print size. That tolerance is called the circle of confusion, and on an APS-C sensor it works out to roughly 0.02 millimeters. Hyperfocal distance is simply the focus setting that keeps every point in the scene inside that tolerance band from half the distance to infinity. The aperture and depth-of-field mechanics underneath are covered in full in my aperture and depth-of-field guide; here we are putting those mechanics to work.
The hyperfocal formula is simple enough that the relationships matter more than the arithmetic: hyperfocal distance equals the focal length squared divided by the aperture times the circle of confusion, plus the focal length. The part worth remembering is the squared term, because it means hyperfocal distance scales with the square of focal length. Double your focal length and your hyperfocal distance roughly quadruples — a 23mm lens at f/8 has a hyperfocal around two meters, while a 46mm lens at the same aperture pushes it out toward eight.
This is why hyperfocal technique is a wide-angle game. The shorter the focal length, the closer the hyperfocal point sits, and the more near foreground you can hold sharp alongside infinity. At 16mm and f/8 the hyperfocal distance drops to about a meter, so everything from half a meter out is sharp — that is how landscape shooters get a foreground flower and a distant peak into the same clean frame. Stretch to 70mm and the hyperfocal jumps past thirty meters, at which point nothing in your foreground is going to read sharp no matter where you focus, and you are looking at a focus stack instead. The exposure triangle governs the brightness trade-offs you make to get to that aperture; my exposure triangle guide covers the shutter and ISO side of that bargain.
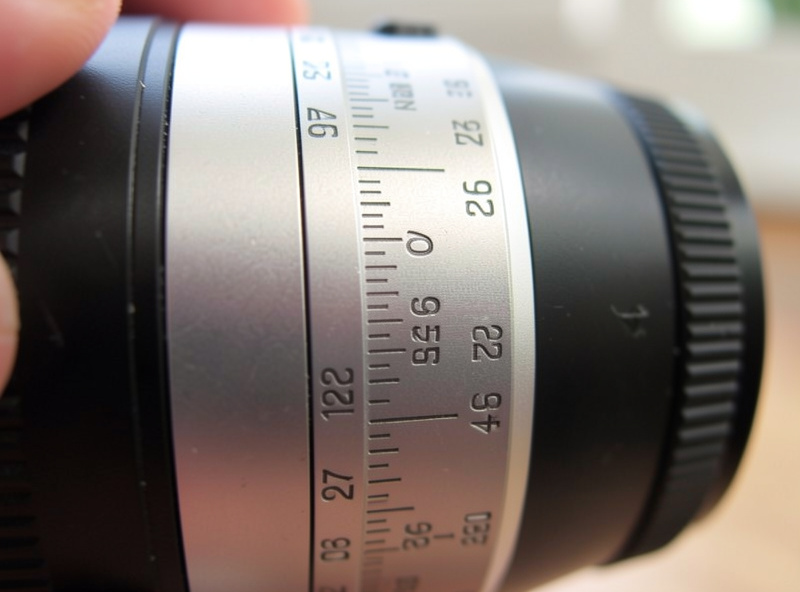
There are three ways to find it, and the right one depends on your lens and how precise the scene demands. The first is the depth-of-field scale engraved on the lens barrel, where paired marks for each aperture show the near and far limits at the current focus setting — align the far mark to the infinity symbol and read the hyperfocal distance off the focus index. The second is a chart or app, which takes your focal length, aperture, and sensor and returns the number directly. The third is the double-distance method, which needs no scale and no chart at all.
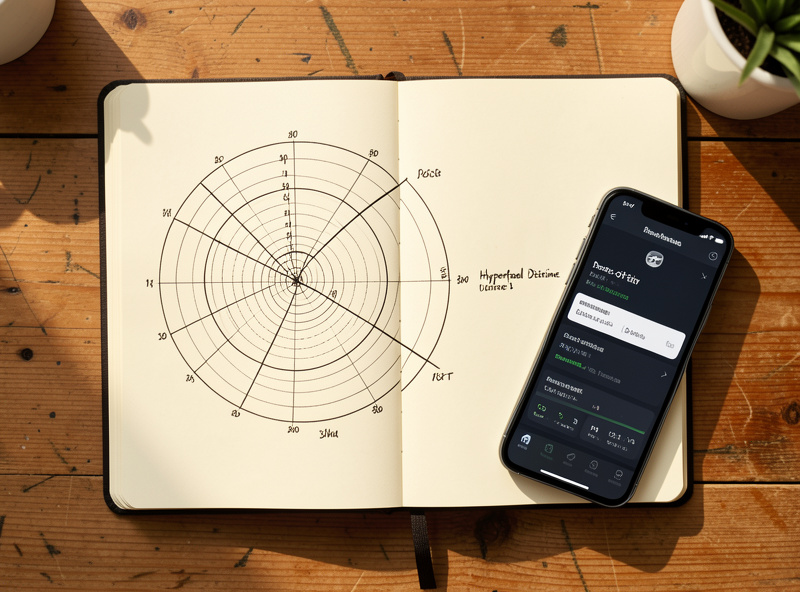
The double-distance trick is the one I use most, because most modern lenses do not carry a usable engraved scale. Focus on the nearest thing in the frame you want sharp, read its distance off the lens readout or estimate it, then refocus to twice that distance. That places the far limit of the depth of field at infinity and the near limit back at your original subject. It is an approximation — it assumes the one-third, two-thirds split holds — but on a wide lens at f/8 it is usually within the tolerance that matters for a print, and it costs zero gear and zero battery. Field planners like PhotoPills will give you the exact number when you want more precision, and Cambridge in Colour’s depth-of-field tutorial at cambridgeincolour.com/tutorials/depth-of-field.htm remains the reference I trust for the underlying math.
The practical answer, when you have no scale and no app, is to focus about one-third of the way into the scene — measured by distance, not by where objects appear in the frame. Because depth of field extends roughly twice as far behind the focus point as in front of it, focusing one-third in places the far edge near infinity and keeps a useful band of foreground sharp. It is the rule of thumb that works for the great majority of landscape frames, and it is what most experienced shooters do without thinking.
The nuance is that one-third-in is a default, not a law. If your foreground is very close — a flower at fifty centimeters, a foreground rock at arm’s length — one-third in will not hold it, because the near limit of the depth of field sits behind your subject. That is the moment you either open up the aperture’s effective depth by stopping down (and accept the diffraction cost I will get to next), focus-blend two frames, or recompose so the foreground sits further back. The error to avoid is blindly trusting one-third in when there is a strong near element, because the result is a foreground that reads just-soft enough to ruin the print. Finding your lens’s actual sharpest aperture is the other half of this call, and the aperture-sweep method I use gives you that number for your specific copy.
The temptation once you understand hyperfocal distance is to crank the aperture to f/16 or f/22 to push the near limit as close as possible and make the technique bulletproof. Resist it. On a high-resolution APS-C sensor like the 40-megapixel X-T5, diffraction starts softening fine detail by roughly f/8 and is clearly measurable by f/11; by f/16 the whole image has lost a visible step of crispness even though more of the scene is technically inside the depth of field. You trade real sharpness for depth you may not have needed.
The sweet spot is almost always f/8 to f/11 on a wide lens, which combines near-peak resolving power with a hyperfocal distance close enough to hold a useful foreground. I run my X-T5 against the full-frame a7 IV specifically to read this trade — the larger photosites of the full-frame body forgive about a stop more before diffraction bites, so I can push the a7 IV to f/11 or f/16 when I need the depth and pay a smaller sharpness tax. The takeaway is that aperture is a budget, not a free lever: spend the minimum that holds your foreground, and not a third of a stop more. When even f/11 on a wide lens cannot hold the foreground you want, that is the signal to move from a single hyperfocal frame to a focus stack; the landscape depth-of-field and aperture guide runs the exact aperture math for the wide-end call, and the why behind the softness is in the blur and softness diagnosis guide.
A hyperfocal frame breaks down when the depth of field at your sharpest aperture cannot stretch from the nearest element you want sharp to infinity — typically because a foreground subject sits inside half the hyperfocal distance. At that point no focus setting and no aperture will rescue the single frame, and you are in focus-stacking territory. The boundary is easy to feel in the field: if foreground detail looks soft in your test frame at f/11 and it gets worse rather than better when you stop down, you have crossed it.
This is the bridge between the two techniques. Hyperfocal distance is the lightest tool — one frame, no merge, no software — and it covers the majority of landscape scenes. Stacking is the heavier tool you reach for only when the physics of a single frame will not cooperate, usually because of a close foreground, a longer focal length, or macro magnification. Knowing exactly where that line sits, for your lens and your body, is what stops you from either stacking frames you never needed to or accepting a soft foreground because you did not realize one more frame would have saved it. The full stacking workflow sits in the main focus stacking guide, and the specific field steps for a manual run are in the manual focus stacking walkthrough.
The mistake I made for years was trusting the engraved hyperfocal scale on a cheap zoom lens that turned out to be optimistic by a full stop. I would line the f/8 mark up to infinity in pre-dawn blue hour, fingers numb on the cold focus ring, fire the frame, and only discover at the computer that the foreground rock was soft. The scale said I was covered; the sensor disagreed. The scale was calibrated for a larger circle of confusion than a 40-megapixel sensor demands, so “acceptably sharp” on the barrel meant visibly soft on my chart.
What I do now is simpler and more honest. I default to the double-distance method for quick landscape frames, I verify with a calculator app when the foreground is demanding, and I stop down only as far as f/11 on the X-T5 before I switch to stacking rather than push into diffraction. If a frame matters, I check the foreground at 100 percent on the rear screen before I move on — a five-second habit that has saved more frames than any piece of gear I own. Hyperfocal distance is not a secret; it is one number and one habit, and the habit is verifying the foreground actually read sharp.
It is the closest focus distance that keeps everything from half that distance out to infinity acceptably sharp in one frame. Focus there and your depth of field stretches from halfway to that point all the way to the horizon.
Aim for about one-third of the way into the scene, measured by distance. Because depth of field extends roughly twice as far behind the focus point as in front, one-third in places the far edge near infinity while keeping the foreground sharp.
On a high-resolution APS-C body, f/8 to f/11 is the practical range. Stopping down further pushes the near limit closer but diffraction softens the whole image past about f/11 on a 40-megapixel sensor, so you trade sharpness for depth you may not need.
No. A barrel scale or a calculator app gives precision, but the double-distance method needs neither: focus on the nearest subject you want sharp, then refocus to twice that distance and the far limit lands at infinity.
When the nearest element you want sharp sits inside half the hyperfocal distance, no single frame at a non-diffraction aperture can hold it. That close-foreground situation is the signal to switch from one hyperfocal frame to a focus stack.
Hyperfocal distance is the entry point to a wider depth-of-field toolkit. The focus stacking guide is the parent overview, and the aperture and depth-of-field guide covers the underlying mechanics. For the aperture side, finding your lens’s sharpest aperture tells you where diffraction begins on your copy, and the exposure triangle explains the shutter and ISO trade to reach that aperture. When a single frame will not hold the foreground, the manual focus stacking walkthrough picks up exactly where hyperfocal leaves off.
To shoot silky water, put the camera on a rigid tripod, add an ND filter…

Soft photos almost always trace to one of three causes: motion blur, missed focus, or…
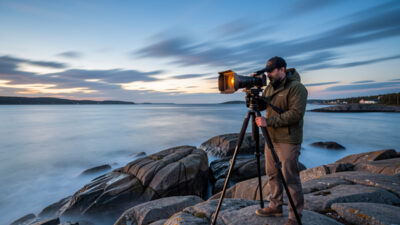
Daytime long exposure photography means stacking a strong neutral-density filter over your lens so the…
Leave a Reply