Manual Focus Stacking: Field Steps and Common Mistakes
Manual focus stacking is the field discipline of locking your camera on a tripod, freezing…
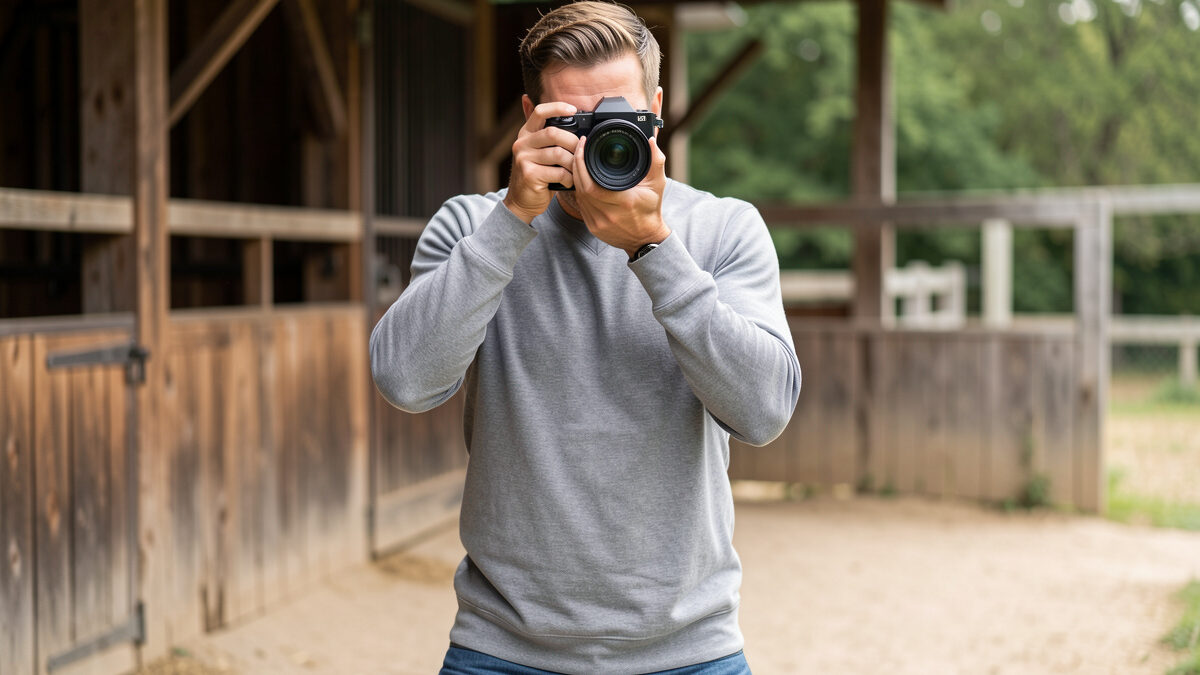
You can gain one to two stops of handholdability without spending a krona, just by fixing how you hold the camera. Most handheld blur is a bracing problem, not a shutter-speed one — elbows winged out, breath held wrong, the shutter stabbed instead of squeezed. Tighten your platform and shoot sharp.
I hold my Fujifilm X-T5 steady enough to keep a 35mm-equivalent frame sharp at 1/8s with a decent keeper rate, and sloppy I’d need 1/30s for the same result — that’s two full stops from technique alone, before stabilization even enters the picture. Your body is the tripod, and most people build a wobbly one. Here’s how I build a steady one, position by position. It’s a core lever in the wider sharp-photos system.
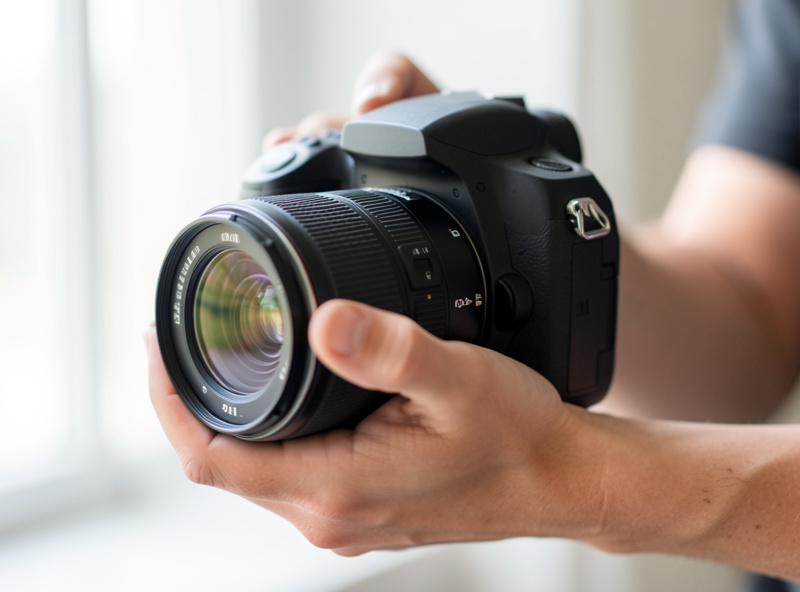
The single biggest fix is your left hand. Most people pinch the side of the camera with the left hand, which does nothing to support the weight and leaves the lens free to droop and wobble. Instead, turn the left palm up and cradle the lens from underneath — the camera’s whole weight sits in your palm, your fingers rest on the focus or zoom ring, and the right hand just grips the body and works the shutter. Now the heavy end is supported from below, the way a rifle rests on a supporting hand.
Then pull both elbows into your ribcage. Winged-out elbows turn your arms into wobbling levers; tucked elbows brace against your torso and kill most of the sway. On a cold morning I can feel the difference in my forearms — tucked in, there’s a solid, quiet steadiness; winged out, a faint tremor I can actually see in the viewfinder. The right hand should hold firmly but not white-knuckle; a death grip transmits your pulse straight into the frame. Photography Life’s technique writing echoes this, and their broader field guidance at Photography Life is worth a read for the small refinements. Grip the lens from below, tuck the elbows, relax the hands — that trio alone is a stop.
Your breathing moves the camera more than you think. Every inhale lifts your chest and the camera with it; every heartbeat sends a tiny pulse up your arms. The marksman’s trick works for photographers too: exhale about halfway, then pause at the natural bottom of the breath and fire during that still moment. Don’t hold a full lungful — that builds tension and a tremor of its own — and don’t fire mid-inhale, which is the wobbliest point in the cycle.
I time the shutter to that exhale-pause without thinking about it now, but it took deliberate practice. There’s a rhythm to it: settle, half-exhale, pause, squeeze, all in about two seconds. For very slow shutter speeds I’ll even time between heartbeats — you can feel the pulse settle for a fraction of a second, and that’s the window. It sounds fussy written down; in practice it’s the difference between a 1/15s frame that’s sharp and one that’s a whisker soft. Breath control is free and it’s worth most of a stop on its own.
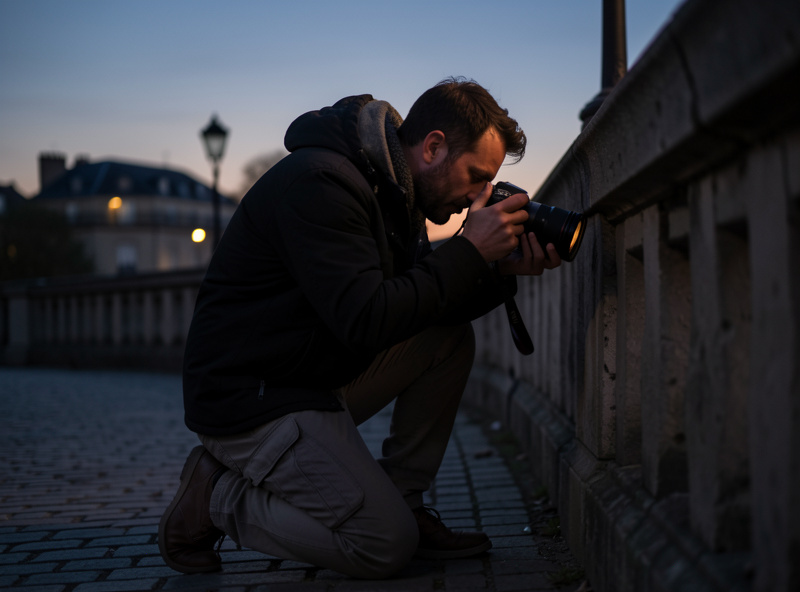
Beyond grip and breath, your whole stance is structure. Standing, set your feet shoulder-width with one slightly forward and your weight settled — not locked-knee rigid, but planted. For more stability, drop lower: kneeling with one elbow braced on a raised knee turns your leg into a monopod. Lower still, sitting with both elbows on your knees is rock-steady, and going fully prone with the camera resting on your hands or a bag is nearly tripod-stable for landscapes and wildlife.
The lower and more braced you get, the slower a shutter you can hold. Here’s roughly how the positions stack up for me, expressed as how much slower than my standing baseline I can shoot and still keep frames — your numbers will differ, which is why testing yourself (below) matters more than any chart.
| Position | Stability vs. standing | Best for |
|---|---|---|
| Standing, elbows tucked | Baseline | Everyday, quick candids |
| Standing, braced against a wall | ~1 stop slower | Interiors, street at dusk |
| Kneeling, elbow on knee | ~1–2 stops slower | Low angles, low light |
| Sitting, both elbows on knees | ~2 stops slower | Long lens, patient work |
| Prone, camera on a bag | ~3 stops slower | Landscapes, wildlife |
The world is full of tripods if you look. A wall, a doorframe, a lamppost, a fence rail, the roof of a car — press the camera or your bracing hand against any solid surface and you borrow its stability. Leaning your shoulder into a wall while shooting steadies your whole torso. A railing under the lens turns a handheld shot into something close to a monopod. I’ve shot sharp half-second frames in cathedrals by simply wedging the camera against a stone pillar and timing my breath.
For soft or uneven surfaces, a beanbag is the field photographer’s secret weapon — a fabric bag of beans or rice molds around the camera on a wall, a rock, or a car window and holds it dead still. A pocketable one lives in my bag for exactly the moments a tripod is banned or too slow to deploy. If you want to add one, a simple camera beanbag support costs little and weighs almost nothing.
As an Amazon Associate I earn from qualifying purchases.
When even a beanbag isn’t enough and you need true stability, that’s tripod territory — I cover the light-but-stable options in my tripod buying guide. And a comfortable strap matters more than people admit: a camera hanging from a good neck or sling strap can be pulled taut against its tether for a surprising amount of extra steadiness.
Squeeze, always. Jabbing the shutter button pushes the whole camera down at the exact instant of exposure — you’re adding shake precisely when you can least afford it. Roll your finger onto the button in one smooth press, the way you’d squeeze a trigger, so the shutter fires almost as a surprise. On my bodies I can feel the shutter’s second curtain as a soft double-tap in my palm when my technique is clean; when I stab, it’s a lurch.
Two more tricks. First, use the two-second self-timer for static subjects — it removes your finger from the equation entirely, letting any press-induced wobble settle before the shutter fires. Second, shoot short bursts. The middle frame of a three-shot burst is almost always the sharpest, because the first frame absorbs the tiny shake of your initial press and the burst rhythm smooths out the rest. For anything critical and static I combine all of it: braced position, half-exhale, two-second timer, and I let the camera fire itself.
Up to a point, yes — mass is your friend. A heavier body-and-lens combination has more inertia, so the same small tremor moves it less; the weight literally damps your shake the way a heavy tripod head resists a nudge better than a flimsy one. This is why a tiny, featherlight camera can actually be harder to hold steady than a substantial one, and why some shooters add a grip or a small counterweight to a diminutive body. My X-T5 with the XF 16-55mm f/2.8 mounted is heavier than the little kit zoom, and it’s noticeably steadier in the hand for it — the mass settles.
But there’s a ceiling: too heavy and your muscles fatigue, the tremor grows, and steadiness collapses. The sweet spot is a combination substantial enough to have inertia but light enough that you can hold it without your arms shaking after thirty seconds. Ergonomics matter as much as raw weight — a body that fills your hand with a deep grip is easier to stabilize than a slab you’re pinching, regardless of the number on the scale. When you’re choosing gear, factor how a body actually sits in your hand, a point I weigh in the broader sharpness discussion. Weight helps until it hurts; find your balance point.
Long glass changes everything, because the reciprocal rule punishes reach: a 300mm-equivalent lens magnifies your tremor as much as it magnifies the subject, so it needs a much faster shutter and far more careful support than a 35mm. The cardinal rule is to support the lens, not the body — cradle it well forward, near its balance point or the tripod foot, so the heavy front end is held from underneath rather than cantilevered off the camera mount.
Beyond grip, three things save telephoto frames handheld. Lean on optical stabilization, which is tuned for the focal length and helps most at long reach — the whole IBIS-versus-OIS question is in image stabilization explained. Use a panning motion for moving subjects: track smoothly and fire mid-pan so your movement matches the subject’s, keeping it sharp while the background streaks. And tuck in tight — for my XF 70-300mm I drop to a knee whenever I can and brace the supporting elbow, because standing free-hand at 450mm-equivalent is a coin flip below 1/1000s. The longer the lens, the more every one of these fundamentals matters, and the sooner you should reach for a real support.
Don’t guess — measure. Pick a static, finely textured subject, and shoot ten frames at your doubled-reciprocal shutter, then ten a stop slower, then ten two stops slower, bracing properly each time. Pull them up at 100% and count the keepers per batch. The shutter speed where your keeper rate falls off a cliff is your personal handheld limit, and knowing it as a number changes how you shoot — you stop hoping a frame is sharp and start knowing it will be.
My braced-standing limit with a 35mm holds about 70% keepers at 1/15s and collapses below that. Yours might be faster or slower; hands vary, and caffeine, cold, and fatigue all move the number. Re-test occasionally. This pairs directly with two other levers: stabilization, which buys back shake latitude for static subjects (see image stabilization explained), and knowing which kind of blur you’re even fighting (see why your photos look soft). Handholding technique is the free foundation under both.
If you drill one thing this week, drill the grip-and-breath combo: left palm under the lens, elbows tucked, half-exhale, squeeze. It’s the fastest stop you’ll ever gain and it costs nothing but attention. Then learn to spot bracing surfaces automatically, so reaching for a wall or a railing becomes reflex rather than an afterthought. A tripod is still the right tool when you have the time and the room — but the photographer who can hold a camera steady without one gets the shot the tripod-dependent shooter walks away from.
Manual focus stacking is the field discipline of locking your camera on a tripod, freezing…
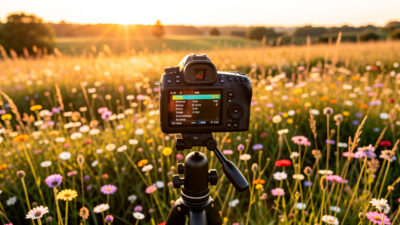
In-camera focus bracketing is the feature, built into bodies like my Fujifilm X-T5 and Sony…
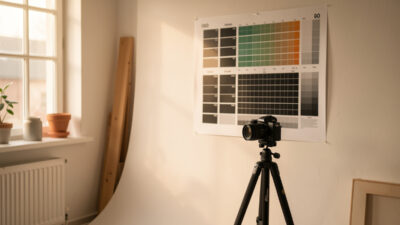
Sharp photos are not luck or the price of a pricier body. A tack-sharp frame…
Leave a Reply