Camera Lens vs Telescope for Astrophotography: How to Choose
Camera lens or telescope for astrophotography? Focal length matrix, mount and tracking requirements, cost comparison,…
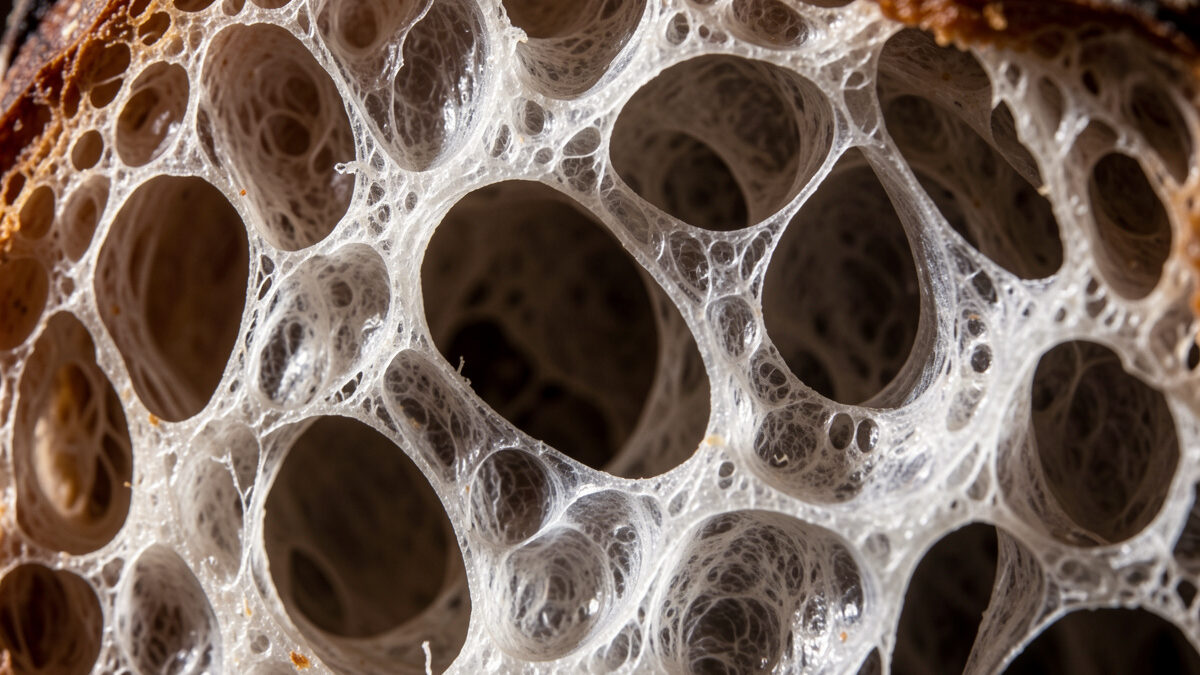
To photograph a sourdough crumb, rake a low side light across the cut face and get close with a macro. Texture only appears when light skims the surface at a shallow angle, throwing a tiny shadow into every open hole and translucent wall. Kill the overhead bulbs, cut the loaf, turn the crumb almost parallel to a low window, and the same slice goes from grey oatmeal to edible landscape.
This is the shot that dragged me into food photography in the first place. I bake, I chart lenses, and for a long time my bread photos betrayed both crafts — three days of fermentation reduced to a flat grey wall by a ceiling LED. The fix was pure optics and pure light, and it’s the most satisfying texture problem I’ve ever solved on the wall. Here’s exactly how I shoot a crumb now, and how the same method works on any surface with texture.
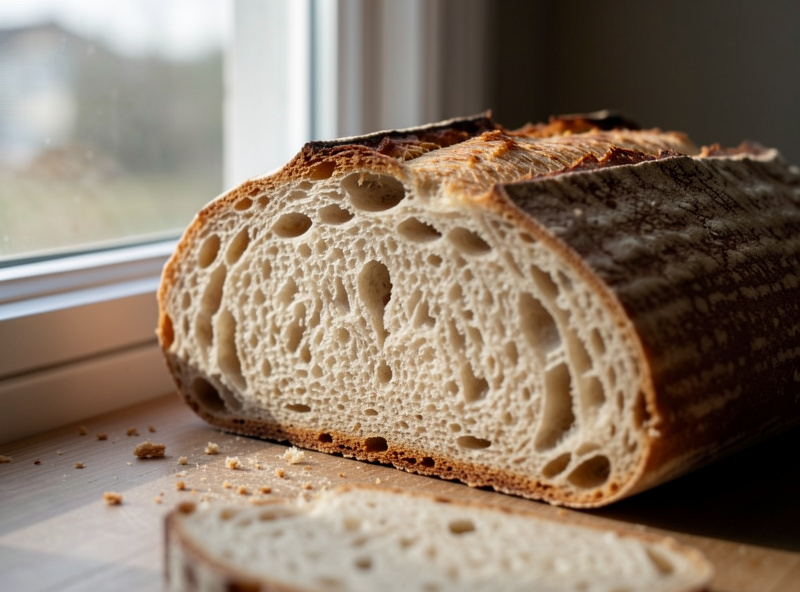
Texture work sits at the intersection of the two skills that matter most in the whole beginner workflow: light direction and lens choice. If those two aren’t dialed, no crumb will sing — so this article assumes you’ve read the window light and lens guides and want to push texture as far as it goes.
Because the light is hitting it from the front or from directly above, filling every hole evenly and erasing the shadows that make texture visible. A crumb is a three-dimensional landscape of holes and ridges; without shadow, that landscape reads as a flat grey wall. Front light — a pop-up flash, a phone torch, an overhead bulb — is the single reason most bread photos look dead.
Texture is shadow. The open crumb of a well-fermented loaf is thousands of little caverns with translucent, gelatinized walls, and what your eye reads as “airy and beautiful” is really the interplay of light catching the walls and shadow pooling in the holes. Light the crumb flat and you fill every hole with the same brightness — no shadow, no depth, no story. My first grey sourdough failed for exactly this reason: the kitchen LED sat directly overhead, dumping even light straight down into every hole so none of them cast a shadow. Forty megapixels of resolution recorded a perfectly sharp picture of nothing.
The concept that fixes it has a name in the art-conservation and photography world: raking light, light that strikes a surface at a very shallow, grazing angle to reveal its relief. Curators use it to read the brushstrokes on a painting; I use it to read the holes in a crumb. Once you think in terms of raking light, every texture shot gets obvious.
Put a single low light source to the side of the cut face and let it graze across the crumb almost parallel to the surface. The lower and more raking the angle, the deeper the shadows in each hole and the more three-dimensional the crumb looks. A north window at table height, or the low sun of early morning, is ideal. One directional source, low and to the side — that’s the whole recipe.
In practice I cut the loaf, stand the slice up (or lay the cut boule so its face angles toward the light), and position it so the window rakes across the crumb rather than hitting it head-on. The difference is instant and a little bit magical: rotate the slice a few degrees so the light goes from frontal to grazing, and you watch shadows drop into every hole, the translucent walls light up, and the flat grey wall becomes terrain. I usually add a black card on the far, shadow side — negative fill — to keep the shadows from filling with room bounce and to deepen the relief further.
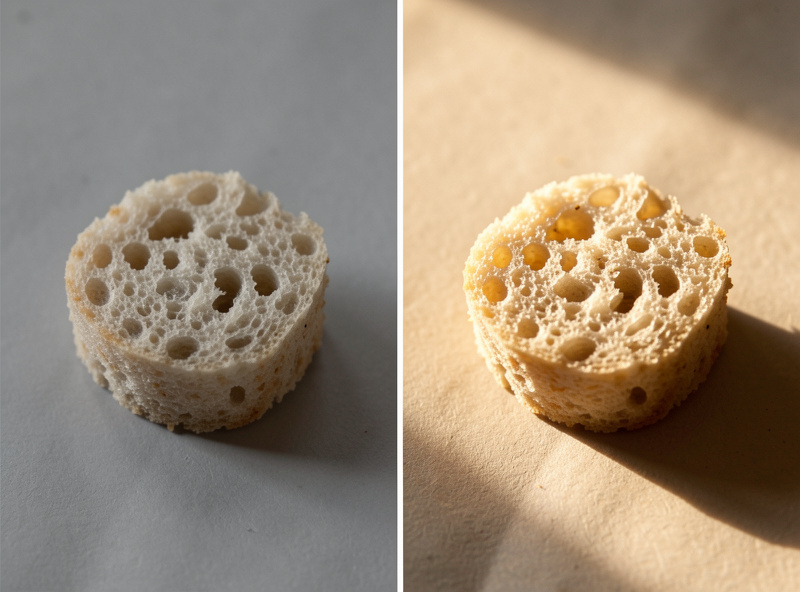
One source, not two. The temptation is to fill the shadow side with a reflector so nothing goes too dark, but on texture that kills the effect — fill the shadows and you flatten the relief you worked to create. Keep it single-source and directional. If the shadows are so deep the crumb reads as pure black in the holes, back the black card off slightly or let a whisper of white bounce in, but err toward too-dark. The whole point is shadow; don’t be afraid of it. This is the opposite of how you’d light a bright, airy breakfast plate, and that contrast is exactly why texture is its own skill.
A macro lens at f/5.6 to f/8, on a tripod, at base ISO. Texture work is close-up work, so you need a lens that focuses near enough to fill the frame with the crumb — a short macro at 0.5x or better. Stop down to f/5.6–f/8 so the depth of the crumb stays sharp front to back, lock the camera on a tripod, and drop to base ISO for the cleanest detail. There’s no motion, so shutter speed is irrelevant.
On my X-T5 I reach for a macro here because a normal prime simply can’t focus close enough to fill the frame with a two-inch square of crumb. A short 60mm-class macro lens is the tool that gets you there. Magnification is the spec that matters — you want to get the holes big in the frame — and I explain why in the lens guide; if the difference between focal length and magnification is fuzzy, Cambridge in Colour’s macro primer lays it out. Aperture is a balancing act: a crumb has real depth, so wide open at f/2.4 only a single wall is sharp, but past f/8–f/11 diffraction starts softening the fine gluten strands on a 40MP sensor. I live at f/5.6–f/8 for crumb, focus a third of the way into the depth of the slice, and trip the shutter with a two-second timer so nothing shakes the frame.
Because I’m shooting a static slice on a tripod, I can expose to the right and shoot at ISO 125 for maximum detail — there’s no reason to rush. I also shoot RAW, because the translucent crumb walls carry subtle color and highlight information that only survives in a RAW file. The crumb is one place where my 40MP sensor genuinely earns its keep: at that resolution you can see individual gluten strands and the sheen on a well-gelatinized wall, detail that vanishes on a lower-resolution body or through a soft lens.
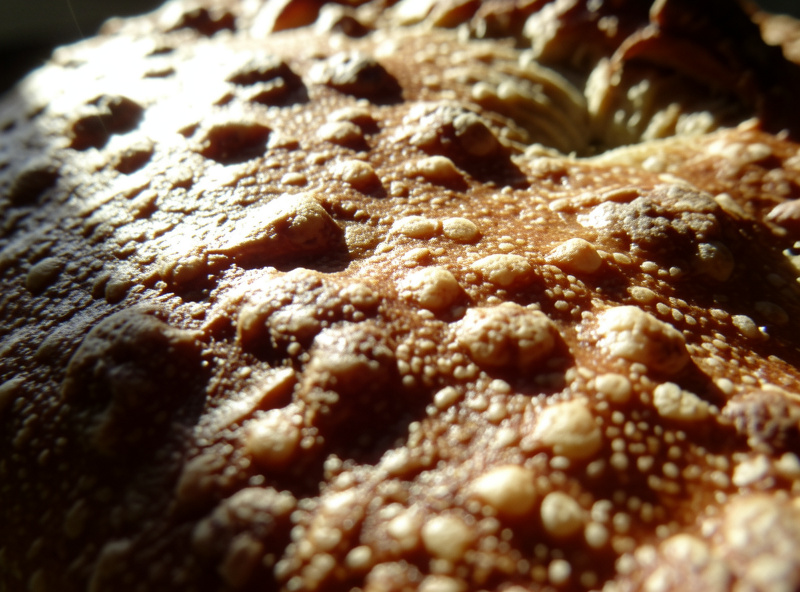
Same principle, harder rake. A crackled crust with blisters and ears wants an even lower, harder light to carve out every crack and bubble — sometimes direct low sun for a bit of sunstar and sparkle on the crust’s high points. The method that works on a crumb works on any textured surface: cheese rind, sugar crystals on a doughnut, the sear on a steak, flaky pastry layers. Low, raking, single-source light plus close focus.
The crust is the crumb’s dramatic sibling. Where the crumb wants soft directional light to show its open interior, the crust can take harder light because its texture is bolder — the blisters, the scoring ears, the crackle. I sometimes let a hard beam of low morning sun hit a crust directly, which throws tiny hard shadows off every blister and can even give a faint sunstar where the light catches a high point. On my copy of the XF 35mm, stopping down toward f/11 gives a modest sunstar, though for crust I usually still favor the macro to get in close on the crackle.
Once you own this method, you own texture everywhere. The same raking-light-plus-macro approach photographs the frost on a grape, the crystalline edge of flaky salt, the striations in a chocolate bar’s snap, the open weave of a knitted piece — this is why the technique crosses over into every other subject I document. The camera that charts my lenses and shoots the crumb also shoots the welded rig, the leather grain, and the hydroponic root mass, and every one of those is a texture problem solved with the same low, grazing light.
Shooting the loaf whole before you cut it, and filling the shadows. The crumb is inside — you have to cut the bread and shoot the fresh cut face, ideally within minutes before it dries and dulls. And the instinct to bounce light into the shadows flattens the very texture you’re after. Cut first, shoot fast, light from one low side, and let the shadows stay dark.
Here’s my own worst crumb failure, and the lesson in it. I once shot a gorgeous loaf whole and proud, then cut it hours later for the “interior” shot — and the cut face had dried, the walls had gone matte, and the crumb photographed dull and lifeless. A fresh cut face has a faint sheen and slightly translucent walls that catch raking light beautifully; twenty minutes later that’s gone. Now I stage everything first — camera on the tripod, light set, black card in place — and only then cut the loaf, so the fresh face meets the raking light while it’s still glistening. The sensory tell you’ve nailed it: lean in and the cut crumb smells of tang and warm wheat, the walls catch a soft sheen as you rotate the slice, and the holes go black and deep as the light rakes lower. That moment — the crumb turning from bread into landscape — is the whole reason I chase texture at all.
As an Amazon Associate I earn from qualifying purchases.
Cut the loaf and light the fresh cut face with a single low light source that rakes across the crumb almost parallel to the surface. This grazing light throws a shadow into every hole and lights the translucent walls, turning a flat grey crumb into three-dimensional texture. Use a macro lens at f/5.6 to f/8 on a tripod.
The light is hitting the crumb from the front or directly overhead, filling every hole evenly and erasing the shadows that create texture. Switch to a single low side light that grazes across the surface, and the crumb gains depth immediately.
A short macro lens at 0.5x magnification or better, because texture work is close-up work and a normal lens cannot focus near enough to fill the frame with the crumb. Shoot at f/5.6 to f/8 so the depth of the crumb stays sharp without diffraction softening the fine detail.
No. Filling the shadows flattens the relief you are trying to reveal. Keep the light single-source and directional, and add a black card on the shadow side to deepen the shadows further. Texture is shadow, so err toward too dark rather than too flat.
Within a few minutes. A fresh cut face has a faint sheen and slightly translucent walls that catch raking light beautifully, but it dries and goes matte within about twenty minutes. Stage the camera, light, and cards first, then cut and shoot immediately.
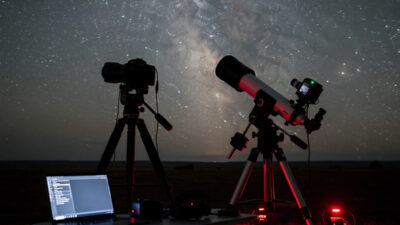
Camera lens or telescope for astrophotography? Focal length matrix, mount and tracking requirements, cost comparison,…

For landscape photography, use aperture priority mode at f/8 to f/11, ISO 100-400, and focus…
Successful backyard chicken photography comes down to three things most people skip: a focal length…
Leave a Reply