Astro-Landscape Photography: Wide-Field Milky Way Compositions with Camera Lenses
You capture a Milky Way arch by mounting a fast wide-angle lens on any DSLR…
Successful backyard chicken photography comes down to three things most people skip: a focal length that respects flight distance, getting down to eye level, and the patience to wait for light, expression, and pose to align.
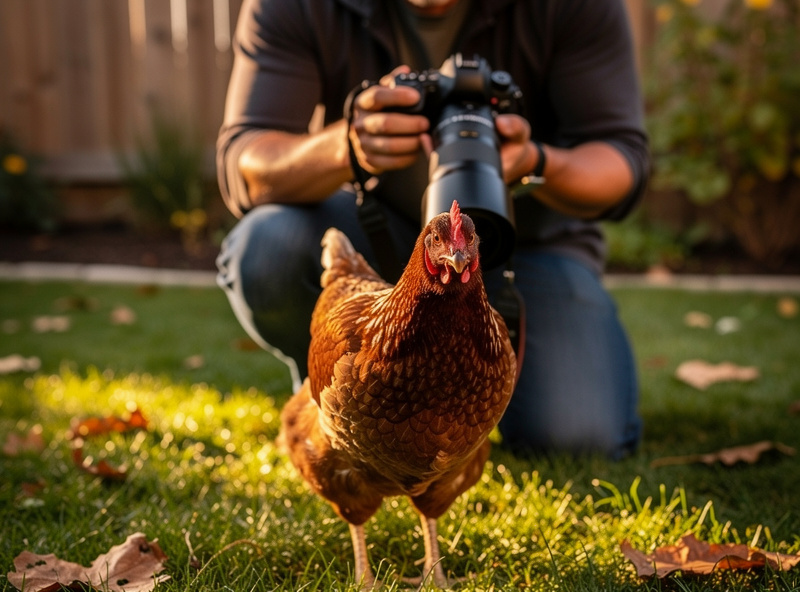
Most people shooting chickens in their yard make the same lens mistake — standing too close with a kit zoom that forces the bird to back away, ruining the natural pose before the shutter even fires. Fix that single variable and the rest of the photo falls into place dramatically faster than switching cameras ever would. A 70-200 mm lens (100-400 mm ideal for skittish breeds) keeps you 8-15 feet from the bird while filling the frame, which matters because most chickens reflexively step back once you close inside a certain working distance — exactly how far varies by breed and how tame the bird is, but staying back with a longer lens is the fix either way.
Chickens have a personal-space threshold — get too close and they reflexively step back, breaking the natural pose. A 35-70 mm lens forces you inside that distance for a frame-filling shot, which is why most chicken photos taken with a kit lens look like the bird is fleeing the camera. A 70-200 mm lens lets you shoot from 8-15 feet away, beyond the flight zone, capturing chickens behaving naturally.
The right lens for backyard chicken photography:
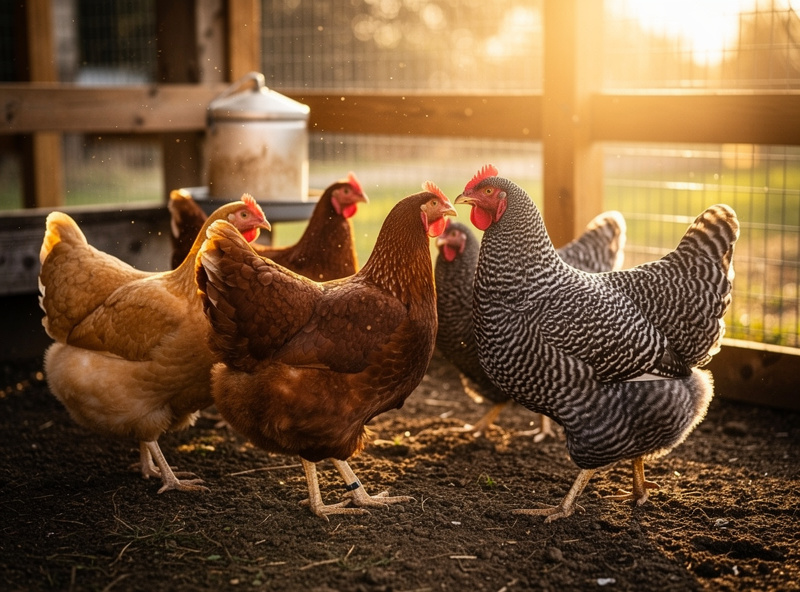
For my backyard flock sessions I reach for the Fuji X-T5 with the XF 70-300mm — at the 40MP sensor’s resolving power, the lens’s sharpness peak at f/8 lays down feather barb detail that survives an aggressive crop, and the 300mm long end means I can shoot the whole flock from one corner of the run without repositioning and spooking them. The types of camera lenses guide covers how telephoto compression flatters chicken silhouettes and makes their characteristic profile read better.
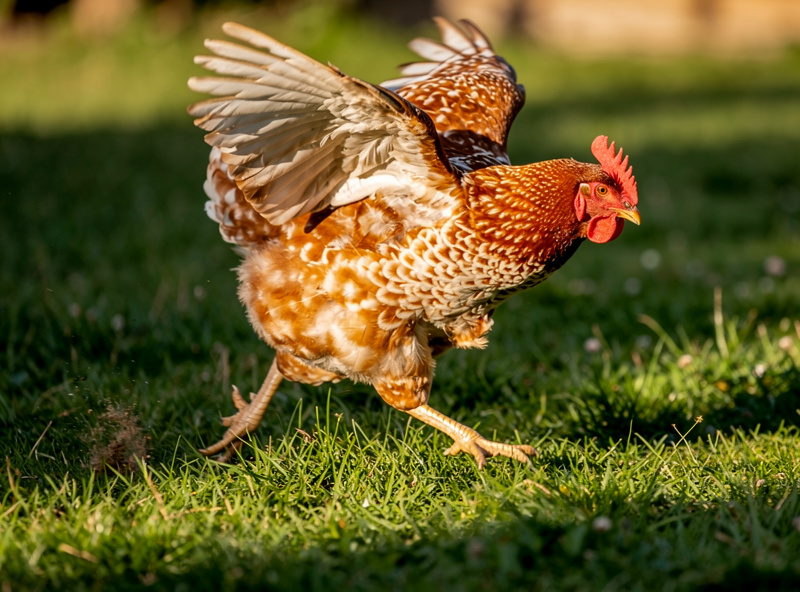
The shutter speed you need depends entirely on what the chicken is doing — from 1/250s for a stationary bird to 1/4000s for a wing flap. Chickens have three speed modes that determine the right setting — and for white chickens specifically, aperture and exposure compensation matter as much as shutter speed:
The first time I photographed a white Leghorn in full sun I trusted the meter and lost every highlight on her back — 47 frames, zero keepers, one hard lesson. White feather management is the other technical challenge. White hens (Leghorns, White Plymouth Rocks, Light Sussex) blow out highlights on a sunny day at standard exposure. Underexpose by -1 EV from the camera’s metered reading, which preserves white feather detail. RAW files have enough latitude to recover shadows; blown highlights are unrecoverable.
For ISO, modern mirrorless cameras handle ISO 800-3200 cleanly. The right approach is to set shutter speed first based on activity (above), aperture second based on depth of field (f/4-f/8 for most chicken shots), and let auto-ISO float to maintain exposure. Cap auto-ISO at the highest ISO your camera handles cleanly — typically 6400 on full-frame, 3200 on APS-C, 1600 on Micro Four Thirds.
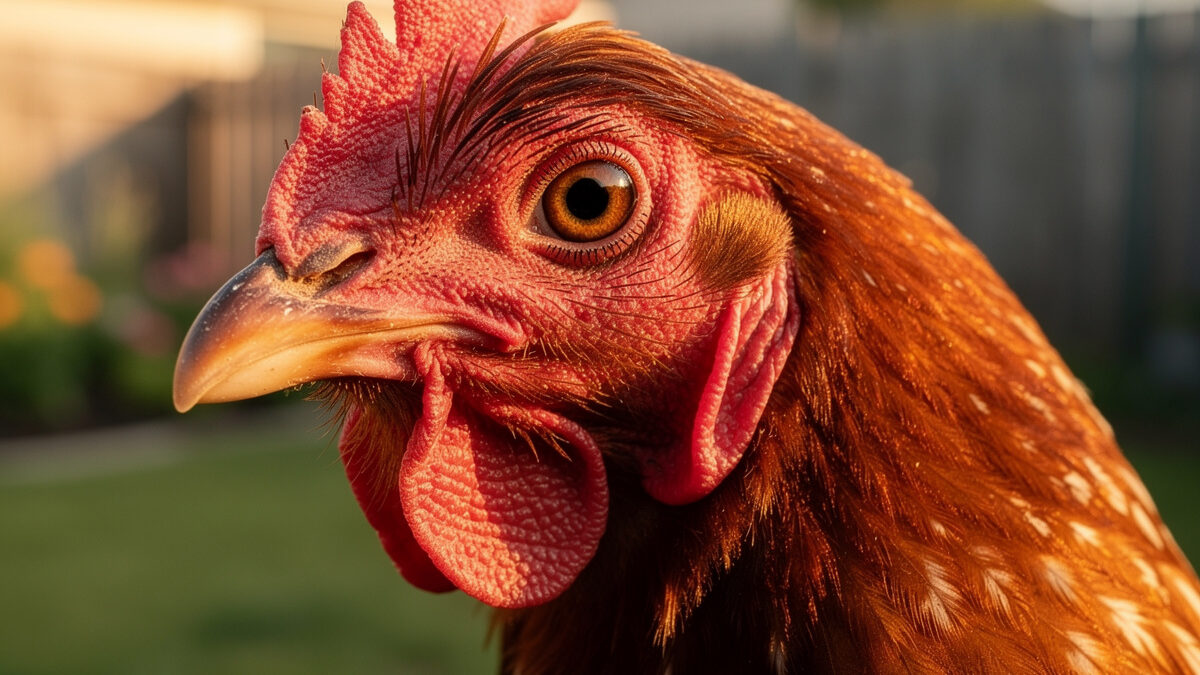
Golden hour produces the best chicken photos 90% of the time — low warm light reveals iridescent feather sheen that midday sun flattens completely. Three lighting conditions produce dramatically different results:
The single best chicken-photography light. Warm, low-angle, directional light brings out feather sheen and casts long shadows that add depth. Iridescent breeds (Black Australorps, Blue Andalusians, certain Wyandottes) produce visible color shifts in their feathers under this light that midday sun completely flattens. Schedule your serious sessions in this window.
The “white sky” light most beginners curse is actually the best light for accurate feather color rendering. The diffused light eliminates hot-spot blowouts on white feathers and reveals the subtle barring patterns on Plymouth Rocks, Welsummers, and other complex-marked breeds. Boost contrast 5-10% in post-processing for finished images.
The most dramatic chicken photography looks. Backlight glows through feathers, creates rim-light separation from the background, and produces the kind of “small dinosaur lit from behind” silhouette that gets shared. Spot meter on the bird’s body, expect to push exposure compensation +1 to +2 EV.
The single biggest improvement in any animal photography is shooting from the subject’s eye level. For chickens, that means kneeling or lying flat on the ground. Standing-up chicken photos always read as documentary; eye-level photos read as portraiture.
Practical setups:
Chickens broadcast their next move 1-3 seconds before they make it — every wing-stretch, dust-bath shake, and curious approach has a pre-signal. Learn these six specific cues and you stop reacting and start anticipating:
The cross-niche side here matters: knowing chicken breeds means knowing which behaviors each breed exhibits most. Cochins are calm and pose well; Leghorns are skittish and require more distance; Silkies are tame and approach the camera. The full breed-and-behavior overlap is covered in our partner site’s backyard chicken breeds guide, which lists the temperament profiles relevant to which breeds work best as photography subjects.
| Goal | Lens | Shutter speed | Aperture | Best light |
|---|---|---|---|---|
| Individual hen portrait | 85 mm prime or 70-200 zoom at 135-200 | 1/500s | f/2.8-4 | Golden hour, side-lit |
| Action / running shot | 70-200 or 100-400 zoom at 200+ | 1/2000-1/4000s | f/5.6-8 | Bright overcast or golden hour |
| Full flock environmental | 24-70 or 70-200 at 70 | 1/250s | f/8 | Soft overcast |
| Macro feather detail | 90-105 mm macro | 1/250s + tripod | f/8-11 | Diffused indirect |
| Backlit silhouette | 70-200 at 200 | 1/1000s + spot meter | f/4-5.6 | Sunset, chicken between you and sun |
| Eye-contact close-up | 85-135 mm prime at minimum focus | 1/500s | f/2.8 | Window light or open shade |
Most chicken photos need about 30 seconds of post-processing — recover highlights on white feathers, lift shadows on dark breeds, and sharpen the eye. Chicken photography RAW files benefit from four routine adjustments:
More than any slider, natural lighting and anticipating behavior determine whether the photo works. The adjustments above are seasoning — they won’t save a photo shot in the wrong light at the wrong moment.
For other animal photography subjects, the wildlife photography beginner guide covers techniques that translate from songbirds to backyard chickens. The bird photography gear guide covers lens and body selection for species of all sizes, and the wildlife photography camera settings guide expands on the shutter speed and focus techniques for moving subjects. The sports photography settings guide covers fast-moving subject techniques that apply directly to running, flapping chickens.
For broader photographer education, Audubon’s bird photography ethics guide covers minimizing disturbance to animal subjects — advice that applies just as directly to a backyard flock as it does to wild birds.
If I could give one piece of advice to someone shooting chickens for the first time tomorrow: start at golden hour, use the longest lens you own, and stay down at eye level for the entire session. Every other variable — breed, body, post-processing — matters less than those three in that order. When a Black Australorp’s feathers flash green and purple in that low warm light, you’ll understand why backyard chicken photography is worth obsessing over.
A 70-200mm f/2.8 zoom is the default — wide aperture for shallow depth of field, focal range that handles full-flock shots at 70mm and tight portraits at 200mm, and enough working distance (8-15 feet) to stay outside the chicken’s flight zone. For skittish breeds, a 100-400mm zoom adds reach.
1/2000s freezes most wing motion cleanly. Anything slower than 1/1000s produces motion blur on wing tips, which can look intentional but usually does not. Running and chase shots benefit from 1/2000-1/4000s. Stationary chickens are sharp at 1/250-1/500s.
Underexpose by -1 EV from the camera’s metered reading. White feathers reflect a lot of light and trick the meter into underexposing the rest of the scene; setting -1 EV preserves feather detail in the brights and lets RAW post-processing recover the shadows. Spot metering on the white feathers themselves works as an alternative.
Golden hour — the hour before sunset and the hour after sunrise. The low warm directional light brings out feather sheen, casts long shadows for depth, and reveals iridescent colors on breeds like Black Australorps that appear dull under midday sun. Overcast diffused light is the second-best option.
A modern phone with a 5x telephoto camera (iPhone 15 Pro Max, Pixel 9 Pro, Samsung S25 Ultra) produces good chicken photos in good light. A dedicated mirrorless body with a 70-200 lens produces dramatically better photos in any light, with much better motion freezing and shallow depth of field. Phones bottom out at 1/250s indoors; chickens move faster than that.
Hold treats (mealworms, sunflower seeds) at lens height, then put the camera between you and the treats. Most breeds will eventually look directly at the lens. Calm breeds like Buff Orpingtons, Cochins, and Silkies do this within seconds; flighty breeds like Leghorns may take 10+ minutes of patience.
Yes, dramatically. Standing-up chicken photos look like documentation; eye-level photos look like wildlife portraits. The single biggest improvement in any beginner’s chicken photography is committing to kneeling, sitting, or lying flat for the entire session. The bird’s eye should be at the same height as your camera’s lens.
You capture a Milky Way arch by mounting a fast wide-angle lens on any DSLR…

Great food styling costs almost nothing: a black foam board for negative fill, one good…
What Shutter Speed Do You Need for Sports Photography? Use 1/1000s minimum for most sports…
Leave a Reply