Macro Photography Guide: Equipment, Techniques, and Tips
Macro photography captures subjects at 1:1 magnification or greater, filling the camera frame with objects…
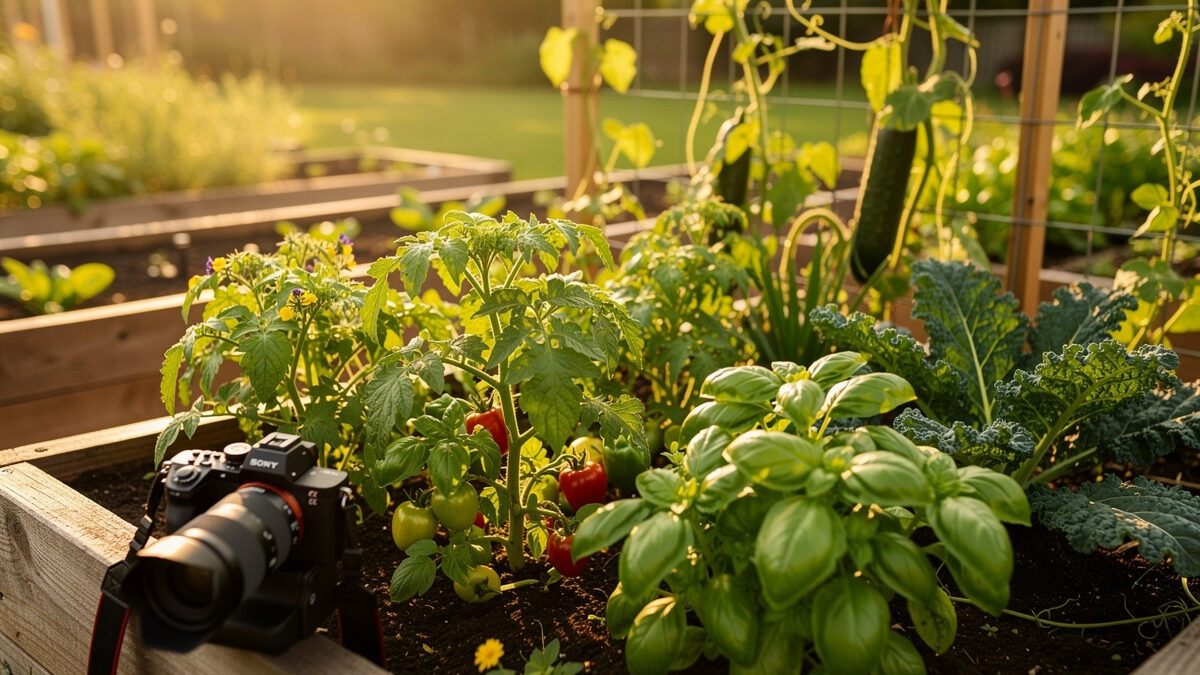
Three weekly capture types anchor a garden photography workflow that produces real year-over-year insight: a wide bed-overview shot, a 1:1 macro plant detail, and a labeled tag close-up — shot at consistent times with a prime lens and a macro.
Done weekly across a 28-week season, the result is 84 calibrated images that tell the story of variety performance, pest events, and bed evolution far more usefully than the random phone snaps most gardeners accumulate. Most gardeners take hundreds of garden photos every season and never look at any of them again. The problem isn’t the camera, the plant, or the season. It’s that the photos were never part of a system designed to answer a specific question — and a system is exactly what this workflow builds. The single highest-leverage piece costs nothing and out-earns any lens upgrade: the notebook. More on why that matters in a moment.
Garden photography sits at the intersection of two crafts: photo technique (light, lens choice, focus stacking for macro, white balance for accurate green and red tones) and gardening discipline (consistent capture cadence, knowing what to record, building a library that pays off in year-two planning). Most “garden photography” guides cover the first half. This guide covers both, with a workflow specifically built to support seed-saving, variety records, and the kind of garden journal that turns season-over-season improvement into a real practice.
Three problems with the random-phone-snap approach. First, you photograph what looks pretty in the moment, which heavily weights the spring “everything is new and lush” period and under-documents the autumn dieback when most learning lives. Second, you have no consistent angle or distance, so comparing a tomato plant in week 6 vs week 16 is useless. Third, no metadata: which variety, which bed, what the issue was — gone within 30 days of the season ending.
A simple weekly workflow with consistent gear choices and a notebook reference fixes all three. The discipline cost is 30-45 minutes per week. The payoff is a library that supports next year’s planning meaningfully — which varieties produced, which beds had pest pressure, what week the carrots actually went in despite your memory saying mid-March.
I’ve done it the wrong way. My first season I shot everything on auto white balance at whatever time I happened to be in the garden — by July the colour casts between frames made variety comparison useless, and I had zero metadata on which bed was which. A fixed white balance reference card and a consistent Saturday shooting window fixed it. Cost: zero dollars. Payoff: year-over-year data I still reference in my Lightroom catalogue.
Each of the three weekly shots serves a distinct purpose, and skipping any one of them leaves a hole in the record you cannot fill later. Together they form a complete visual log of every bed, every variety, and every pest event across the season.
1. Bed overview (wide, 24-50 mm equivalent). A consistent angle of each major bed taken from the same fixed position. Mark the camera position on the bed edging or a fence post with a paint dot — small consistency hack that pays off across seasons. Shoot at the same time of day every week (I use 9-10 AM Saturday). The result is a time-lapse-ready frame sequence per bed.
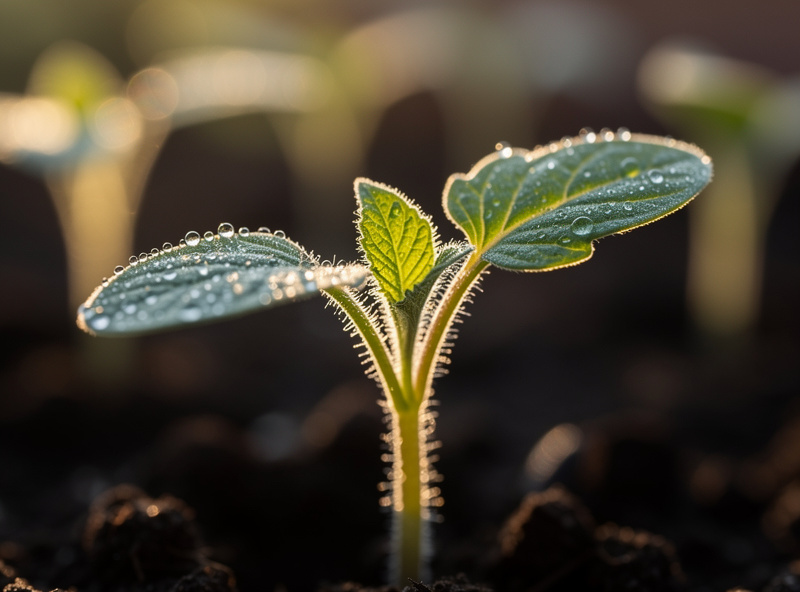
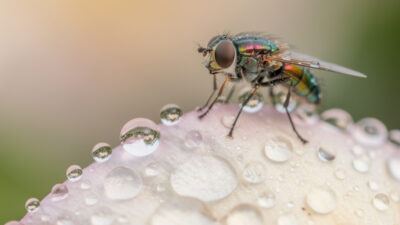
2. Plant detail (macro, 1:1 to 1:2 magnification). Close-up of one plant per major variety per week. Capture pest issues, fruit set, leaf condition. A dedicated macro lens (60-100mm) is the right tool — phone macros work for casual but lose detail at the leaf-vein scale where pest issues show first.
3. Labeled tag detail (variety records). A close-up of the plant tag plus the plant context. The variety name in-frame is what makes the rest of the library searchable and useful months later. If you have laser-engraved tags or hand-written stake tags, this shot is what makes them digital. Many of my garden tags are themselves laser-cut cedar — see the laser-engraved plant tags weekend project if you want a permanent labelling system that photographs well across seasons.
Garden photography has two specific technical demands: macro capability for the plant detail shot and accurate green and red rendering for the documentation to be useful. Almost any modern mirrorless camera meets both. Three setups cover most gardeners:
Entry: Sony a6400 + Sigma 56mm f/1.4 + Sigma 105mm f/2.8 macro. $1,300-$1,500 total. APS-C sensor, fast prime for general use, dedicated macro lens. The Sigma 105mm f/2.8 DG DN Macro is the optical hero here — true 1:1 magnification, internally focusing so the front element doesn’t rotate, fast enough for hand-held macro.
Mid: Fuji X-T5 + 35mm f/1.4 + 80mm f/2.8 macro. $2,400-$2,800. The X-T5 is the body I test glass on across every LensLabHQ guide, and the 35mm f/1.4 is a prime I’ve charted and shot for years — pairing that pair with a dedicated macro lens like the 80mm f/2.8 is the natural garden-documentation setup for anyone already living in the Fuji system. Fuji’s color science (specifically the green and yellow rendering) is a real advantage for garden photography over Sony or Canon — on my copy I rarely touch the tint slider in Lightroom even when comparing shots across seasons. One clarification worth making since it trips people up: the X-T5’s focus bracketing mode captures the sharp-at-different-distances sequence in-camera, but it does not composite them — you still need Lightroom, Helicon Focus, or similar software to stack the frames into one fully-sharp image afterward.
Full-frame: Sony a7C II + 35mm f/1.8 + 90mm f/2.8 G macro. $3,200-$3,800. Worth it specifically for low-light bed-overview shots in autumn or under cloudy conditions. The 90mm G macro is the sharpest lens at this price point.
The colour accuracy claim isn’t just brand loyalty talking. PROVIA/Standard is built as Fuji’s faithful, low-drama baseline profile rather than a punched-up consumer preset, and in practice that shows up exactly where garden documentation needs it — comparing a bed in week 6 against week 16 without the camera’s own colour rendering drifting between shoots. For grey-card calibration, I lock a standard 18% grey reference card into the first frame of each shoot — cheap insurance against colour-temperature drift across a season’s worth of comparisons.
For a deeper comparison of mirrorless vs DSLR specifically, the mirrorless vs DSLR guide covers the broader system tradeoff. For full-frame vs APS-C, the sensor size comparison walks through what matters for outdoor close-up work.
Garden documentation is a daylight-only craft for most gardeners. The two best windows: golden hour (first hour after sunrise, last hour before sunset) for warm side-light that reveals texture; and bright overcast at midday for even, shadowless illumination ideal for variety comparison shots where you want neutral colour rendering.
Avoid bright direct midday sun unless that is genuinely the only window you have. The contrast is harsh, the shadows are too dark in the under-leaf zones where pest issues show first, and the colour cast tends to over-saturate green into something that does not match what you remember. If you must shoot midday sun, use a 3-stop neutral density filter on the macro lens to keep aperture values reasonable.
For the broader landscape and outdoor photography fundamentals, our landscape photography guide covers light direction, weather conditions, and composition rules that translate directly to garden work.
Three camera settings handle 90% of garden macro shots. Nail these and the rest of the macro toolkit — focus stacking, ring flashes, focus rails — becomes refinement rather than rescue. The settings below are what I arrive at after testing aperture sweeps from f/2.8 through f/22 on my own chart; they hold for most 1:1 to 1:2 macro work under outdoor light.
For deeper macro technique — focus stacking, subject isolation, ringlight vs natural light — the LensLabHQ macro photography guide covers the full toolkit. The 80% rule of thumb is: pick the aperture for depth of field, set shutter speed to freeze wind motion, let ISO float to compensate.
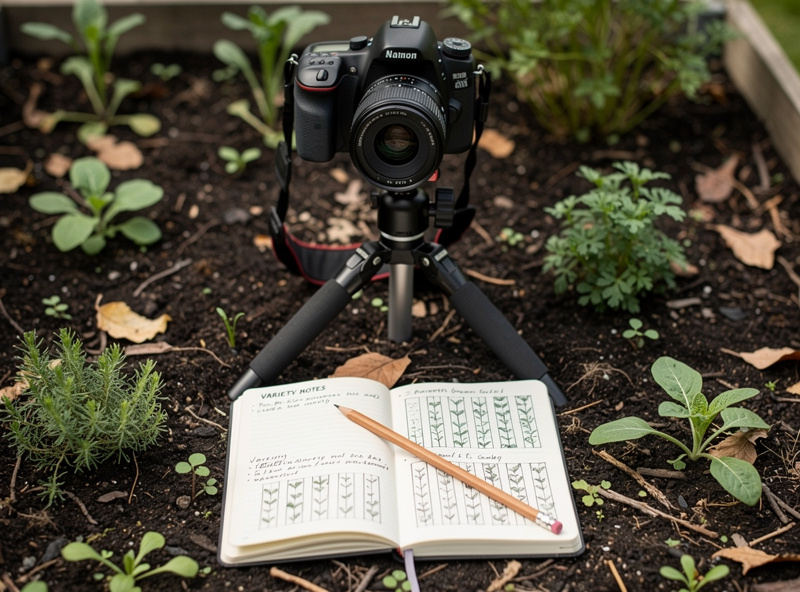
Photos alone are not a garden record. I learned this by losing an entire season’s worth of useful documentation — 400+ frames with no way to tie any image to a specific variety or bed number. A simple weekly notebook entry — variety, bed, week number, observation, photo reference number — turns the image library into a searchable database. Three options, in order of effort:
Paper notebook + numbered photos. A grid notebook with date and bed columns; photo numbers from the camera filename. Lowest tech, highest reliability. Works for 5-10 years without maintenance.
Spreadsheet (Google Sheets or Airtable). Variety, bed, photo file path, observation. Same fields as the notebook, but searchable. The right pick for gardeners who already track other lists digitally.
Dedicated garden app (Stardew, Garden Plan Pro). More structure, less flexibility. Useful only if the app’s data model matches your beds; otherwise the friction outweighs the benefit. Avoid the app-of-the-month — pick one and stick with it for at least two seasons.
Pair this with a soil-and-compost record (which bed got which amendment, which compost batch) for the highest-leverage garden journaling setup. CityRooted’s complete soil and compost guide covers what to track on the soil side; combined with the photo workflow above, you have year-over-year data on what works in your specific garden — which is what turns gardening from guesswork into a practice.
The growing year breaks into five photography windows, each demanding a different capture priority and light strategy. Shoot the right subject at the right time and the photo library writes its own narrative. The intensive three-shot-per-week workflow above covers the active 28-week growing season; the table below extends that same discipline at a lighter cadence across the full 52-week year, since bed structure, cover crops, and winter dieback still tell you something the following spring.
| Season | Key Shots | Light Conditions | Macro Subjects |
|---|---|---|---|
| Spring (weeks 1-12) | Bed prep, transplants, first true leaves | Golden hour, soft overcast | Seedlings, root systems, bed amendments |
| Early summer (13-20) | Growth rate, first flowers, pest scouting | Morning golden hour preferred | Flower morphology, leaf undersides for pests |
| Peak summer (21-30) | Fruit set, harvest start, plant health | Overcast midday best | Fruits, blossom end rot, leaf mottling |
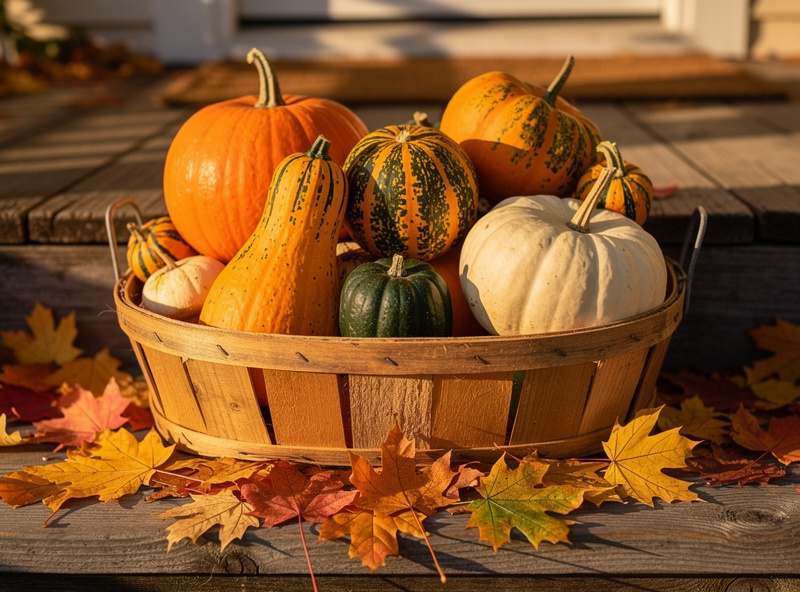
| Late summer / autumn (31-38) | Harvest peaks, varieties to save seed from | Golden hour, harvest still life | Mature fruits, seed heads, cured produce |
| Winter (39-52) | Bed structure, cover crops, garlic | Bright overcast for snow scenes | Cover crop development, frost damage |
The honest reason I do this is not Instagram. Gardening rewards repetition, and repetition rewards good notes. By August of year two, I look up the same bed from the same August a year earlier and see exactly when the squash bug eggs first appeared, exactly which tomato variety produced first, exactly which bed needed extra calcium. That information saves more than the camera cost. It also makes seed saving meaningful: I compare two saved seed batches against the parent plants from year one with photographic evidence, not just memory.
For broader garden integration — bed layouts, raised bed construction, container gardening — the CityRooted raised beds and planters guide, container gardening guide, and herb garden guide are the natural pairings.
For most gardeners, an APS-C mirrorless body (Sony a6400, Fuji X-T5) plus a 35mm f/1.8 prime and a dedicated macro lens (60 to 100mm f/2.8) covers all three weekly capture types. Total around 1300 to 1800 dollars. Phone cameras work for the bed overview shot but fall short at the macro level where pest issues first appear.
Once a week is the right cadence. More frequent than that produces redundant images; less frequent and you miss the week-over-week change that makes the documentation useful. 30 to 45 minutes weekly produces 84 calibrated images per 28-week growing season.
Golden hour (first hour after sunrise, last hour before sunset) for warm side-light that reveals texture, or bright overcast at midday for even shadowless illumination ideal for variety comparison. Avoid bright direct midday sun unless that is your only available window.
For the bed overview shot yes (consistent framing across weeks matters). For macro shots no — modern image stabilization plus 1/250 second shutter speeds handle wind and hand-held use comfortably. A tripod also helps with focus stacking on still-life harvest shots.
1:2 (half life-size) covers 80 percent of useful garden macro work — leaf details, flower close-ups, full insect frames. 1:1 (full life-size) is necessary specifically for early pest identification (aphids, mites, eggs on leaf undersides). A dedicated 1:1 macro lens is the right pick if you are serious about pest documentation.
RAW for any image you might use as a variety reference or want to print. JPEG is fine for casual social posting. The benefit of RAW for garden work specifically is the ability to fix the green-and-red colour balance later, which matters for accurate variety records when comparing across seasons or to seed catalogue colour references.
Macro photography captures subjects at 1:1 magnification or greater, filling the camera frame with objects…
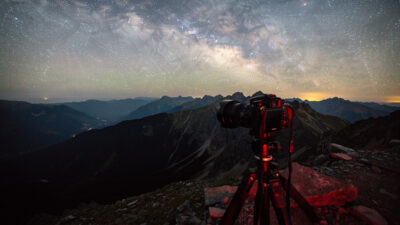
You capture a Milky Way arch by mounting a fast wide-angle lens on any DSLR…

You can make food look freshly served without lying about it: backlight real steam against…
Leave a Reply