Garden Photography Through the Seasons: A Documentation Workflow
Three weekly capture types anchor a garden photography workflow that produces real year-over-year insight: a…
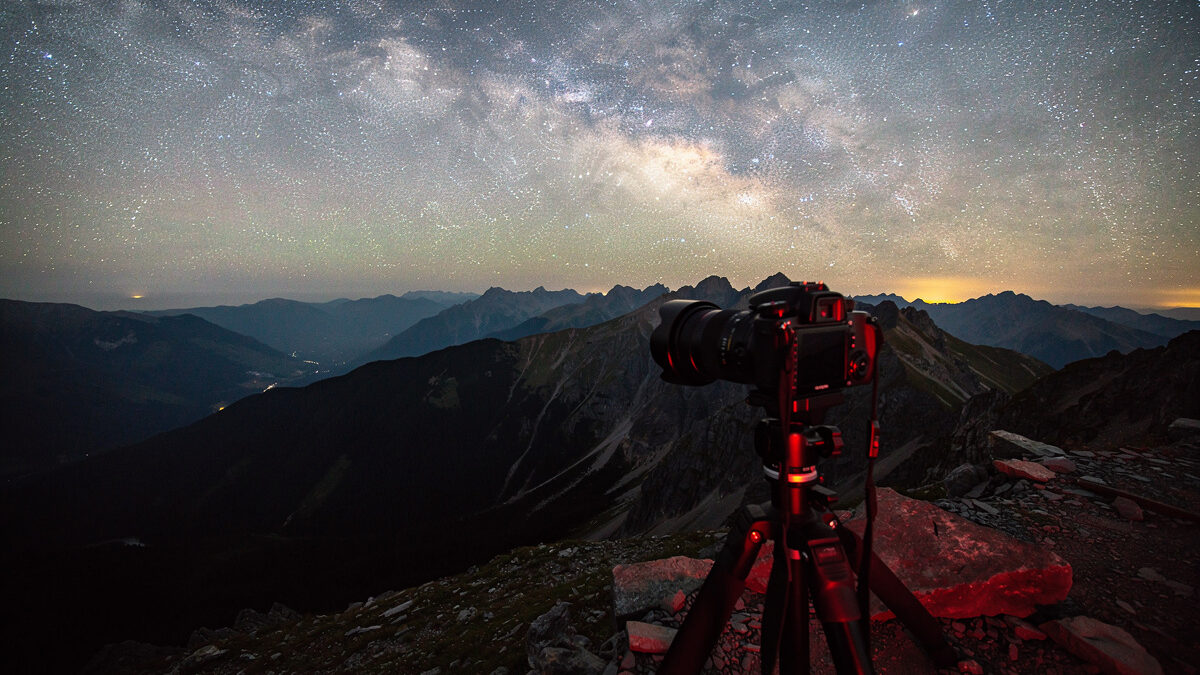
You capture a Milky Way arch by mounting a fast wide-angle lens on any DSLR or mirrorless body, exposing for 15–25 seconds at ISO 3200–6400 with the aperture wide open, and lighting the foreground separately. Everything else — lens choice, exposure discipline, learning to read the dark — is refinement of that single sequence.
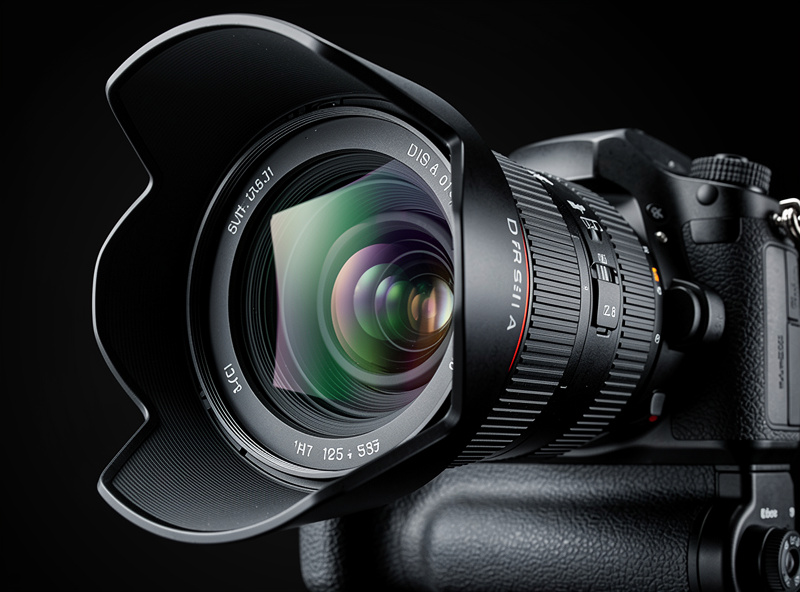
The core requirements are non-negotiable: a focal length of 14–24mm on full-frame (10–16mm on APS-C) and a maximum aperture of f/2.8 or faster. An f/4 lens forces ISO 12800 to match the exposure, and at that ISO the noise chews through the faint dust lanes in the Milky Way core — on my X-T5’s 40-megapixel sensor it turns what should be textured shadow into chroma-noise soup that no amount of Lightroom denoising can fully recover. The 500 Rule governs how long you can expose before stars trail: 500 divided by your focal length equals maximum seconds. At 14mm that buys you 35 seconds; at 24mm you get 20 before pinpoints become ovals instead of points — and once they oval, no amount of sharpening in post fixes them.
I plan every Milky Way shoot around three variables: moon phase, rise time, and foreground. The PhotoPills app gives me the galactic-core rise time and azimuth for any location and date — I screenshot it the night before so I am not fumbling with a phone in the dark at 2 AM. In the Northern Hemisphere the galactic core season runs roughly February through October, with peak altitude May through August and the core highest and visible longest in June and July. I shoot during new moon or when the moon is below the horizon — a quarter moon washes the Milky Way out to a faint smear, and a full moon kills it entirely.
Scout your foreground during daylight. The best Milky Way compositions pair the arch with a recognizable terrestrial anchor — a lone tree, a rock formation, a mountain ridgeline — and you cannot find that anchor in the dark. I use Google Earth terrain view and the PhotoPills night AR overlay to confirm the Milky Way will arc where I want it over my foreground before I ever set up a tripod. Distance matters: a foreground element 30–50 feet away sits in the hyperfocal zone at f/2.8 on a 14mm lens and stays sharp; anything closer than 15 feet needs focus stacking or a separate foreground exposure.
Check the Clear Outside app for cloud cover and humidity — this is the lesson that cost me an entire night on a Swedish coastal shoot. High humidity above 85% fogs your front element within 20 minutes, and you will not notice it on the LCD because the Milky Way preview is too dim to reveal the softness creep. By the time I got home and pulled the RAWs onto a calibrated monitor, every frame from hour two onward was a haze-blurred write-off. Now a hand-warmer rubber-banded to the lens barrel keeps the front element above dew point, and a lens hood buys you an extra 15–20 minutes even without active heating. That night cost me 240 frames — I have not shot without a dew heater since.
The three lenses I recommend for Milky Way work — based on chart tests and hundreds of field frames across my two mounts — are the Sigma 14mm f/1.8 Art for corner-to-corner sharpness, the Rokinon/Samyang 14mm f/2.8 for budget-conscious shooting, and the Tamron 15–30mm f/2.8 G2 if you need zoom flexibility. Each earned its place on my shelf for a different reason. The Sigma 14mm f/1.8 Art — heavy at 1,170 grams and expensive, and a full-frame-only design available for Sony E, Canon EF, Nikon F, and L-mount but not Fuji X — produces pin-point stars corner-to-corner at f/2.0 on my Sony a7 IV, which is one full stop brighter than any f/2.8 lens and lets me drop ISO from 6400 to 3200 for visibly cleaner shadow detail in the dust lanes. The Rokinon 14mm f/2.8 manual focus is the budget champion at $250–300: slightly soft corners wide open but sharp center, and at f/2.8 you are giving up one stop versus the Sigma but saving $1,000. On my copy the focus ring is damped well enough to tape in place and forget. The Tamron 15–30mm f/2.8 G2 with vibration compensation is the best zoom option — 15mm is wide enough for a Milky Way panorama in vertical orientation, and the f/2.8 constant aperture means I can zoom to 24mm for tighter compositions without changing exposure settings mid-shoot.
For APS-C shooters like me on the Fuji system, the Tokina 11–16mm f/2.8 and Rokinon 10mm f/2.8 are the two lenses that produce usable astro images on a crop sensor. I have shot the Tokina on an adapted X-T5 and it delivers at f/2.8, though the corners soften visibly at f/2.8 and clean up by f/4. Avoid any lens slower than f/2.8 on APS-C — the smaller sensor gathers less total light, and an f/4 lens on APS-C is roughly equivalent to f/5.6 on full-frame in terms of light gathering, which pushes ISO into unusable territory above 25600.
I set manual mode, manual focus, and RAW every time — there is no auto-mode asterisk for astro work. Focus racked to infinity on most autofocus lenses is slightly past infinity at the hard stop; I use live view at 10x magnification on a bright star, manually focus until the star shrinks to the smallest possible point, and tape the focus ring in place with gaffer tape. The difference between “looks focused” at 5x and “is focused” at 10x is the difference between pinpoints and soft blobs in the final image — do not skip the magnification step. Set white balance to 3800–4200K (daylight at 5500K makes the Milky Way look unnaturally warm; 3800K preserves the natural blue-yellow gradient of the galactic core that my eye actually sees under dark skies). Enable long-exposure noise reduction ONLY if you are shooting a single frame and going home — it doubles your exposure time by taking a dark frame at equal duration, and if you are stacking multiple exposures in post, dark frames are handled in processing, not in-camera. I shoot with a 2-second self-timer or a wired remote release to eliminate shutter-press vibration, which is visible as micro-blur in stars at pixel level on exposures under 30 seconds. On a 40-megapixel body this micro-blur is the first thing I check when culling — it ruins more frames than focus errors do.
For the telescope-specific side of astrophotography — including equatorial tracking mounts, narrowband filters, and stacking software that produces the deep-sky images beyond what a camera lens can capture — the astrophotography guide on TelescopeSpecs covers the deep-sky techniques that complement the wide-field camera-lens approach here.
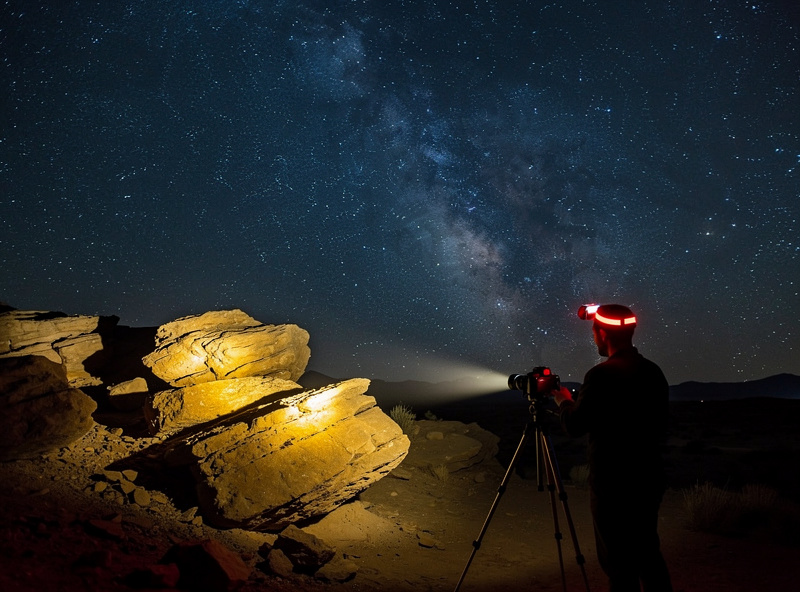
A Milky Way photo with a black-silhouette foreground is half a photograph — the sky alone is wallpaper, and it is the foreground that makes the image feel like a place you stood. The foreground — mountains, trees, rock formations, or architecture — needs light to register on the sensor during a single exposure. Low-level light painting with a dimmed flashlight or LED panel at 3200K (warm white) swept across the foreground for 2–3 seconds of the total exposure paints detail into the landscape without overexposing it. The technique I use: set your exposure for the sky (15–25 seconds at f/2.8, ISO 3200–6400), start the exposure, and during the first 3 seconds paint the foreground with a quick sweeping motion. Keep the light moving — any stationary pause creates a hot spot that burns a permanent white patch into the raw file. I learned this on a granite outcropping where a half-second pause left a reflective hotspot the size of a dinner plate; the rest of the 25-second exposure was perfect but that one spot made the frame unusable.
Warm light at 3200K matches the natural color of moonlight and blends with the 3800–4200K sky white balance better than a 5600K daylight LED which looks unnaturally blue against the Milky Way — I carry a single dimmable 3200K LED panel in my astro kit and it has replaced every flashlight I used to pack. For the cleanest foreground, I shoot two exposures — one for the sky and one with longer foreground lighting — and combine them with a simple luminosity mask, keeping the sky frame’s stars and the foreground frame’s landscape. This avoids the compromise of fitting both sky and foreground into one exposure’s dynamic range. It is a light two-layer blend, not a deep composite — I reach for it on the rare frame I know I want to print large, not as a default step in every edit.
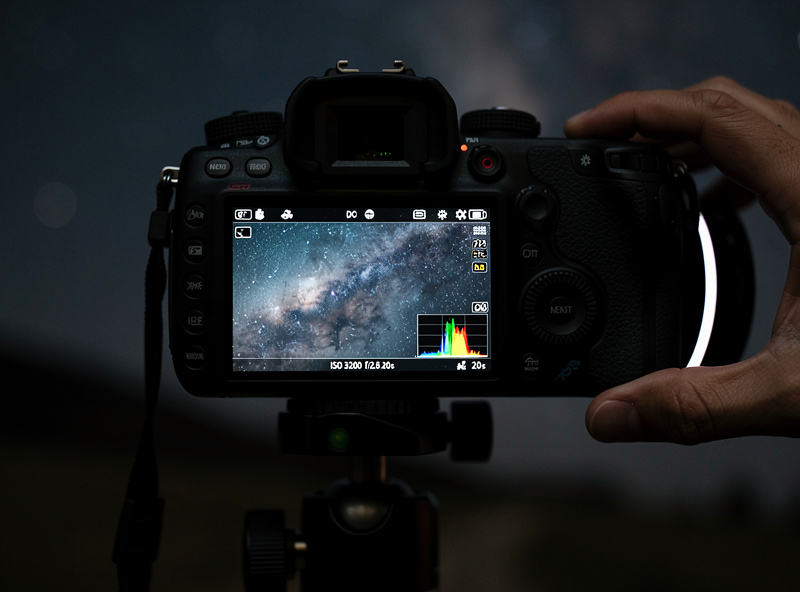
Every Milky Way frame at ISO 3200–6400 needs noise reduction, and the tool matters as much as the technique. Lightroom Classic’s AI-based Denoise (the “Enhance” panel) does the heavy lifting on a single raw frame far better than the old luminance-slider approach — it separates chroma noise from real detail instead of just softening everything uniformly, which is the difference between a smoothed-out Milky Way and one that keeps the dust lanes and star-cluster texture intact. I run Denoise before any other adjustment, at a moderate setting rather than maximum, because pushing it too far starts to paint over faint stars the same way it paints over noise — the algorithm cannot always tell the difference between a dim pinpoint star and a noise pixel. If I have multiple frames of the same composition, stacking in dedicated astro software before any Lightroom work beats single-frame denoising every time, but for a one-shot Milky Way frame on a road trip, single-frame AI denoise gets you 90% of the way to a clean, printable file.
If I were starting from zero with a $500 budget for glass, I would buy a used Rokinon 14mm f/2.8 for $200, spend the remaining $300 on a carbon travel tripod and a dimmable warm-white LED panel, and drive to Bortle 3 skies on the first three new-moon weekends with a thermos of coffee. The single skill that improved my astro-landscape work more than any lens upgrade or body swap was learning to light a foreground in 2–3 seconds without hot spots — that alone separates a Milky Way snapshot from a photograph someone wants to print. Your first ten frames will be noisy, out of focus, or both. By frame 40 on the same lens you will know exactly where infinity lives on the focus ring and what ISO your sensor can handle before the shadows fall apart. Start there — the gear will catch up when your eye does.
A 14-24mm lens at f/2.8 or faster on full-frame. The Sigma 14mm f/1.8 Art is the sharpest astro lens available. The Rokinon 14mm f/2.8 is the best budget option at $250-300. On APS-C use a Tokina 11-16mm f/2.8 or Rokinon 10mm f/2.8 — avoid f/4 lenses on crop sensors.
Divide 500 by your lens focal length to get the maximum exposure time in seconds before stars trail. A 14mm lens: 500/14 = 35 seconds. A 24mm lens: 500/24 = 20 seconds. For high-resolution sensors above 36 megapixels use the 400 Rule instead — pixel-level star trailing becomes visible sooner at higher resolutions.
Manual mode, manual focus at infinity (refined in live view 10x), RAW format, f/2.8 or wider, ISO 3200-6400, 15-25 second exposure, white balance 3800-4200K. Use a 2-second self-timer or remote release to eliminate shutter vibration. Disable in-camera long-exposure noise reduction if stacking multiple frames.
Not for wide-field single exposures under 30 seconds at 14-24mm. A star tracker lets you expose for 2-4 minutes at base ISO for dramatically cleaner images, but adds weight, setup time, and cost. Start without one — single-frame Milky Way photos at ISO 3200 on a modern full-frame sensor are remarkably clean after processing.
In the Northern Hemisphere, the galactic core is visible March through October with peak visibility June-August when it rises highest. Check moon phase — shoot during new moon or when the moon is below the horizon. The Milky Way core rises in the southeast and arcs across the southern sky over several hours.
Most kit lenses are f/3.5-5.6 variable aperture — too slow for Milky Way work. An f/3.5 lens needs ISO 12800+ to match the exposure of an f/2.8 lens, and the noise at that ISO on entry-level sensors destroys the subtle detail in the Milky Way core. Upgrade the lens before upgrading the camera body for astro work.

Three weekly capture types anchor a garden photography workflow that produces real year-over-year insight: a…
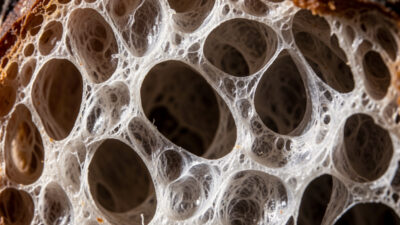
To photograph a sourdough crumb, rake a low side light across the cut face and…

You can make food look freshly served without lying about it: backlight real steam against…
Leave a Reply