Night Photography Guide: Long Exposure, Astrophotography, Light Trails
What Camera Settings Work Best for Night Photography? For night photography, use manual mode with…
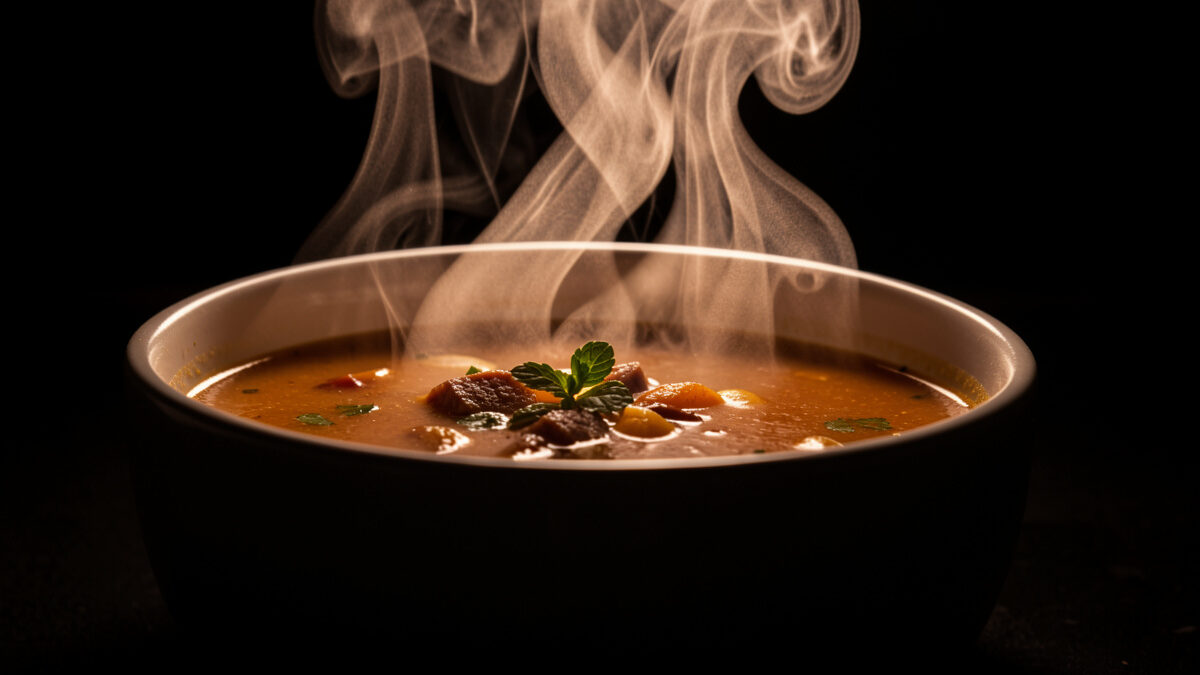
You can make food look freshly served without lying about it: backlight real steam against a dark background so it glows, mist water on greens for a just-washed sheen, and brush a little neutral oil onto a dull sauce to wake it up. Every one of these restores on camera what your eye sees in person but the sensor flattens. The honest tricks are the ones worth learning — and they’re all cheaper than a coffee.
There’s a whole folklore of dishonest food-styling hacks — motor oil for syrup, glue for milk, a browning torch on raw meat — and I don’t use any of it, because I shoot food I actually plan to eat and because fakery reads as fake. But there’s a legitimate craft to coaxing real appetite appeal out of a real dish, and most of it comes down to light and timing. Here’s the honest toolkit I use, and exactly where I draw the line.
These are finishing touches — the last five percent that sits on top of good light, the right angle, and honest styling. They won’t fix a bad photo, but on a good one they’re the difference between “nice” and “I want that right now.” Start with the beginner workflow if the fundamentals aren’t yet in place.
Backlight it against a dark background. Real steam is faint and nearly invisible under front light, but with the light source behind the dish and a dark backdrop behind the steam, every wisp catches the light and glows. Shoot a genuinely hot dish, work fast, and expose for the food while letting the steam read as bright vapor against the dark. Direction and background are everything.
Steam is just condensing water vapor, and like any fine translucent thing it only becomes visible when light passes through it from behind — the photographer’s term is contre-jour, shooting into a backlight. Put your window or lamp behind and slightly above the dish, place something dark behind the steam (a black board, a shadowed doorway, a dark wall), and the wisps light up like smoke in a sunbeam. Against a bright background they vanish; against dark, backlit, they glow. That’s the entire trick, and it’s why I always ask “where’s the dark background?” before I ask anything else about a steam shot. I learned that the hard way: my very first steam attempt was a bowl of soup shot against a bright kitchen window, and every wisp vanished — I had the backlight but no dark background behind it, so the pale window simply swallowed the steam. Sliding a black board in behind the bowl brought it all back.
Timing is the hard part. Real steam is generous for maybe thirty seconds off a hot bowl, then it thins to nothing. So I stage everything cold first — camera on the tripod, backlight set, dark background in place, focus pre-set — and only then bring the genuinely hot food in and shoot immediately, firing a burst to catch the best wisp. If natural steam won’t cooperate, the honest boosters are a bowl of just-boiled water hidden behind the plate, or a warm damp cotton pad microwaved and tucked out of frame — both produce real water vapor, neither lies about the food itself. What I won’t do is composite fake smoke in post; if the steam wasn’t there, I don’t pretend it was.
Mist them with water. A fine spray of water droplets on salad leaves, herbs, and fruit reads instantly as “just washed, just picked” — the tiny beads catch the light and add life and sparkle. A cheap spray bottle set to its finest mist is one of the most useful tools in food photography, and the effect is completely honest: the food really is that fresh, you’re just restoring the dew the kitchen wiped off.
The science is simple and the effect is strong. Fresh produce in the field or the fridge carries a film of moisture and fine condensation; by the time it’s plated and under lights, that’s evaporated and the food looks dry and tired. A few pumps of a fine mist puts it back — beads of water on a strawberry, dew on a lettuce leaf, droplets on a bunch of grapes. Backlight or side-light them and each droplet becomes a tiny highlight, adding the sparkle that says freshness. I keep a small fine-mist spray bottle in my kit for exactly this and reach for it more than any other prop.
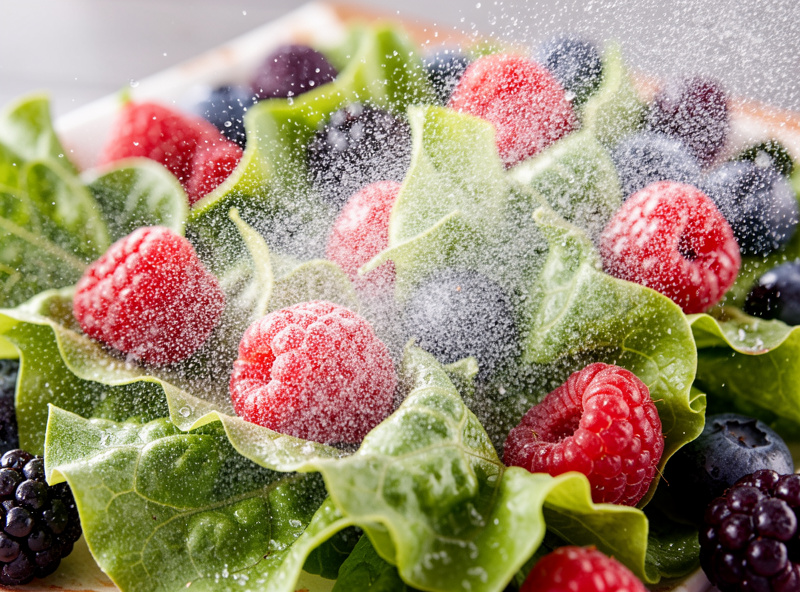
A pro tweak: for droplets that hold their shape and don’t run, some stylists use a mix of water and a little glycerin, which makes beads sit up rounder and last longer. That’s a grey area for me — glycerin is food-safe and the food is still real, but it does change the droplets from pure water. For anything I’ll eat afterward I stick to plain water and just shoot faster. Know the technique exists; decide for yourself where honest ends. My rule is that if a stranger watched me set up the shot, nothing I did should make them trust the photo less.
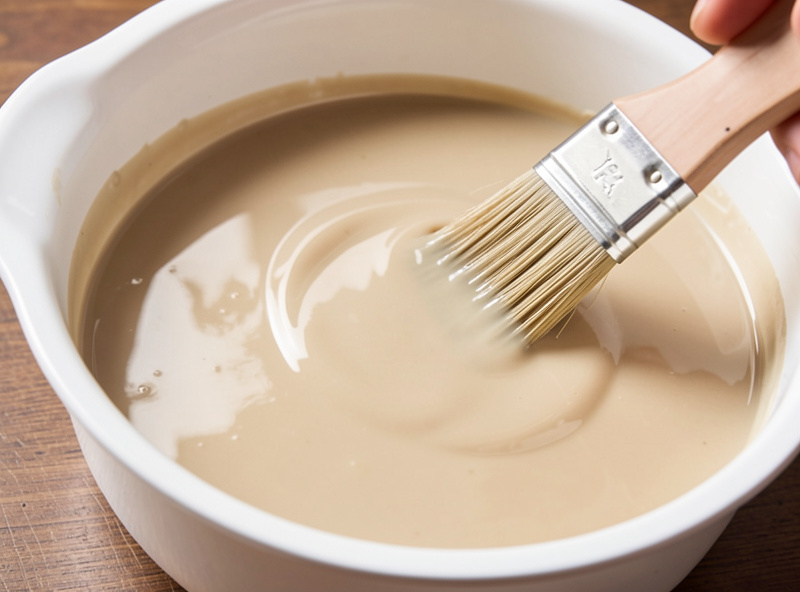
A light brush of neutral oil restores the sheen that heat and time steal. Sauces, roasted vegetables, grilled meat, and glazes all look glossy and appetizing when hot and fresh, then go matte and dull as they cool. A whisper of flavorless oil — or the dish’s own oil — brushed on with a pastry brush brings the highlight back. It’s honest because that sheen was really there a minute ago; you’re restoring it, not inventing it.
Matte food photographs as dead food. A glossy roast chicken skin, a shiny glaze on a doughnut, the sheen on a pan sauce — those specular highlights are a huge part of what signals “delicious” to the eye, and they’re the first thing to disappear as a dish sits under lights. A pastry brush and a few drops of neutral oil (or a spritz of neutral oil spray) rebuilds them: brush lightly along the surfaces that should catch light, then position your light so those highlights pop. I use the dish’s own oil when I can, so it’s literally the same food, just re-glossed. The one caution is restraint — over-oiled food looks wet and greasy, not fresh, so it’s a light touch, checked on the camera’s screen and dialed back.
Here’s how the honest freshness tricks stack up, with the effect each one restores and why it’s legitimate:
| Trick | Tool | Effect it restores | Why it’s honest |
|---|---|---|---|
| Backlit steam | Hot food + dark background | Warmth, “just cooked” | The steam is real; you only light it well |
| Water mist | Fine-mist spray bottle | “Just washed” freshness | Restores dew the kitchen wiped off |
| Oil sheen | Pastry brush + neutral oil | Gloss lost as food cools | Rebuilds a highlight that was there when hot |
| Ice-water bath | Bowl of ice water | Crisp, un-wilted greens | Greens genuinely re-crisp; no fakery |
| Shoot fast | Pre-staged setup | Peak freshness of the real dish | You just beat the clock |
Pre-stage the shot, use a fast shutter, and shoot a burst. Syrup running down pancakes, honey dripping off a spoon, cream poured into coffee — these action moments need everything ready before the pour: camera focused, light set, exposure locked, then one clean pour while you fire continuously. Freeze the drip with a shutter around 1/250 or faster, and pick the best frame afterward.
This is the one place in food photography where shutter speed suddenly matters, because you’re freezing motion. Everywhere else the food sits still and I shoot at base ISO on a tripod at any shutter; but a falling drip needs 1/250 to 1/500 to stay crisp, which means opening up the aperture or raising ISO to feed the faster shutter. I usually bump ISO a stop or two and accept a hair more noise for a frozen drip — a sharp drip at ISO 800 beats a blurred one at ISO 125. Focus manually on the spot where the drip will fall, since autofocus hunts on fast action, and fire a burst so you catch the drip at its most photogenic length.
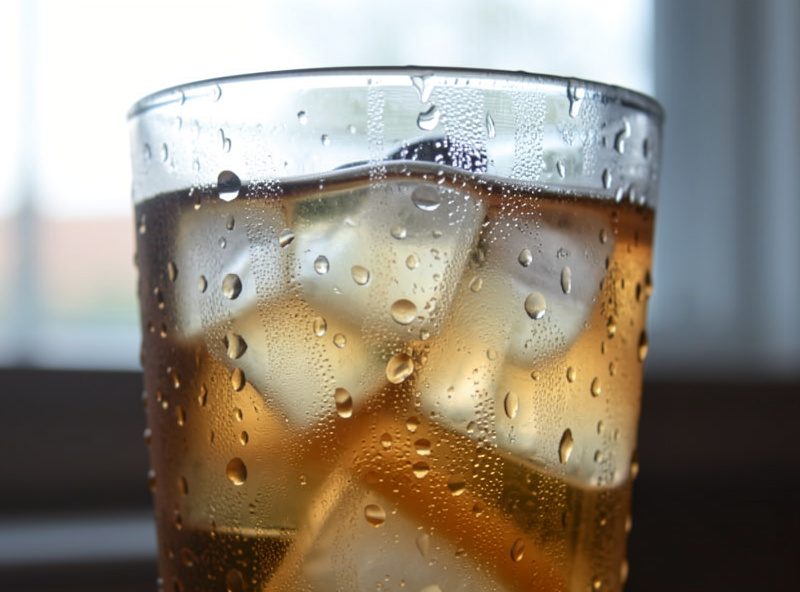
Cold drinks get the same treatment in reverse: condensation on a glass says “ice cold and refreshing.” You can encourage real condensation by chilling the glass in the freezer and bringing it into a warm room, where water vapor genuinely condenses on the cold surface — again, restoring something real. Backlight those beads and the glass sparkles. The mess management is just preparation: a tray under the pour, a cloth within reach, and the willingness to reset and shoot the pour three or four times until it’s clean.
The line is whether the trick changes the food into something you couldn’t or wouldn’t eat. Backlighting real steam, misting real produce, re-glossing with the dish’s own oil, chilling a glass to draw real condensation — all honest, because the food stays edible and true to itself. Motor oil for syrup, glue for milk, shaving foam for cream, a torch on raw meat — dishonest, because the “food” is now a prop that lies about what’s on the plate.
I hold this line for a practical reason as much as an ethical one: I photograph what I cook, and I eat what I photograph. Every technique in this article works on a real, edible dish, which keeps me honest by default — I’m not going to spray my own dinner with anything I wouldn’t put in my mouth. The commercial world has its own conventions, and food stylists on big ad shoots use non-edible substitutes because the food sits under hot lights for hours; that’s their reality, not mine, and I flag it as the commercial side’s practice rather than something I do. For anyone documenting real food — a home cook, a baker, a small restaurant — the honest toolkit here is not a compromise. It’s better, because it photographs the actual dish at its actual best. The sensory proof is in the room: when I backlight a genuinely hot bowl of soup and the real steam curls up glowing against a dark wall, I can smell it from behind the camera, and that’s the whole point. Make the real food look as good as it smells, and you never have to fake anything.
As an Amazon Associate I earn from qualifying purchases.

What Camera Settings Work Best for Night Photography? For night photography, use manual mode with…
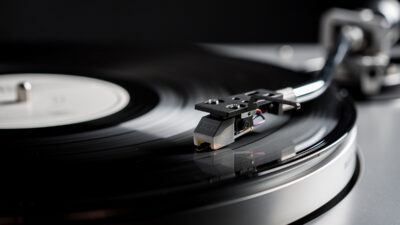
Photographing a vinyl record properly requires a macro lens at f/8 to f/11 and raking…
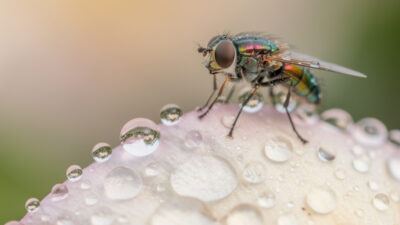
Macro photography captures subjects at 1:1 magnification or greater, filling the camera frame with objects…
Leave a Reply