Best Telephoto Lens for Wildlife Photography
The best telephoto lens for wildlife is a 150-600mm class zoom: it reaches far enough…
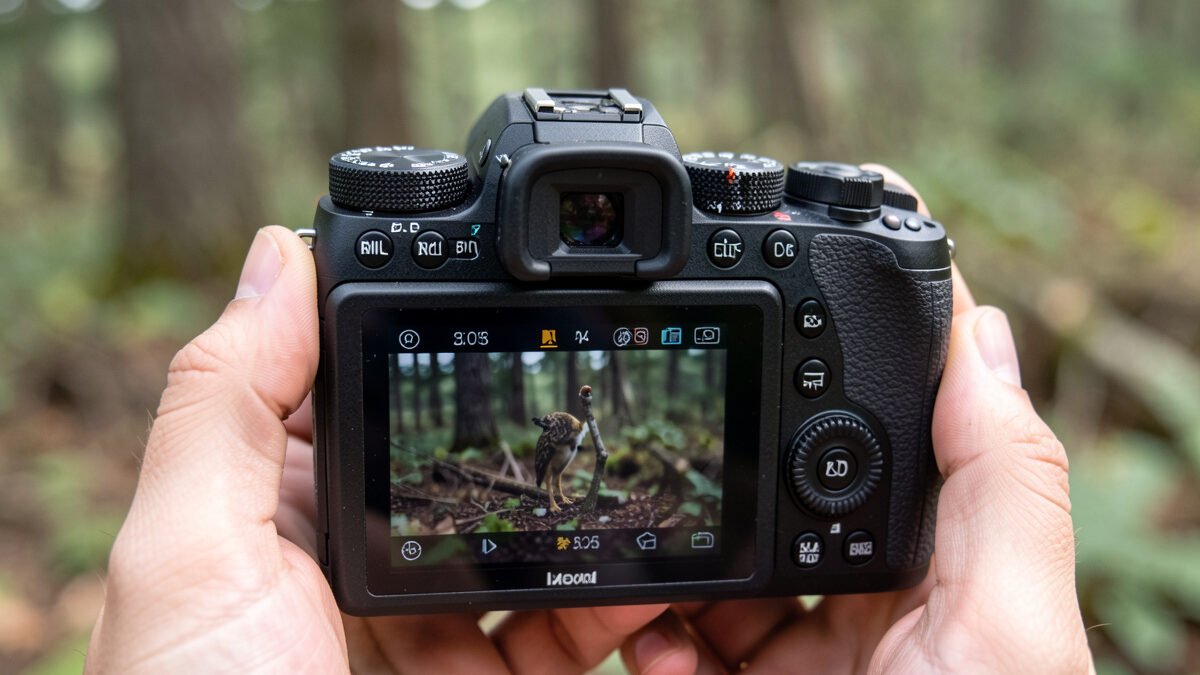
The core wildlife photography camera settings are simple: shutter priority or manual with auto-ISO, 1/1000s minimum (1/2000s for birds in flight), continuous autofocus, aperture near wide open, and burst drive. Get those five right and you’ll out-shoot someone with twice your budget on full manual. On my Fujifilm X-T5 these live in my custom dial so I’m ready in seconds.
Settings are where most missed wildlife frames are actually lost — not in the lens, not in the body. I’ve dialed these in over years of shooting birds and mammals across my X-mount and Sony FE kit, and the priorities barely change between systems. This is the settings deep-dive; the gear and fieldcraft around it sit in the wider wildlife photography tips and gear guide.
Use 1/1000s as your wildlife floor, 1/1600s for general action, and 1/2000s or faster for birds in flight. Long focal lengths magnify motion, so a shutter speed that freezes a person at 1/250s leaves a bird a blur. When in doubt, go faster and raise ISO to pay for it.
This is the setting I get asked about most and the one beginners under-set most often. A great horned owl turning its head looks frozen at 1/250s and smears at the same exposure the instant the lens moves. I default to 1/1600s for general wildlife and only drop lower for a deliberately static, tripod-locked subject. For the fastest action — a kingfisher’s dive, a hawk’s stoop — even 1/2000s can leave wingtips soft, so I’ll push to 1/3200s when the light allows. The shutter-speed math overlaps heavily with fast-action work, which I cover in my sports photography settings guide.
Yes. Auto-ISO with a sensible ceiling is the most useful wildlife setting there is. Set your shutter and aperture, cap ISO around 6400 on APS-C or 12800 on full-frame, and let the camera ride exposure as light shifts. It frees you to track the animal instead of chasing the meter.
Before I trusted auto-ISO I lost frames fiddling with the dial while the moment passed. Now I lock shutter at 1/1600s, aperture near wide open, and let auto-ISO float underneath. On my X-T5 I cap it at 6400; on the full-frame a7 IV I’ll let it run to 12800 because the larger sensor cleans up the noise. Modern files denoise far better than most shooters fear — the noise floor almost never ruins a wildlife shot. Motion blur and missed focus do. Trading a little grain for a sharp, well-timed frame is always the right call.
The one auto-ISO refinement worth knowing: set a minimum shutter speed in the auto-ISO menu, not just a maximum ISO. That guarantees the camera prioritizes a motion-stopping shutter over a clean low ISO, which is exactly backwards from how the default tries to behave. It’s a two-minute menu change that fixes the single most common wildlife exposure mistake.
Use continuous autofocus (AF-C) with subject or animal-eye detection on, a tracking area sized to your subject, and back-button focus. AF-C refocuses as the animal moves; eye detection locks the critical plane; back-button decouples focus from the shutter so you can pre-focus and wait.
Back-button focus changed my wildlife shooting more than any gear purchase. My thumb holds AF-C on a rear button and the shutter just fires, so I can pre-focus on a perch, wait however long it takes, and shoot the instant a bird lands without the camera hunting. Animal-eye detection is brilliant on a clean background and unreliable against busy reeds, so I keep a single small AF point a button-press away for cluttered scenes. Knowing when to trust the algorithm and when to override it is the real skill — the body that does this best is a bigger deal than sensor size, a point I make in my mirrorless versus DSLR comparison. The dedicated tracking deep-dive belongs in its own guide.
Set burst drive at 8-15 frames per second and aperture near wide open (f/5.6-f/6.3 on most superzooms). The wide aperture gathers light and blurs the background; burst captures the peak of fast action. But fire short, timed bursts — not endless machine-gun blasts that just fill the buffer.
Aperture choice on a long lens is easier than people expect: at wildlife distances the depth of field is already generous, so I shoot near wide open to gather every photon and let the long focal length blur the backdrop. Stopping down to f/8 rarely buys meaningful sharpness on a superzoom and costs you a stop of light you can’t spare. On drive, I run burst but wait for behavior — a heron’s neck cocking, a fox shifting weight — then fire three to five frames through the action. Three frames timed to the moment beat thirty timed to nothing, and your card and buffer will thank you. A fast, high-capacity card keeps the buffer clearing during those bursts, which is why card spec matters more than it seems; I break that down in my memory cards for photographers guide.
Use evaluative or matrix metering as your default — it reads the whole scene and handles most wildlife light well. Switch to spot metering only when a small, brightly-lit subject sits against a very dark or very bright background that would otherwise fool the meter.
I leave the camera in evaluative metering 90% of the time and trust the histogram to catch the exceptions. The classic trap is a backlit bird on bright water or a dark animal against snow: evaluative metering averages the scene and gets the subject wrong. That’s when I either switch to spot metering on the animal or — more often — just ride exposure compensation while watching the histogram. The histogram is the real meter; the metering mode just gets you in the ballpark. At Nordic latitudes the low-angle sun creates a lot of these backlit-on-water situations through the long summer mornings, so I’ve learned to read them fast.
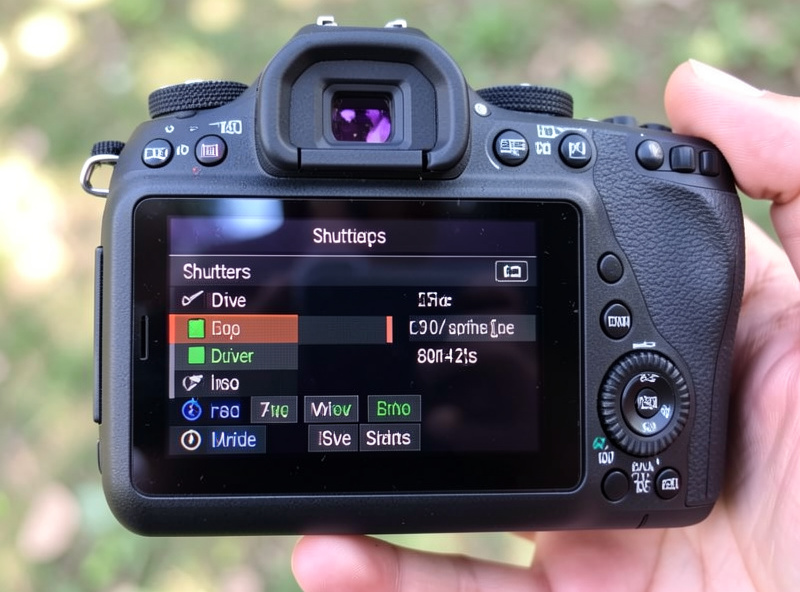
Yes — save your wildlife settings to a custom mode or memory bank so you can recall them in one dial-click. Wildlife appears without warning, and the difference between a saved C1 setting and rebuilding settings from scratch is often the difference between a keeper and an empty frame.
On my X-T5 I keep a custom configuration that snaps to 1/1600s, AF-C with animal-eye on, auto-ISO capped at 6400, burst drive, and back-button focus active — one dial position and I’m shooting. I built it after missing an otter that surfaced while I was still thumbing through menus from a landscape setup. Wildlife rewards readiness over perfection: a slightly imperfect frame you actually captured beats the flawless settings you were still dialing in when the animal dove. Set it once, save it, and let the camera do the remembering so your attention stays on the subject.
Meter for the highlights. White feathers blow out easily, and clipped highlight detail is unrecoverable, so dial in negative exposure compensation (often -0.7 to -1 stop) when a swan or egret dominates the frame, and watch the histogram’s right edge rather than the rear-screen brightness.
This is the exposure trap that ruins more swan and gull shots than anything else. The camera’s meter wants to render a bright white bird as mid-gray and overexposes it, blowing the feather texture to featureless paper. I shoot with the histogram visible and pull exposure compensation down until the right edge just kisses the wall without clipping. Shadow detail in the darker parts of the scene I can lift in Lightroom; blown highlights are gone for good. When the whole frame is dominated by a pale subject against dark water, that negative compensation is the difference between keeping the feather detail and deleting the frame.
Use shutter priority or manual with auto-ISO, 1/1000s minimum (1/2000s for flight), continuous autofocus with eye detection, aperture near wide open, and burst drive. Cap auto-ISO around 6400 on APS-C and let the camera ride exposure while you track the animal.
Use 1/1000s as a floor, 1/1600s for general action, and 1/2000s or faster for birds in flight. Long lenses magnify motion, so push the shutter faster and raise ISO to pay for it rather than risk a blurred frame.
Yes. Set shutter and aperture, cap auto-ISO around 6400 on APS-C or 12800 on full-frame, and let the camera float exposure as light shifts. Also set a minimum shutter speed in the auto-ISO menu so it prioritizes stopping motion.
Continuous autofocus (AF-C) with animal-eye detection and back-button focus. AF-C refocuses on moving subjects, eye detection nails the critical plane, and back-button focus lets you pre-focus on a perch and wait for the moment.
Meter for the highlights. Dial in roughly -0.7 to -1 stop of exposure compensation when a white bird dominates the frame and watch the histogram’s right edge. Clipped highlight detail in feathers is unrecoverable, so protect it.

The best telephoto lens for wildlife is a 150-600mm class zoom: it reaches far enough…
The core bird photography gear is a long lens (500-600mm or more), a body with…
A wildlife hide is the single biggest jump in keeper rate you can buy without…
Leave a Reply