Camera Body Buying Guide: How to Choose the Right Body
The best camera body buying guide advice I can give in one line: buy the…
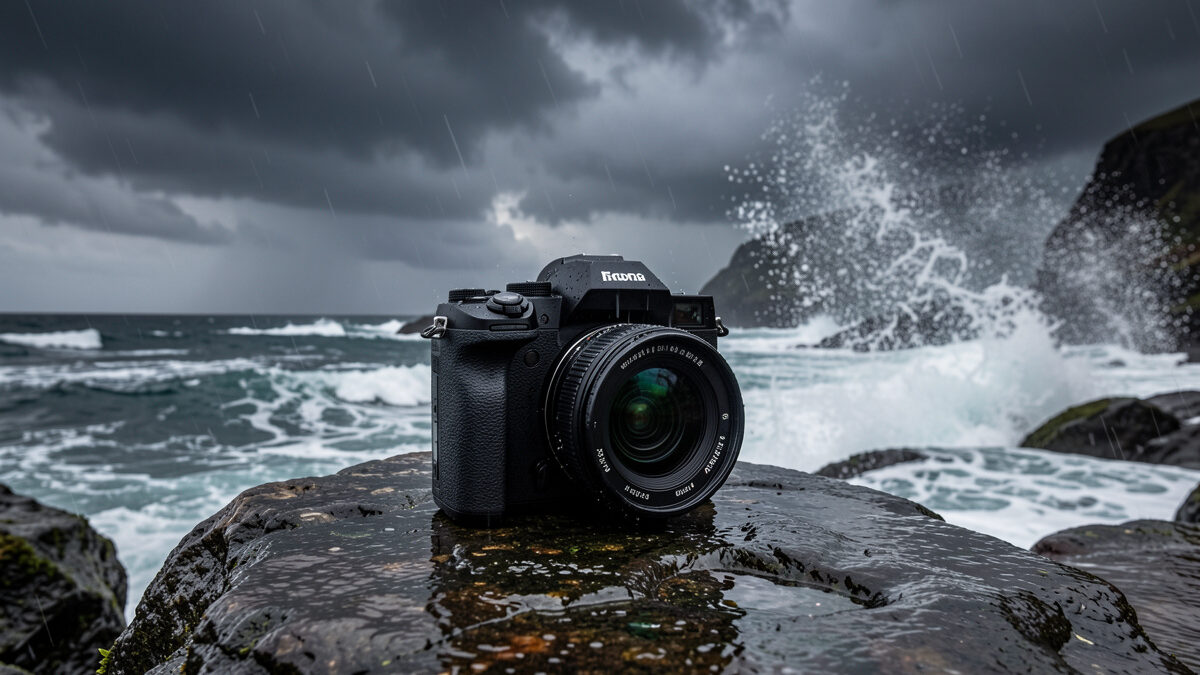
A weather-sealed camera uses gaskets and seals around its buttons, dials, and lens mount to keep moisture and dust out — letting you keep shooting through drizzle, spray, and blowing grit that would force an unsealed body to pack up. The key thing most buyers miss: sealing only works when both the body and the lens are sealed, because the mount is the most vulnerable joint of all. Most sealed bodies are rated to keep working down to around -10°C, yet no interchangeable-lens camera carries a formal IP ingress number the way a phone does.
I shoot landscape and outdoor work across two systems in Swedish weather, where a clear morning turns to drizzle by noon more often than not, so weather sealing isn’t a luxury checkbox for me — it’s the difference between finishing a shoot and abandoning one. This guide covers what sealing actually is, what it protects against, what it can’t do, and how to choose and use a sealed kit so the weather stops dictating when you put the camera away.
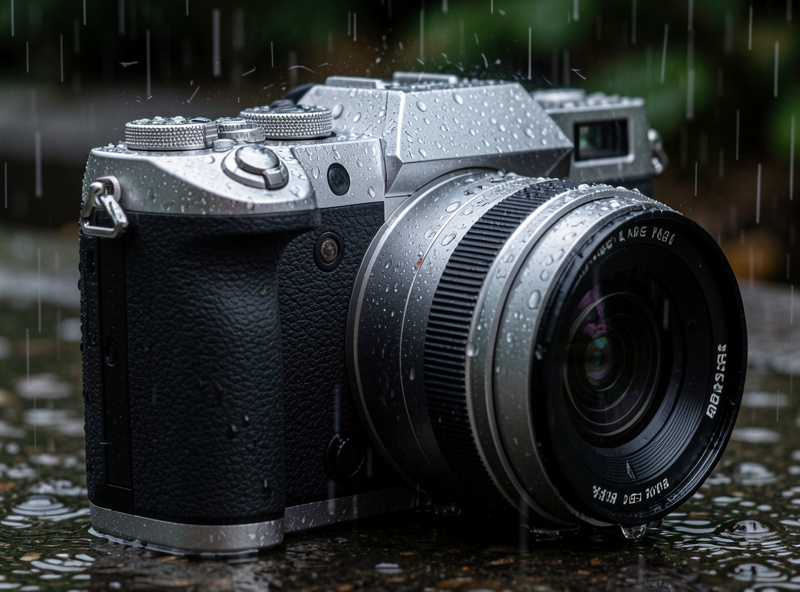
Weather sealing is a set of rubber gaskets and overlapping seals placed at every opening in the camera — around each button and dial, along the battery and card doors, and critically at the lens mount. These seals resist the ingress of water droplets and fine dust, so the sensitive electronics and the sensor inside stay dry and clean in conditions that would otherwise kill an unsealed body.
The important word is “resist,” not “waterproof.” Weather sealing is designed to shrug off rain, snow, spray, and dust during normal use — it is not designed for submersion, and no standard mirrorless body should be dunked. Manufacturers are also deliberately vague about exactly how much protection their sealing provides, because rating it formally would commit them to warranty claims. Treat sealing as meaningful insurance against the weather you’ll actually meet, not as a licence to abuse the camera. The build quality that comes with sealing is one of the things separating enthusiast bodies from entry-level ones, as I cover in the enthusiast camera guide.
This is the mistake that ruins cameras: a sealed body mounted with an unsealed lens is not a sealed system. The lens mount is the largest opening on the camera, and an unsealed lens leaves a direct path for water and dust to reach the sensor chamber. If you’re buying into weather sealing, you have to budget for sealed lenses as well, or the protection is fiction.
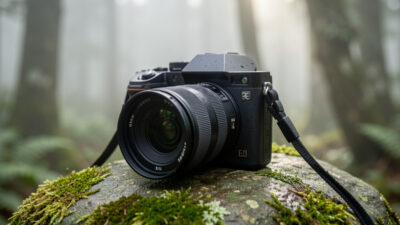
On my own kit I pair my weather-sealed Fujifilm X-T5 with sealed glass like the XF 16-55mm f/2.8 specifically so I can keep working when the weather turns, and I treat any unsealed lens as a fair-weather-only piece of glass. I learned this the hard way early on: I mounted an unsealed adapted prime on a sealed body in light coastal drizzle, assuming the body would carry the joint, and spent the evening wiping moisture off the rear element — the open mount let it straight in. Many sealed lenses also need their front element protected with a clear filter to complete the seal at the front — check the manufacturer’s note for the specific lens. When you’re choosing a system, weigh which sealed lenses exist on the mount, because a body’s sealing is only as useful as the glass you can pair with it. The mount-by-mount picture is in my camera lens mount guide.
| Condition | Sealed kit handles it? | What to do |
|---|---|---|
| Light to moderate rain | Yes | Wipe the body down afterward |
| Snow and sleet | Yes | Keep snow off the mount when changing lenses |
| Sea spray and salt air | Yes, with care | Rinse-wipe with a damp cloth after; salt is corrosive |
| Blowing dust and sand | Yes | Avoid changing lenses in the open |
| Condensation (cold to warm) | No | Seal in a bag before warming up indoors |
| Submersion / heavy downpour | No | Use a rain cover or housing |
The table above is the honest scope of sealing. It buys you confidence in the weather most outdoor photographers actually meet, but two things sit outside its protection: condensation and submersion. Condensation forms inside a cold camera brought suddenly into warm, humid air, and that internal moisture is exactly what sealing can’t stop — the fix is to seal the camera in a bag before you come indoors and let it warm up slowly. For genuine downpours or anything near submersion, you need a dedicated rain cover or housing on top of the sealing.
Weather sealing usually travels with a more serious build overall — a magnesium-alloy chassis instead of plastic, tighter tolerances, and doors that close with a reassuring precision. That build is part of what you’re paying for, and it’s why sealed bodies tend to feel and last better even setting the weather aside. A camera that shrugs off a drizzle also tends to survive the knocks of years of field use.
Not all sealing is equal, though, and the gap between a lightly gasketed enthusiast body and a fully ruggedised professional one is real. Entry-level bodies often advertise no sealing at all, mid-tier bodies get meaningful gaskets, and top bodies get comprehensive sealing rated for harder use. Match the level to where you actually shoot: a studio and city photographer needs little, while a landscape, wildlife, or travel shooter should treat sealing as a core requirement rather than a bonus. It’s one of the priorities I weight heavily in the broader camera body buying guide.
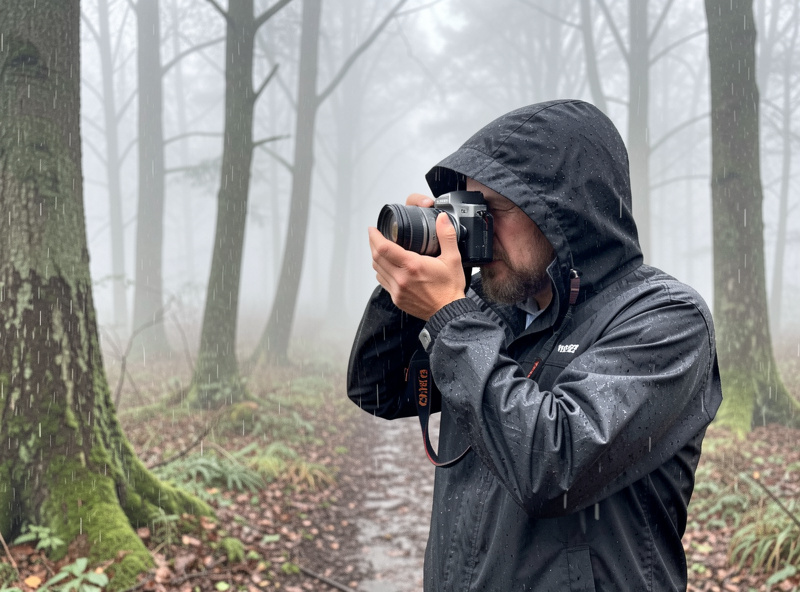
Sealing gives you the confidence to shoot, but technique keeps the camera alive. The single most dangerous moment is changing a lens in the rain or in blowing dust, because that’s when the sensor chamber is wide open — so swap lenses under cover, with the mount pointed down, and as quickly as you can, or simply don’t change lenses until you’re sheltered. A second body or a versatile zoom earns its keep in foul weather for exactly this reason.
Carry a microfibre cloth to keep the front element and the body clear, because water droplets on the glass ruin more outdoor shots than any sealing failure. When you come in from the cold, resist the urge to pull the camera straight out — let it warm up sealed in your bag to avoid condensation. And dry the body down properly afterward, paying attention to the seams and the mount, especially after salt spray, which is corrosive and unforgiving. A well-chosen camera bag with some weather resistance of its own is the other half of staying dry in the field.
Even with a fully sealed kit, the smart field photographer carries backup protection for the conditions that exceed what gaskets can handle. A simple rain cover packs to nothing and turns a sealed body into one you can shoot in a genuine downpour without a second thought. For dusty or wet travel, the way you pack and carry matters as much as the sealing itself.
I treat sealing as the first layer and good field habits as the second, never relying on one alone. My guide to protecting camera gear from rain and dust covers the rain covers, silica, and routines that back up the sealing, and packing a camera bag for travel handles getting the kit there safely. As an Amazon Associate I earn from qualifying purchases. A packable camera rain cover is the cheapest insurance in any outdoor bag, and a few silica gel packs keep condensation at bay in storage.

The biggest myth is that weather-sealed means waterproof. It doesn’t — sealing resists rain, spray, and dust during normal handling, but no standard camera is built to be submerged or hosed down, and treating one that way will flood it. Genuine waterproofing is graded by the international IP ingress protection code — the IP67/IP68 numbers you see on phones and dive housings — and camera weather sealing deliberately carries no such rating. The second myth is that a sealed body alone protects you; as covered above, an unsealed lens leaves the mount wide open, so the system is only as sealed as its weakest component.
A third misconception is that more expensive always means better sealed. Sealing quality does generally rise with price, but some mid-tier bodies are surprisingly well gasketed while a few pricier ones prioritise other features — read the specific body’s sealing description rather than assuming the cost tells you. Finally, people assume sealing is permanent. The gaskets are rubber, and over years of heavy use and temperature cycling they age and compress, so a decade-old sealed body is less protected than it was new. Sealing is real protection, but it’s protection with limits and a lifespan, not an invincibility setting.
A weather-sealed camera rewards a little maintenance. After any wet, salty, or dusty shoot, wipe the body down with a barely damp cloth — paying attention to the seams, the doors, and the mount — then dry it thoroughly before it goes back in the bag. Salt in particular is corrosive and will work into seals and contacts if you leave it, so a coastal session always earns a careful clean-down at home.
Store the camera somewhere dry with a few silica gel packs to keep ambient humidity down, because trapped moisture is what grows fungus on lens elements and corrodes contacts over time. Open the battery and card doors occasionally to let everything breathe. And keep the sensor clean with proper technique rather than poking at it in the field — my sensor-size comparison touches on why smaller, denser sensors show dust more readily, which makes clean handling habits matter even more. Look after a sealed body and it will outlast several lighter cameras, shrugging off the weather year after year.
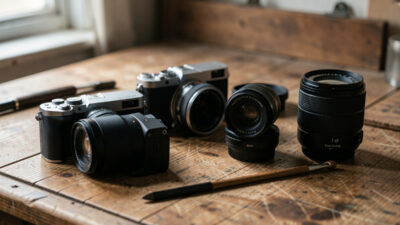
You don’t need a flagship to shoot in bad weather. Plenty of mid-tier enthusiast bodies offer meaningful sealing at a sensible price, and pairing one with a single sealed zoom gives you a genuinely all-weather kit without the flagship outlay. If a fully sealed lens isn’t in budget yet, a clear protective filter plus a cheap rain cover bridges a surprising amount of the gap for occasional wet shooting.
The smartest budget move is to put sealing ahead of resolution in your priorities if you shoot outdoors. A well-sealed 24-megapixel body that keeps working through a downpour beats a higher-resolution unsealed one that you have to pack away the moment the sky opens — the photographs you actually capture matter more than the ones a spec sheet promises. Buy the sealing you need first, then add resolution and speed later as the budget allows, and let the weather stop being the thing that decides your shooting days. If travel is your main use, the trade-offs carry straight over to my best camera for travel photography guide.
If you photograph landscapes, wildlife, travel, street, or anything that puts you outdoors in changing conditions, weather sealing should be near the top of your requirements — it directly expands the hours and the weather you can keep working in. For a studio, event, or city photographer who’s rarely caught in the rain, it matters far less and isn’t worth paying a large premium to chase.
Be honest about where you actually shoot rather than where you imagine you might. A sealed body and sealed lens cost more and often weigh a little more, and that’s only worth it if your photography genuinely takes you into weather. For me, shooting the long blue hours and quick-changing skies of Swedish summer and winter both, sealing is non-negotiable — it’s why I can chase the best natural light regardless of what the forecast does, and why my gear has lasted through conditions that would have ended a shoot otherwise. If your photography lives outdoors, buy the seal and shoot through the weather.
The best camera body buying guide advice I can give in one line: buy the…
The best enthusiast camera in 2026 is a weather-sealed mid-tier body with twin control dials,…
For most buyers in 2026, Canon, Sony, and Nikon all make excellent full-frame mirrorless cameras,…
Leave a Reply