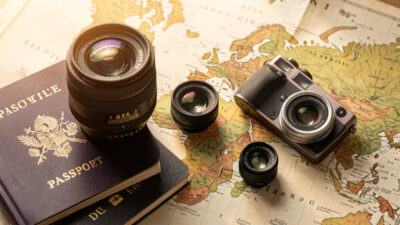
Best Travel Photography Lenses: What to Pack
If you only get one thing right about your travel kit, make it the lens.…
The least glamorous article in this whole travel cluster is also the one that’s saved the most trips: how to keep a camera working when the weather and the environment are trying to kill it. At home, the threats to gear are slow — dust accumulates, nothing’s urgent. On the road the failures are sudden and trip-ending: a downpour you didn’t see coming, sea spray on a coastal walk, fine grit blowing across a desert overlook, condensation fogging a cold body the moment you step into a warm humid room. And unlike at home, there’s no spare body in a drawer. This is the field-protection routine I actually run, threat by threat.
The good news is that almost all of it is cheap and almost all of it is habit rather than gear. A few small items and a handful of disciplines prevent the vast majority of weather and dust damage. The single most important principle runs through everything below: keep the camera closed. Most field problems come from opening the body up at the wrong moment, so the protective mindset is to minimize how often, and where, you do that.
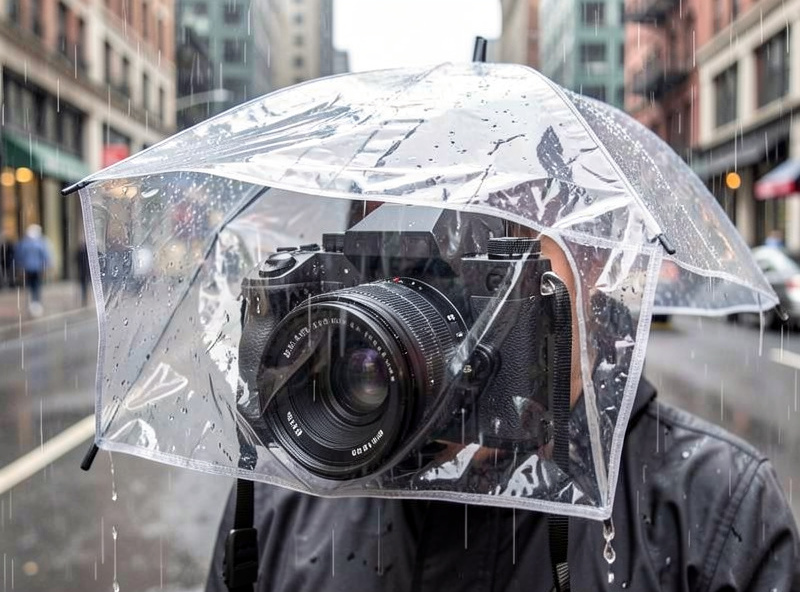
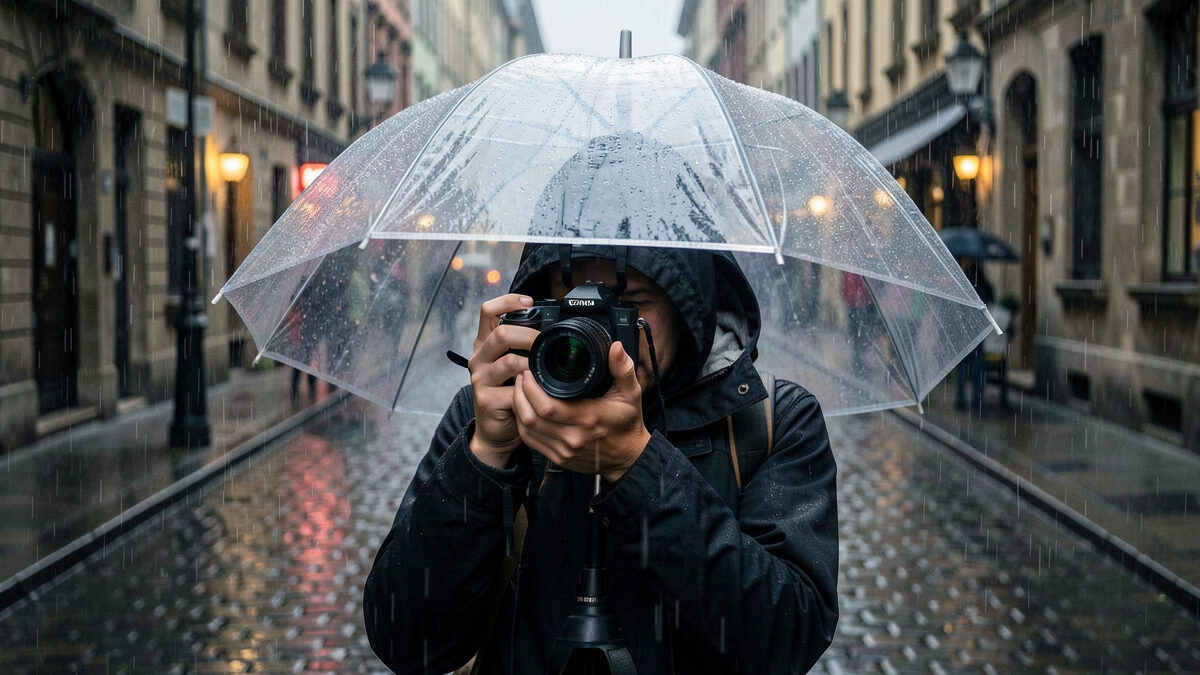
Rain is the threat travelers panic about most and the one that’s easiest to manage. A weather-sealed body and lens shrug off light rain on their own — sealing isn’t waterproofing, but it handles a drizzle fine. For anything heavier, a simple rain cover is the answer, and it’s the cheapest insurance in the bag. I carry a packable cover that goes over the camera and lens and lets me keep shooting in conditions that would otherwise mean putting the gear away. Some of the best, moodiest travel light arrives with rain, so being able to work in it is a real advantage, not just damage control.
Beyond the cover, the habits matter. I keep a couple of microfiber cloths accessible to wipe the front element between frames, because a drop on the lens ruins a shot far more reliably than rain on the body damages the camera. I keep the bag itself dry, ideally with a rain cover of its own or a waterproof liner, because a soaked bag is how water reaches gear that isn’t currently in use. And when I come in from the rain, I wipe everything down and let it dry fully before sealing it back into a bag, so trapped moisture doesn’t cause problems overnight.
As an Amazon Associate I earn from qualifying purchases. The one item I’d never travel without in changeable weather is a packable camera rain cover — it weighs almost nothing and is the difference between shooting through a shower and missing it.
Dust is the threat that does the most insidious damage, because it doesn’t announce itself — you discover it later as dark spots on every frame, or as grit working into a lens barrel. And the number one way dust reaches your sensor is changing lenses outdoors, especially in wind. So the single most effective dust-protection habit costs nothing: don’t change lenses in the open if you can avoid it, and never in a breeze. I’ve prevented far more sensor-dust problems by simply keeping the body closed than by any amount of cleaning afterward.
When I must change a lens in the field, I do it with my back to the wind, body angled down so the mount faces the ground, and I do it fast. In genuinely dusty or sandy environments — a desert, a beach — I lean even harder on a single do-everything zoom precisely so I never have to open the camera at all. Sand is worse than dust because the grains are abrasive and can jam moving parts; near a beach I keep the gear bagged when not shooting and never set a camera down in the sand. A rocket air blower clears loose dust from the front element and exterior safely; for anything on the sensor itself, that’s a job for the proper routine, not a field fix. As an Amazon Associate I earn from qualifying purchases.
When dust does get past you — and over a long trip some always does — dealing with it safely is a back-at-base task, not something to attempt with the wrong tools on a hotel bed. The camera sensor cleaning guide covers doing it without making things worse. On the road, a blower and patience are usually enough to get you through.
Condensation is the sneaky one, because you cause it without realizing. Carry a cold camera — one that’s been in an air-conditioned room or a cold morning — straight into a warm, humid environment, and moisture condenses on and inside it, exactly the way a cold drink sweats. Fog on the lens is the visible symptom; moisture inside the body is the real risk. It’s a common problem in the tropics and anywhere with big temperature swings between indoors and out.
The fix is simply patience: let the camera acclimate to the new temperature before you expose it. I keep the gear sealed in its bag (or a zip-lock bag) while it warms up or cools down, so any condensation forms on the bag rather than the camera. Give it twenty minutes to half an hour to equalize and the problem disappears. Silica gel packets in the bag help absorb ambient moisture and are worth carrying in humid climates — they’re tiny and they keep the bag’s internal humidity down, which protects against both condensation and the slow mold risk that high humidity poses to lenses over time.

Here’s the whole routine condensed — each environmental threat, the cheap gear that addresses it, and the habit that matters more than the gear. This is genuinely how I think about protecting a kit before and during a trip.
| Threat | Gear that helps | The habit that matters more |
|---|---|---|
| Rain | Packable rain cover, microfiber cloths | Wipe the front element; dry everything before re-bagging |
| Dust | Rocket blower, one do-everything zoom | Don’t change lenses outdoors, never in wind |
| Sand | Sealed bag, blower | Keep gear bagged near beaches; never set it down in sand |
| Condensation | Zip-lock or sealed bag, silica gel | Let the camera acclimate sealed before exposing it |
| Humidity (long-term) | Silica gel, dry storage | Don’t store gear damp; air it out after wet days |
Notice how every row has a habit that does more work than the gear. The cover, the blower, the silica gel are all cheap and worth carrying — but the disciplines of keeping the body closed, drying things out, and letting gear acclimate are what actually save trips, and they cost nothing but attention.
All of this is easier with a bag that protects gear by default. A bag with decent weather resistance, a rain cover, and padded compartments means your kit is shielded most of the time without you thinking about it — it’s only exposed in the moments you’re actively shooting. Choosing that bag is its own decision, covered in the camera bag buying guide, and how you load it so gear is both protected and quickly accessible is in the packing guide elsewhere in this cluster. A good bag turns most of the protection routine into something that happens automatically.
Put it all together and field protection stops being a worry and becomes a quiet background habit. Carry the cover, the cloths, the blower, and the silica gel; keep the body closed; dry things out; let cold gear acclimate. None of it is expensive or heavy, and all of it together means the weather becomes an opportunity for better light rather than a reason to put the camera away. The shooters who come home with great travel work in bad conditions aren’t lucky — they’re the ones who protected their gear well enough to keep shooting.
A weather-sealed body shrugs off light rain on its own; for anything heavier, a packable rain cover lets you keep shooting and weighs almost nothing. Keep microfiber cloths handy to wipe the front element between frames, keep the bag itself dry, and when you come in, wipe everything down and let it dry fully before sealing it back into the bag so trapped moisture doesn’t cause problems.
The single most effective habit is not changing lenses outdoors, especially in wind, since that’s the main way dust reaches the sensor. In dusty or sandy places, lean on one do-everything zoom so you never open the body. When you must swap, do it with your back to the wind, mount facing down, and fast. A rocket blower clears loose dust safely; sensor cleaning itself is a careful back-at-base task.
Condensation forms when you carry a cold camera into warm, humid air and moisture settles on and inside it, like a cold drink sweating. Prevent it by letting the gear acclimate sealed in its bag or a zip-lock before exposing it, which makes any condensation form on the bag instead. Twenty to thirty minutes usually equalizes the temperature; silica gel in the bag helps in humid climates.
Sealing helps but isn’t waterproofing, so treat it as a buffer rather than a license. It handles drizzle and light dust, buying you time and reducing worry, but heavy rain still calls for a rain cover and dusty conditions still call for keeping the body closed. The habits, keeping gear bagged when not shooting and not changing lenses in the open, matter more than sealing alone.
Sand is worse than dust because the grains are abrasive and can jam moving parts. Keep gear bagged whenever you’re not actively shooting, never set a camera down in the sand, and avoid changing lenses anywhere near the beach. Salt spray is corrosive too, so wipe the gear down afterward and let it dry. A blower clears loose grains from the exterior, but prevention is far easier than cleanup here.
If you only get one thing right about your travel kit, make it the lens.…
Travel photography is the discipline that exposed every lazy habit I’d built up shooting at…

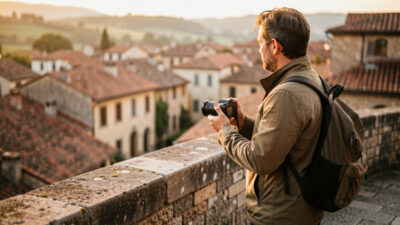
Gear gets you to the moment. Composition decides whether you come home with a photograph…
Leave a Reply