Protect Camera Gear from Rain and Dust While Traveling
The least glamorous article in this whole travel cluster is also the one that’s saved…
Gear gets you to the moment. Composition decides whether you come home with a photograph or a snapshot. And travel composition is its own discipline, harder than composing at home, because you’re standing somewhere unfamiliar, usually once, at whatever hour the itinerary allows, surrounded by the same scene a thousand other people have already photographed. The skill is making a frame that feels like the place rather than the postcard everyone else shoots. After years of doing exactly this across two camera systems, here’s how I actually compose when I’m travelling.
The fundamentals of composition don’t change abroad — the rule of thirds, leading lines, and framing all still apply, and the broader photography composition guide covers those in depth. What changes is the context: speed, unfamiliarity, crowds, and the gravitational pull of the obvious shot. This guide is about the travel-specific layer on top of the basics, the part that separates a wall of identical tourist photos from a frame that’s unmistakably yours.
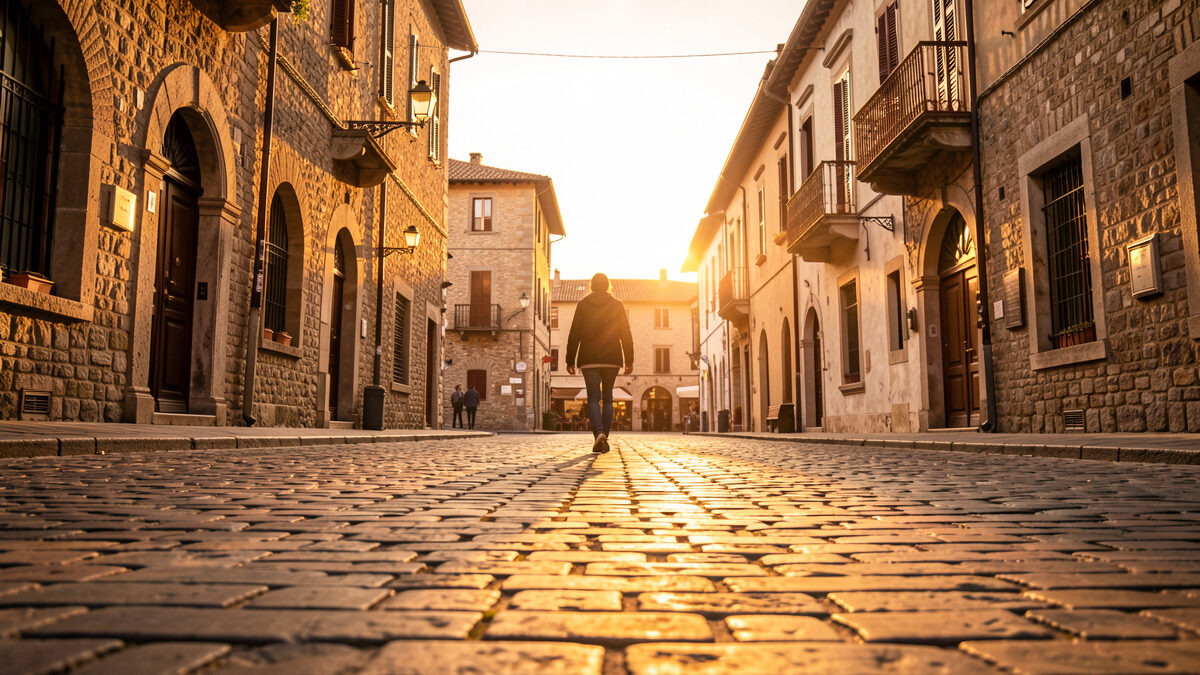
The single biggest trap in travel photography is the postcard reflex. You arrive at the famous viewpoint, everyone’s standing in the same spot, and you take the same frame that’s already on a million memory cards. There’s nothing wrong with capturing the icon — take that one, get it out of your system — but then do the work. Walk around it. Find the angle nobody’s standing at. Get low, get high, shoot it through something, wait for a person to walk into the frame and give it scale and life.
What makes a travel image yours is usually a decision the crowd didn’t make: a different vantage point, a moment of human activity, a detail instead of the whole, the icon reflected in a puddle or framed by a doorway. I make a habit of taking the obvious shot and then asking “what’s the version of this that nobody else here is getting?” That question, asked every time, is what builds a travel portfolio that doesn’t look like everyone else’s.
A landmark photographed in isolation tells you what a place looks like. A photograph that conveys a sense of place tells you what it feels like to be there — and that’s a far more valuable image. The difference is usually context and human element. A cathedral shot tight is architecture; the same cathedral with a flower seller in the foreground and morning light raking across the square is a story. I’m always looking for the layer that says “this is what this place is actually like,” not just “this is the thing you’re supposed to photograph.”
This is where the environmental approach earns its keep. Including people in their context — a vendor at a stall, a fisherman mending nets, kids playing in a fountain — turns a location into a place with life in it. So does showing the unglamorous texture: the laundry strung across an alley, the worn steps, the peeling paint that tells you something real about where you are. These are the frames people connect with, because they convey experience rather than just documentation.
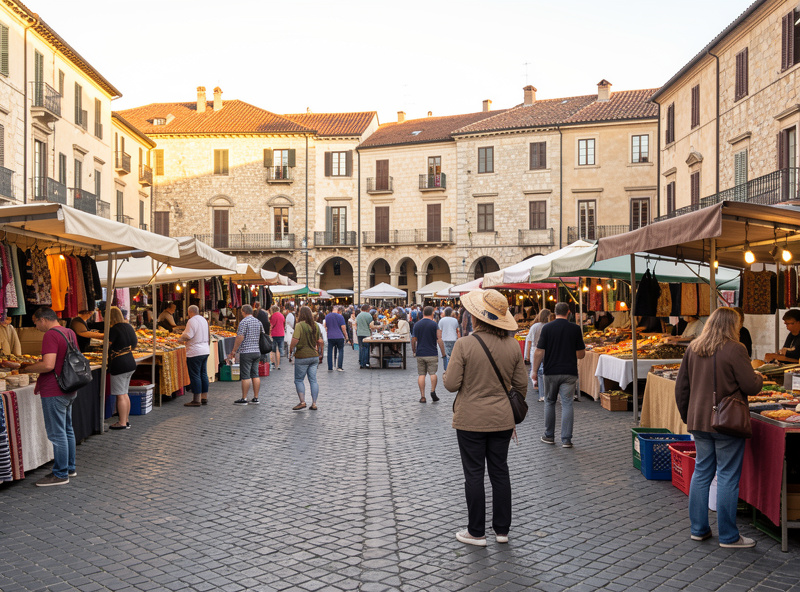
Travel constantly puts you in cluttered, chaotic scenes — a packed market, a busy intersection, a crowded festival — where the instinct is to point and shoot the whole mess. That almost never works, because a frame with no clear subject reads as noise. The skill in chaos is subtraction: find one element to be the subject and compose so everything else supports it rather than competing with it.
I do this a few ways. I get closer, so a single subject fills more of the frame and the chaos becomes background context. I use a wider aperture to throw the busy background soft, letting one face or one gesture stand out. I wait for a moment of order to emerge from the disorder — a gap in the crowd, a person stepping into a pool of light, two elements lining up. The chaos is the texture; the subject is the point. Find the point first, then let the chaos frame it.
At home I can wait for the perfect light on my own street. Travelling, I’m usually somewhere once, at a fixed time, and the skill is composing for the light I’m handed rather than the light I’d choose. That means reading the scene fast: which surfaces are lit, where the shadows fall, how I can position myself so the light works for the frame instead of against it. Often the move is as simple as walking to the other side of a square so a building is side-lit and textured rather than flatly front-lit.
When the light is genuinely bad — harsh midday sun, flat overcast — I lean into it rather than fight it. Harsh light is great for high-contrast, graphic, shadow-driven compositions; flat light is perfect for detail, texture, and color work that doesn’t need modeling. And I plan the trip around the good light where I can: the best travel frames happen at the edges of the day, which is why I shoot the icons at dawn before the crowds and the light both arrive. Reading and shaping available light is most of the game, and the natural light guide goes deeper into it.
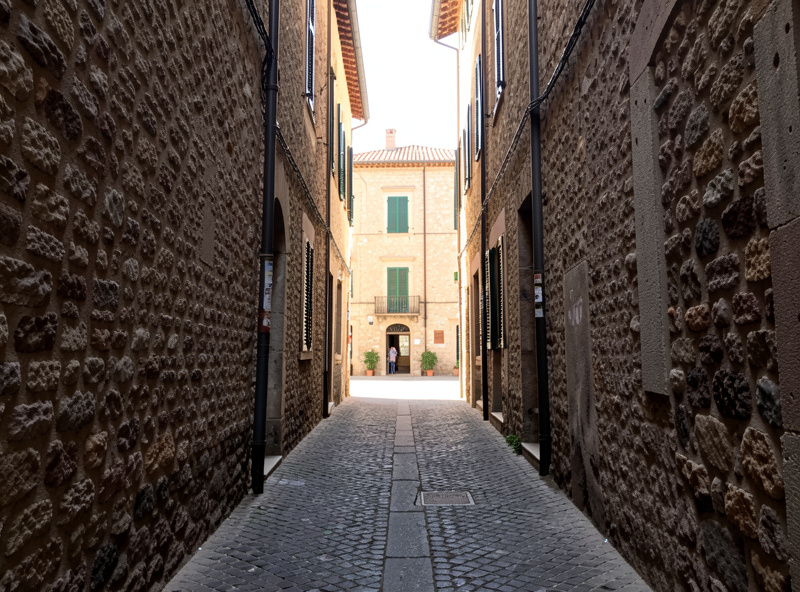
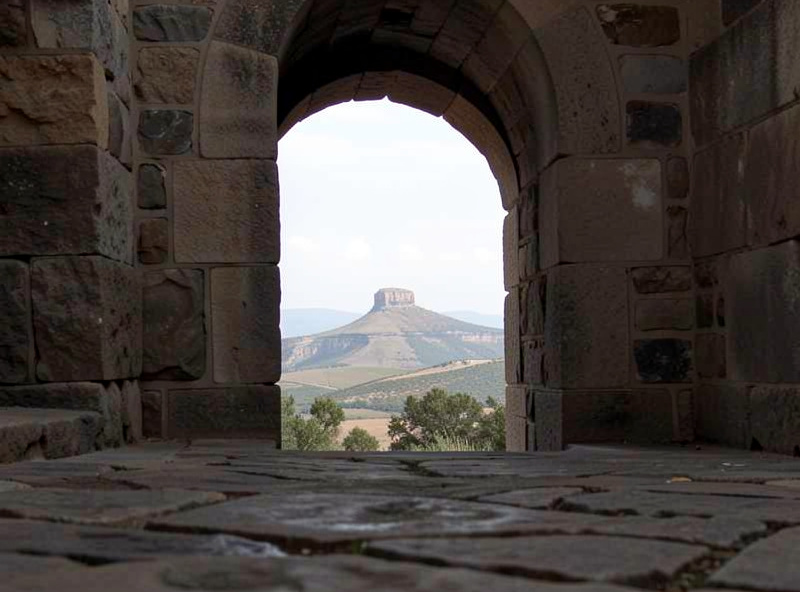
A few compositional tools are especially powerful for travel because the built environment hands them to you for free. Natural frames are everywhere abroad — arches, doorways, windows, overhanging branches — and shooting your subject through one adds depth and draws the eye exactly where you want it. I’m always scanning for something to frame through, because it instantly makes a shot more deliberate.
Leading lines are the other gift of travel architecture: a cobbled street, a row of columns, a railway track, a canal all pull the viewer into the scene. So does foreground — including something close in the bottom of the frame gives a landscape or cityscape real depth instead of a flat backdrop. And reflections, in puddles, canals, and windows, turn an ordinary scene into something graphic. None of these are exotic techniques; they’re the basics, applied to the rich visual environment travel constantly provides. The trip does half the work; you just have to see it.
The deepest travel-composition skill isn’t a technique at all — it’s slowing down. The traveler rushing to tick off ten sights takes ten mediocre photos; the one who sits in a single square for twenty minutes, watching the light move and the life unfold, comes away with one frame worth keeping. I’ve learned to pick fewer locations and work them properly: arrive, put the camera down, look, and only start shooting once I’ve understood what the place is actually about.
That patience is what ties all of this together. The postcard-beating angle, the sense of place, the order found in chaos, the light read correctly, the frame-within-a-frame spotted — they all come from looking longer than the crowd does. Composition costs nothing, weighs nothing, and travels in your head, which makes it the highest-return thing you can improve before a trip. Get the gear right so it’s never in the way — including how you pack it so it stays accessible all day, covered in my camera bag packing for travel guide — then spend your attention on seeing, and the photographs follow.
Take the obvious icon shot to get it out of your system, then do the work the crowd skips: walk around the subject, find the vantage point nobody’s standing at, get low or high, shoot it through a frame, or wait for a person to add scale and life. Every time, ask what version of this scene nobody else here is getting. That single habit builds a portfolio that doesn’t look like the standard tourist wall.
Show context and human life, not just the landmark in isolation. A cathedral shot tight is architecture; the same cathedral with a vendor in the foreground and morning light across the square is a story. Include people in their environment and the unglamorous texture of a place, the laundry across an alley or the worn steps, because those details convey what it feels like to be there rather than just what it looks like.
Subtract. A frame with no clear subject reads as noise, so find one element to be the subject and compose so everything else supports it. Get closer so the subject fills more of the frame, use a wider aperture to soften the busy background, and wait for a moment of order, a gap in the crowd or someone stepping into light. The chaos becomes texture; the subject is the point.
You usually can’t wait for better light when you’re somewhere once, so compose for what you’re given. Harsh midday sun suits high-contrast, graphic, shadow-driven shots; flat overcast is perfect for detail, texture, and color. Where you can, plan around the edges of the day and shoot the icons at dawn before the crowds and the harsh light arrive. Reading the available light is most of the game.
The built environment hands you tools for free. Shoot through natural frames like arches, doorways, and windows for depth; use leading lines from streets, columns, and canals to pull the eye in; include foreground for a sense of depth; and look for reflections in puddles and windows. None are exotic, they’re the fundamentals applied to the rich visual environment travel constantly provides.
Slow down. The traveler rushing to tick off ten sights takes ten mediocre frames; the one who works a single location properly comes away with one worth keeping. Pick fewer spots, arrive, put the camera down, and look until you understand what the place is about before you shoot. Composition costs nothing and weighs nothing, so the return on simply looking longer than the crowd is enormous.
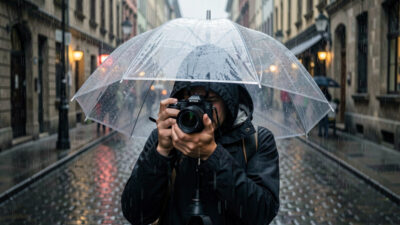
The least glamorous article in this whole travel cluster is also the one that’s saved…
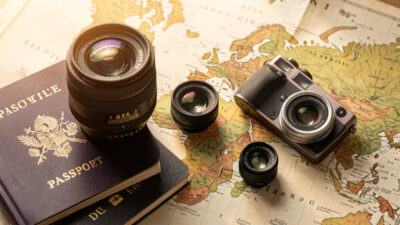
If you only get one thing right about your travel kit, make it the lens.…
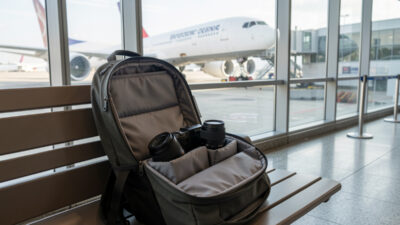
The most nervous I ever get with a camera has nothing to do with photography.…
Leave a Reply