Canon vs Sony vs Nikon Mirrorless: Which to Choose in 2026
For most buyers in 2026, Canon, Sony, and Nikon all make excellent full-frame mirrorless cameras,…
The best camera body buying guide advice I can give in one line: buy the body that handles well in your hands, mounts the lenses you actually want, and gets out of the way — sensor resolution is the last thing on the list, not the first. A 24MP body with the right glass out-resolves a 45MP body with a kit zoom every time.
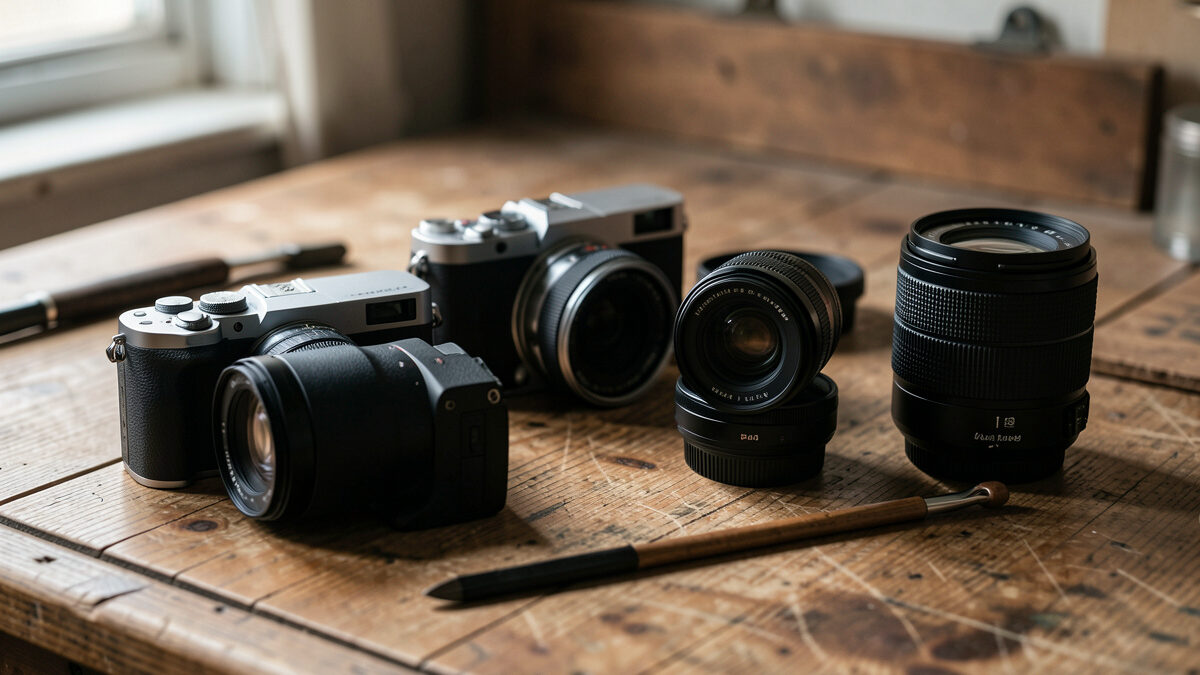
I shoot two systems side by side — a 40MP Fujifilm X-T5 (APS-C) and a full-frame Sony a7 IV — specifically so I can separate what a sensor does from what a lens does. That cross-reference is the lens this whole guide is shot through. Most body reviews are spec recitations written by people who never put the camera against the same chart twice. This one is about the handful of decisions that actually change your photographs, and the dozen that marketing wants you to obsess over but won’t.
A camera body is a light-tight box with a sensor, a processor, a viewfinder, and a set of controls. That’s it. It captures the image the lens projects — it does not create sharpness, it does not create rendering, and it cannot fix a focal length that’s wrong for your subject. On my chart, the difference between two bodies of the same generation is far smaller than the difference between a cheap zoom and a fast prime mounted on either one.
This matters because the camera-buying conversation is upside down. People agonize over 24MP versus 33MP versus 40MP and then mount a slow kit zoom that can’t feed any of those sensors. The body sets your ceiling for resolution, autofocus, and frame rate. The lens decides whether you ever reach that ceiling. Read my companion piece on prime versus zoom lenses before you spend a krona on a body — it will reframe the whole budget.
If you ignore the marketing and look at what changes a real photograph, the list of body specs that matter is short. In order: sensor size and how it pairs with your lenses, autofocus reliability for your subject, the viewfinder and rear screen you’ll frame on for years, the control layout under your fingers, and the lens mount you’re committing to. Megapixels rank below all five for almost every shooter.
Sensor size sets depth-of-field control and high-ISO behavior — the full full-frame versus APS-C breakdown covers that in detail, and it’s the single most over-weighted decision in camera buying. Autofocus is where the last few years of body development actually went: subject-detection AF that locks onto an eye and holds it is genuinely transformative for portraits and wildlife in a way more pixels never were. The viewfinder is where you live — a dim, low-resolution EVF will make you hate a camera you paid good money for. Controls and mount you’ll feel every single shoot.
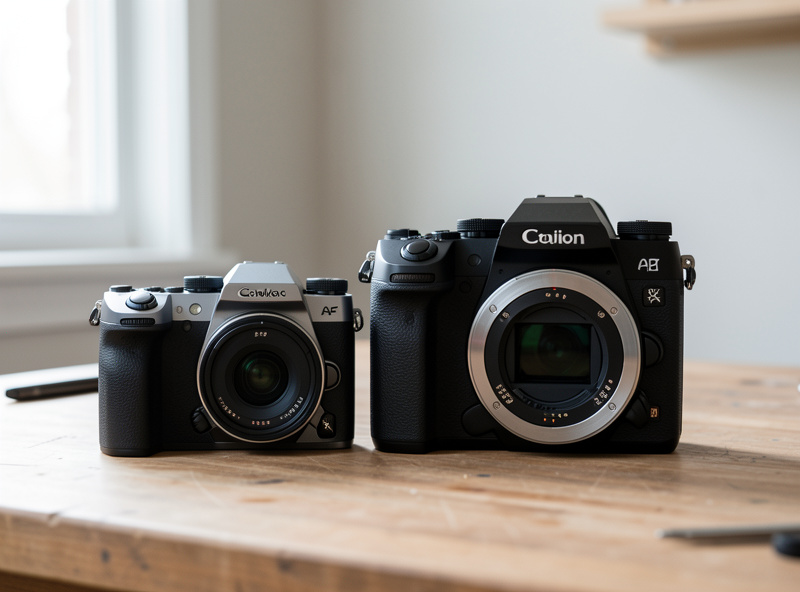
Full-frame gives you roughly a stop of high-ISO advantage and shallower depth of field at the same framing and aperture. APS-C gives you a smaller, cheaper, lighter system and effective extra reach for the same lens. Neither is “better.” On my X-T5 the 40MP APS-C sensor out-resolves plenty of 24MP full-frame bodies on a flat chart — resolution lives in pixel pitch and the lens, not the sensor’s physical size — the image sensor format only sets the field-of-view crop and the light-gathering area.
What full-frame really buys you is subject separation and clean shadows when the light disappears. I keep the a7 IV for blue-hour landscape and any time I’m pushing ISO past 6400. I keep the X-T5 for daylight, travel weight, and reach, because cropping a smaller sensor costs nothing I notice in a print. If you’re choosing a system today, decide on output first: what do you actually print or post, and at what size? Most people are choosing a sensor for a print they’ll never make. The detailed trade-offs live in the sensor-size comparison.
For a new buyer in 2026, mirrorless is the answer in almost every case — the lens roadmaps, the autofocus, and the viewfinder-preview-of-exposure all point one way, and the major makers have stopped developing new DSLR bodies, and CIPA shipment data has shown mirrorless outselling DSLRs for years now. The honest exception is a used DSLR-and-glass bargain if your budget is tiny and your subjects are static.
A mirrorless EVF shows you the exposure before you press the shutter — you see the histogram, the white balance, and the depth of field live. That single feature shortened my learning curve more than any spec. DSLRs still offer superb optical viewfinders and battery life, and the used market is full of capable bodies and cheap lenses. I lay out exactly when that used-DSLR route still makes sense in the full mirrorless versus DSLR guide — it’s a real decision, not a foregone one, if money is the binding constraint.
The right body depends far more on where you are in the craft than on your budget ceiling. A beginner needs forgiving autofocus, a clear menu, and a light kit they’ll actually carry. An enthusiast needs control dials, weather sealing, and a sensor that rewards good glass. A specialist — wildlife, sports, weddings — needs frame rate, buffer, and a lens ecosystem built for the job.
Buying above your level is the most common money-waster I see. A first-time buyer with a flagship sports body gets a heavy, complicated camera whose strengths they never touch, and they’d have learned faster with a simpler one. If you’re starting out, my best beginner mirrorless camera guide is built around exactly this — forgiveness over flagship features. If you’ve outgrown your first body and want something that rewards better technique without flagship weight or price, the best enthusiast camera guide for 2026 is the next step up. Match the tool to the hand, not to the ego.
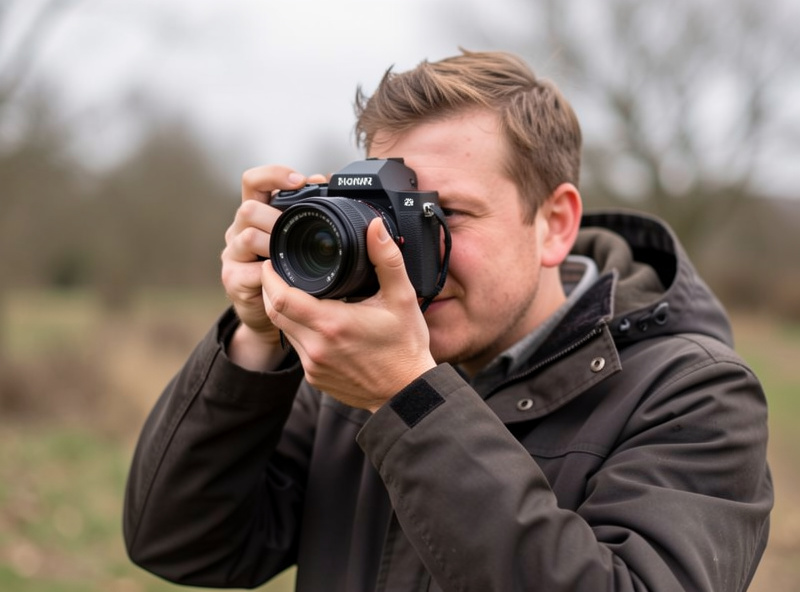
Modern subject-detection autofocus is the one area where new bodies genuinely beat old ones by a wide margin. A current mid-range mirrorless will find an eye in a moving face, stick to a bird in flight, or track a cyclist across the frame in a way that a body from five years ago simply could not. If you shoot anything that moves, this is where your money does the most work.
For static subjects — landscape, architecture, studio still life — autofocus sophistication barely matters; you can focus those by hand off the EVF. But for portraits of restless kids, pets, sports, or wildlife, reliable eye- and subject-detection AF is the difference between a folder of keepers and a folder of near-misses. When you compare bodies, weight the autofocus system by what you actually photograph. The three big makers take noticeably different approaches here, which I break down in the Canon versus Sony versus Nikon comparison.
You will own a body for three to five years and a good lens for fifteen. The mount you choose today is a decade-long commitment to a lens ecosystem, native and adapted both, so weigh the available glass at least as heavily as the body in your hand. Bodies are disposable on that timescale; the glass stable is the actual investment.
This is the trap that catches people: they buy a body on a one-time deal, then discover the lens they need on that mount costs more or doesn’t exist. Before committing, look at the three or four lenses you’ll want over the next few years on that mount and price the whole path. My camera lens mount guide walks through Canon RF, Nikon Z, Sony E, and Fuji X so you commit with eyes open. And if you’re not sure which focal lengths you even need yet, start with types of camera lenses — focal length first, body second, always.
Build quality decides whether your camera survives the conditions you actually shoot in. If you photograph landscapes, travel, or wildlife, weather sealing isn’t a luxury line item — it’s the difference between shooting through a Swedish drizzle and packing up early. A sealed body and a sealed lens together let me keep working in conditions that would have ended a shoot a few years ago.
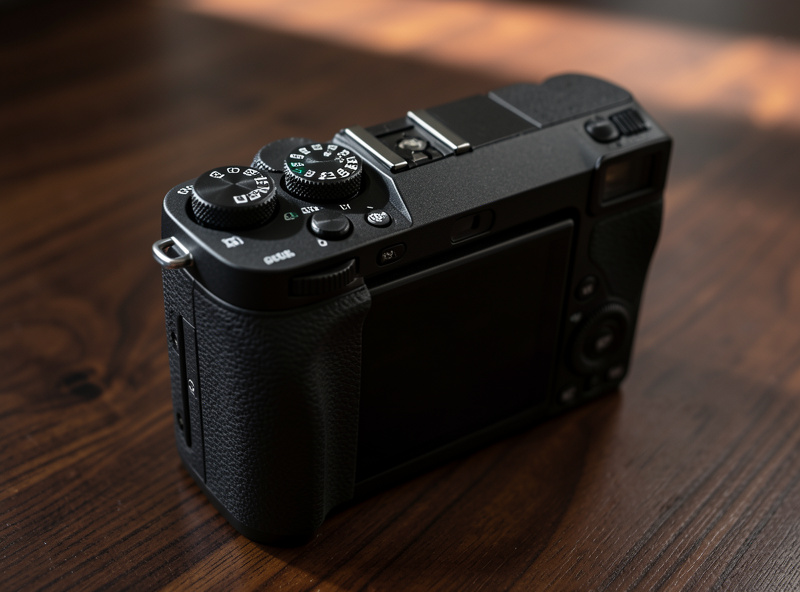
Ergonomics are just as real and far harder to judge from a spec sheet. The grip depth, the placement of the dials, the weight balance with your heaviest lens — these decide whether a camera disappears in your hands or fights you all day. Hold a body before you buy if you possibly can. For everything sealing-related — what the ratings mean, which bodies earn them, and how to actually protect gear in the field — see the weather-sealed camera guide. Once you’ve got a sealed body, a good camera bag and a comfortable strap finish the field kit.
For most photographers, the smart split is roughly one-third of the budget on the body and two-thirds on glass and support. A mid-range body with one excellent lens beats a flagship body with a kit zoom on every measure that ends up in a print. The body you buy today will be superseded in three years; the lens will still be drawing beautifully in fifteen.
The classic waste pattern is buying the newest, highest-resolution body and then economizing on lenses, a tripod, and cards. That gets the priorities exactly backwards. A 40MP sensor fed by a soft kit zoom on a wobbly tripod resolves worse than a 24MP body with a sharp prime locked down properly. Spend on the things that touch image quality directly — glass first, then a solid tripod, fast memory cards, and a flash if you shoot people indoors. The accessories that genuinely matter are in my essential accessories guide; the ones that don’t, skip.
| Buyer type | Sensor priority | What to prioritize | What to ignore |
|---|---|---|---|
| Complete beginner | APS-C | Light weight, forgiving AF, clear menus | Megapixels, frame rate |
| Travel / hiking | APS-C | Weather sealing, compact lenses, battery | Studio features |
| Enthusiast / hobbyist | Either | Control dials, build, lens roadmap | Flagship buffer depth |
| Portrait shooter | Full-frame | Eye-AF, shallow DoF, color science | Extreme reach |
| Wildlife / sports | APS-C reach or FF speed | Frame rate, buffer, tele lenses | Selfie screen |
| Landscape | Full-frame | Dynamic range, weather sealing | Burst speed, tracking AF |
Here’s the order I’d buy in if I were starting over today. First, decide what you photograph most and what you do with the files. Second, pick the mount whose lenses serve that subject — not the body, the mount. Third, choose the cheapest current body on that mount that has the autofocus and viewfinder you need. Fourth, spend the rest on one excellent lens, a tripod, and cards.
Follow that sequence and you can’t really go wrong, because every decision is anchored to your actual photography instead of a spec you read on a forum. The mistake is starting at step three — picking a body because it’s on sale or because a reviewer loved it — and reverse-engineering your photography to justify it. As an Amazon Associate I earn from qualifying purchases. If you want to see current bodies that fit these categories, the mirrorless camera bodies and matched native lenses are the place to compare. And when your kit grows, keep the sensor clean — see the sensor cleaning guide — and power it for long days with the field power options I rely on.
Color science is the most underrated body decision and the hardest to put on a chart. Two cameras can resolve identically and still produce files that feel completely different straight out of camera — one renders skin warm and filmic, another renders it clinical and flat. This is baked into the body’s processing, and while you can push files a long way in raw, you cannot fully convert one maker’s color into another’s.
I notice it most in skin tones and foliage. My Fuji files arrive with a color rendition I barely touch for portraits, which is a real workflow saving across hundreds of frames; the Sony files are more neutral and need a deliberate grade to get where I want them. Neither is wrong — but if you shoot a lot and process a little, color science is worth weighting heavily, because it’s the difference between exporting a file and rescuing it. If you do plan to grade your files properly, my color grading walkthrough shows how far a good raw file actually bends.
Most camera buyers pay for video specs they will never use. If you shoot stills and the occasional clip, almost any current mirrorless body shoots clean 4K that is more than enough. The headline video specs — 6K, 10-bit, internal raw, unlimited record times — only matter if video is a primary output for you, and they push you toward bigger files, more heat, and a higher price for capability you’ll leave switched off.
Be honest about your actual output here. I shoot perhaps five percent video, almost always short documentation clips of a workshop project, and the standard 4K on either of my bodies covers it without a thought. If you’re a hybrid shooter building a real video workflow, then yes — weight the video spec sheet, look hard at overheating and rolling shutter, and budget for the support gear. If you’re a stills photographer who tells themselves they’ll “get into video,” buy for the photographs you actually take and let the video be a bonus.
The same handful of mistakes cost photographers money and momentum over and over. First: buying body-first instead of mount-first, then discovering the lenses they need are expensive or absent. Second: chasing megapixels they’ll never use while skimping on the glass that would actually sharpen their files. Third: buying above their level, ending up with a heavy, complex camera whose strengths they never touch.
Fourth: ignoring ergonomics and ordering a body they’ve never held, only to find the grip or dial placement fights them on every shoot. Fifth — the quiet one — endless upgrading: trading a perfectly good body for the next model every cycle in search of a sharpness gain that lives in technique and glass, not in the box. This is gear-acquisition disease, and it’s the enemy of actually getting better. I’ve been guilty of it myself: I once traded a perfectly good body chasing a sharpness gain that turned out to live entirely in my technique, and the new box changed nothing in the final print. The fastest improvement I ever made came from shooting one body and one prime for a year until the camera disappeared and only the picture was left. Pick a sane body, commit to the mount, spend the rest on glass and light — and then go photograph something. The light you learn to read will improve your photographs more than any body upgrade on the market.
The lens mount and the glass available on it. You will replace the body in three to five years but keep a good lens for fifteen. Choose the mount whose lenses serve your subjects, then pick the cheapest current body on that mount with the autofocus and viewfinder you need.
No. Beyond about 24 megapixels, resolution is rarely the limiting factor in a real print. A 24MP body with a sharp prime out-resolves a 45MP body with a soft kit zoom. Megapixels matter only if you crop heavily or print very large, and they cost you file size and high-ISO headroom.
APS-C for almost every beginner. It is lighter, cheaper, and the lenses are smaller, so you will actually carry it. Full-frame buys about one stop of high-ISO advantage and shallower depth of field, which most beginners do not need and cannot yet exploit.
Roughly one-third on the body and two-thirds on glass and support. A mid-range body with one excellent lens beats a flagship body with a kit zoom on every measure that reaches a print. The body is superseded in a few years; the lens keeps drawing for over a decade.
For a tight budget, a used body one or two generations back is often the smartest buy, because the money saved goes into better glass. The main thing newer bodies do better is subject-detection autofocus, so buy new only if you shoot fast-moving subjects that need it.
It matters if you shoot landscape, travel, or wildlife outdoors. A sealed body and sealed lens together let you keep working in drizzle and dust that would otherwise end a shoot. For indoor and studio use it is far less important and not worth paying a large premium for.
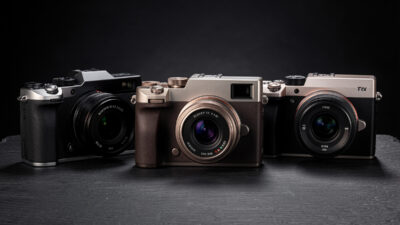
For most buyers in 2026, Canon, Sony, and Nikon all make excellent full-frame mirrorless cameras,…
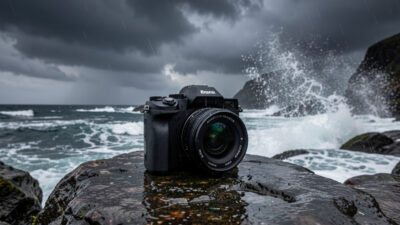
A weather-sealed camera uses gaskets and seals around its buttons, dials, and lens mount to…
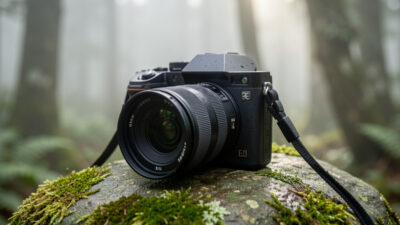
The best enthusiast camera in 2026 is a weather-sealed mid-tier body with twin control dials,…
Leave a Reply