Video for Photographers: The Complete Crossover Guide
Video for photographers is the same craft viewed through a slower shutter: you already understand…
Switching from photo to video is less a new skill than a reorganization of the ones you have. In your first week the goal is not a masterpiece — it is to stop the camera from fighting you. That means three menu changes and one mental rule: shoot manual, lock white balance, set shutter to double your frame rate, and roll longer than feels right.
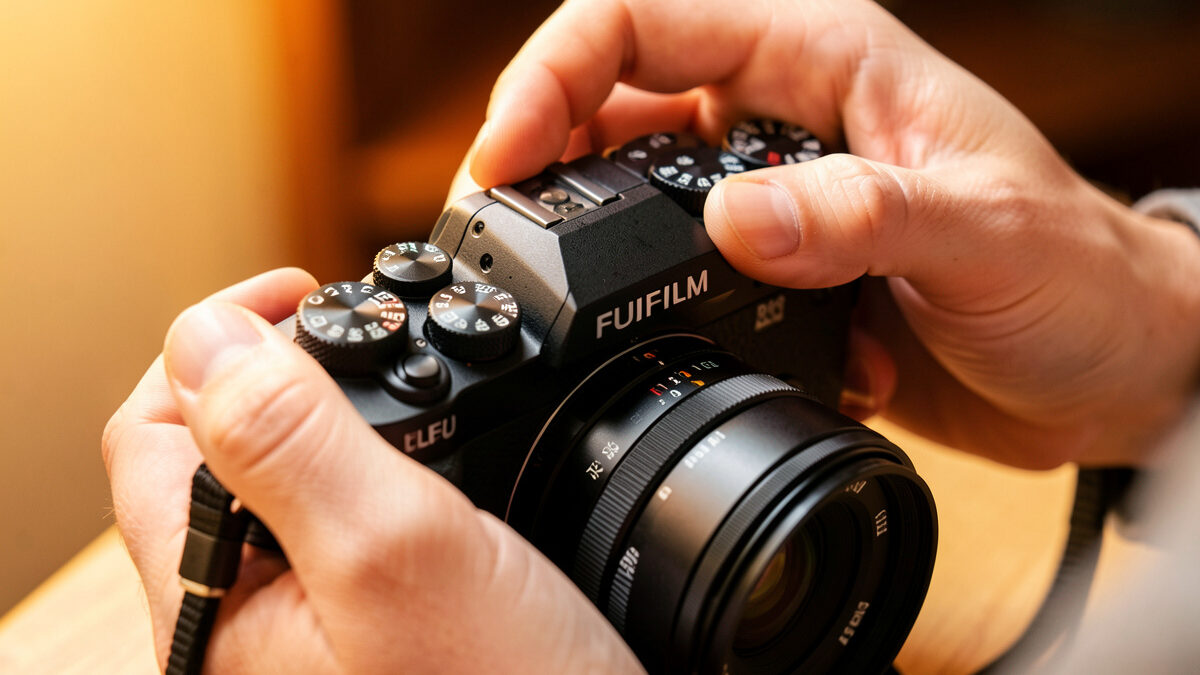
I came to video as a committed stills shooter — I would rather chart a 56mm wide open than touch the movie tab — and the first week felt like learning to drive on the other side of the road. Everything was familiar and nothing was automatic. This is the week-one map I built for myself, the changes that took the X-T5 and the a7 IV from “frustrating” to “predictable” before I worried about anything creative. It sits under my broader video for photographers guide, which frames where each of these pieces fits.
Before you film anything, change three things. First, switch to manual exposure for video — auto modes drift mid-take and the drift is visible as flicker. Second, set white balance to a fixed Kelvin value or a preset matching your light, never auto, because auto white balance shifts as you pan and turns a clean clip into a color-mismatched mess. Third, set your shutter speed to roughly double your frame rate and leave it there. Those three together eliminate about 80% of the “why does my video look bad” problems a photographer hits in the first hour.
None of this is exotic. You already shoot manual stills; you already set white balance for a tricky mixed-light scene. The difference is that video gives you no second frame to fix it in — the settings have to be right for the whole duration of the take, so you commit them up front and stop touching them.
The fastest way to get comfortable is to map what you already do onto its video equivalent. Most of your instincts have a direct counterpart; a few have to be actively retired. Here is the translation table I keep in my head.
| Stills Habit | Video Equivalent | Why It Changes |
|---|---|---|
| Pick any shutter speed | Shutter locked to 2x frame rate | Motion blur must look natural, not stuttery |
| Auto white balance, fix in RAW | Locked Kelvin white balance | AWB shifts across a clip and between cuts |
| Chimp and re-shoot one frame | Commit settings, roll long | You cannot fix a moving exposure after the fact |
| Manual or back-button focus | Subject-detect autofocus | AF holds a moving subject better than your thumb |
| Punchy JPEG in-camera | Flat or standard profile, grade later | You finish the look at the desk, like a RAW edit |
| Ignore the built-in mic | External mic, monitored on headphones | Audio is half of how a clip is judged |
Read down that right-hand column and you will notice the through-line: video moves the finishing work from the moment of capture to the edit, and it adds one whole sense — sound — that stills never asked you to think about. Everything else is a setting you already know how to set.
For stills I happily let aperture-priority handle a changing sky. In video that same automation betrays you, because the camera re-meters continuously and you see every adjustment as a brightness pulse. The cure is full manual: fixed aperture for your depth of field, fixed shutter for motion blur, and ISO as your only real exposure lever once those two are locked. If the scene is too bright at your locked shutter and chosen aperture, you reach for a neutral-density filter rather than changing settings — the same way you would stop down, but without touching the shutter that has to stay at 1/50.
This is the part that feels most alien and becomes most natural. Within a few sessions, locking exposure before you roll stops feeling like a constraint and starts feeling like control. The full logic of why shutter is non-negotiable lives in the frame rate and shutter speed guide.
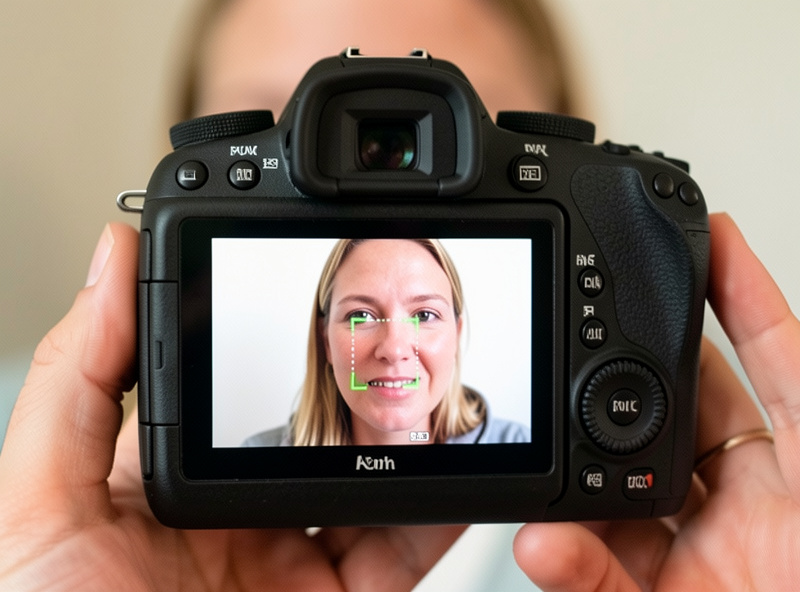
Here is the habit hardest for a precision-minded photographer to drop: stop focusing manually. Modern subject-detection autofocus — eye and face tracking — holds focus across a moving take better than your thumb on a back-button ever will, because it makes continuous micro-corrections. The skill is not focusing; it is configuring the focus. Slow the focus transition speed so the lens drifts between subjects instead of snapping, and lower the tracking sensitivity so it does not jump to a passing distraction.
I still pull focus by hand for a deliberate cinematic rack, but for documentation, interviews, and any handheld work, I let the camera do what it is genuinely better at. Trusting the autofocus is a week-one milestone — the moment you stop fighting it, video gets a lot easier.
Photographers shoot in instants. Video editors need handles — a few seconds of usable frame before and after the moment that matters, so a cut has room to breathe and a transition has something to hold. The week-one instinct is to start the take at the action and stop the instant it ends; the result is footage you cannot edit because every clip is exactly as long as the event and no longer.
Train yourself to press record, count two, then start the action, and to keep rolling two seconds after it ends. It feels wasteful and it is the difference between a sequence that cuts cleanly and a pile of unusable fragments. Storage is cheap; a reshoot is not.
The single discipline with no stills equivalent is audio, and it is where week-one footage most often falls apart. The on-camera mic is a scratch track, nothing more — it picks up the room, your handling noise, and a hollow echo that screams amateur. Even a modest external microphone monitored on headphones transforms a clip. You do not need to master sound in week one, but you do need to stop ignoring it. The practical first-buy advice is in the audio for video guide.
It is tempting to jump straight to a flat log profile because you have heard it is what “the pros” use. Resist it for now. Log preserves dynamic range for grading, but it looks wrong out of camera, needs deliberate over-exposure, and demands a grading step you have not built yet. In week one, shoot a standard or neutral profile that looks decent straight away, and add log once you are comfortable. When you are ready, the log profiles guide covers when it earns its place and how to expose it.
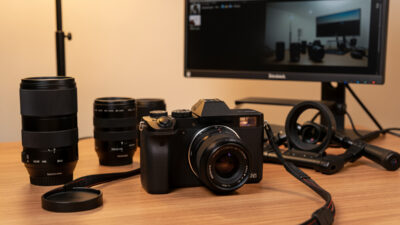
You do not need to buy anything to start. The body in your bag almost certainly shoots clean 4K, and your existing lenses are exactly the right glass — a fast prime renders just as beautifully in motion as in stills. If you do eventually want a body chosen with video in mind, the best cameras for video 2026 guide breaks down what actually matters. But week one is about settings and habits, not gear. Spend nothing, change three menu items, and roll.
Switch to manual exposure, lock white balance to a fixed Kelvin value, and set shutter speed to roughly double your frame rate. Those three changes eliminate most of the brightness flicker and color shifts that ruin a photographer’s first video clips.
No. In video, subject-detection autofocus holds a moving subject better than manual focus because it makes continuous micro-corrections. Configure focus transition speed and tracking sensitivity, then let the camera drive. Save manual focus for deliberate cinematic focus pulls.
Longer than the action. Start recording, count two seconds, then begin, and keep rolling two seconds after it ends. Editors need handles before and after each moment to make clean cuts and transitions. Footage with no handles is hard to edit.
No. Start with a standard or neutral profile that looks good straight out of camera. Log preserves more range but looks flat and needs a grading step you have not built yet. Add it once your shooting habits are solid.
Almost certainly yes. Any interchangeable-lens camera from the last five years shoots clean 4K, and your fast primes render beautifully in motion. Week one needs no new gear, just three menu changes and the habit of monitoring audio.
Video for photographers is the same craft viewed through a slower shutter: you already understand…
The best camera for video in 2026 for most photographers is the hybrid body you…
Leave a Reply