Switching From Photo to Video: A Stills Shooter Week One
Switching from photo to video is less a new skill than a reorganization of the…
Video for photographers is the same craft viewed through a slower shutter: you already understand exposure, focal length, and how a lens draws, so the real work is unlearning the stills reflexes that fight motion. Most photographers who pick up video fail at three things first — shutter discipline, audio, and a flat picture profile — not at storytelling.
I am a stills shooter before anything else. I chart aperture sweeps on a test wall, I care more about how a 56mm renders a jawline than about the latest sensor, and for years video was the tab on my menu I never opened. Then every workshop project I document — the welded sim rig, the hydroponic tank, the leather wallet on the bench — started begging for motion. So I made the X-T5 and the a7 IV earn their video specs, and I made every mistake a stills brain makes. This guide is the map I wish I had: what transfers from photography for free, what actively works against you, and where each subtopic deserves its own deep dive.
Roughly 70% of what you need is already in your hands. Exposure is exposure — aperture still controls depth of field, ISO still controls noise, and your read on light at golden hour or under a north-facing window does not change because the sensor is now reading 25 or 50 times a second instead of once.
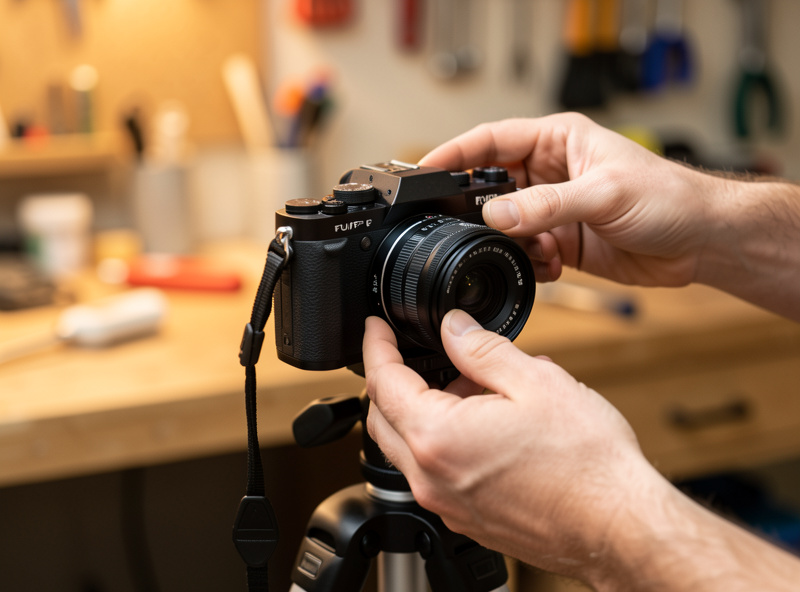
Focal-length intuition transfers cleanly. The way a 35mm includes the room and a 56mm-equivalent isolates a face is identical in motion; if anything, video makes compression and subject separation more visceral because the background now moves at a different rate than the subject. Your understanding of micro-contrast and how a fast prime renders wide open is exactly what makes a clip look “cinematic” before you have touched a single grade. The lenses I trust for stills — the XF 23mm f/1.4, the XF 56mm f/1.2, the FE 35mm and 85mm on the Sony — are the same lenses I reach for in video, for the same drawing reasons.
What does not transfer is the freedom to pick any shutter speed you like, the assumption that the camera’s mic is a placeholder, and the habit of nailing a punchy JPEG in-camera. Those three reflexes are where photographers stall, and each one has a dedicated guide below.
Stills is subtraction — you wait, then you take one frame at the peak. Video is accumulation — you hold a usable state for seconds at a time, and the edit subtracts later. That single difference reorganizes every setting on the camera. You stop optimizing for a single perfect exposure and start optimizing for consistency across a moving window: stable exposure, locked white balance, predictable autofocus, and a frame that holds together while the subject and you both move.
The practical fallout is that you start shooting in manual far more than you do for stills, because auto-anything that hunts mid-take is visible and ugly in a way a single misfired frame never is. Auto-ISO drifting half a stop across a clip reads as a flicker. Autofocus rebreathing on a busy background reads as the lens “pumping.” The camera punishes indecision in motion. For a photographer used to chimping and re-shooting, the fix is mostly mental: commit your settings before you roll, and trust them.
If you are right at the start of this transition, the switching from photo to video guide walks through the exact menu changes and the first-week workflow that stop a stills shooter from feeling lost on the video tab.
This is the single biggest competence tell that separates a photographer who “shoots video” from one who shoots good video. In stills you choose shutter speed for sharpness or to freeze motion. In video your shutter speed is dictated by your frame rate: you want roughly double the frame rate as your shutter speed. At 24 or 25 fps that means a 1/50 shutter; at 50 fps it means 1/100. That ratio — the 180-degree shutter angle — gives motion a natural amount of blur that the eye reads as “filmic.”
Break it and the footage tells on you instantly. Too fast a shutter (say 1/500 at 25 fps) gives the stuttery, hyper-crisp look of a phone in bright sun or a war documentary — every step a person takes judders. Too slow and motion smears. The catch for a stills shooter is that this locks one of your three exposure controls. Want a 1/50 shutter outdoors at f/1.4 in daylight? You will blow the highlights, and the only honest fix is a neutral-density filter — the video equivalent of stopping down without actually stopping down. The full mechanics, including the ND-filter math, live in the frame rate and shutter speed for video guide.
Photographers often assume higher numbers are better — more megapixels, more frames. With frame rate that instinct misleads. 24 fps (or 25 in PAL regions like mine here in Sweden) is the standard “cinematic” cadence and what most narrative and documentary work is delivered at. 50 or 60 fps is not “better” — it is a slow-motion tool: you shoot at the higher rate and conform it to 24/25 in the edit for a 2x or 2.4x slow ramp. 100 or 120 fps buys you dramatic slow motion at the cost of resolution and low-light headroom on most bodies.
The decision that actually matters is matching frame rate to intent before you roll, because you cannot fake 60 fps slow motion out of a 25 fps clip in post — the frames simply are not there. I treat frame rate the way I treat focal length: a deliberate choice made for the shot, not a default left on the camera.
| Frame Rate | Best For | Playback Use | Trade-off |
|---|---|---|---|
| 24 / 25 fps | Standard narrative, interviews, documentation | Real-time, cinematic cadence | Fast motion can judder on pans |
| 30 fps | Broadcast, screen capture, social | Real-time, slightly smoother | Less filmic than 24/25 |
| 50 / 60 fps | Light slow motion, sports, action | 2x to 2.4x slow when conformed | Needs more light, locks faster shutter |
| 100 / 120 fps | Dramatic slow motion, detail reveals | 4x to 5x slow | Resolution drop, weak low-light, often no audio |
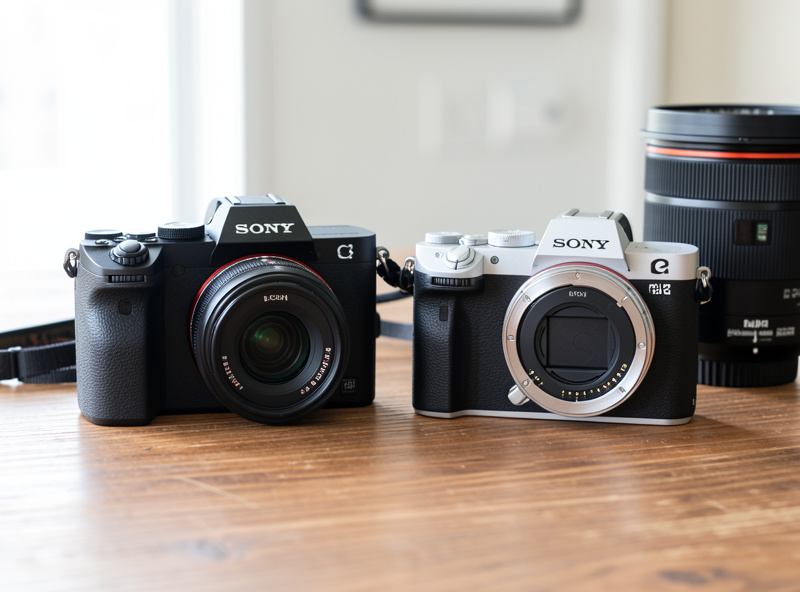
The body anxiety is the first thing to put down. Almost every interchangeable-lens camera made in the last five years shoots clean, usable video — my X-T5 records oversampled 6.2K and my a7 IV does 4K from a 7K read, and both are far past the point where the camera is the limiting factor. For a photographer the deciding video specs are narrow and specific: does it have in-body stabilization for handheld work, does it shoot 4K without a heavy crop, does it overheat in long takes, and does it have a headphone jack so you can actually monitor audio.
What I will not do is pretend I have lab-tested every 2026 release — the bleeding-edge bodies I judge by review consensus, not by living with them. But the framework for choosing is stable across generations, and I have applied it to my own two systems. The best cameras for video 2026 guide ranks the realistic options by the specs that matter to a stills shooter crossing over, instead of the spec-sheet bingo most camera channels play.
Here is the uncomfortable truth no stills shooter wants to hear: viewers forgive soft footage but they will not forgive bad audio. A slightly out-of-focus clip with clean sound reads as a stylistic choice; a tack-sharp clip with hollow, echoey on-camera-mic audio reads as amateur within two seconds. As a photographer you have spent zero hours thinking about sound, which means it is the single highest-return skill you can add.
The on-camera microphone exists to record a scratch track for syncing, nothing more. The real options are a shotgun mic for directional pickup, a lavalier for interviews and talking-head work, or a dedicated recorder for the workshop voiceover. None of it is expensive relative to your lens collection, and the difference is night and day. I cover the practical chain — what to buy first, where to place it, and how to monitor it on a headphone jack — in the audio for video photographers guide.
The instinct that makes you good at stills — nailing a punchy, finished look in-camera — is the instinct to suppress in video. Video gives you a flat, desaturated capture option called a log profile (F-Log on my Fuji, S-Log3 on the Sony) that looks washed-out and wrong straight out of the camera, on purpose. It preserves the maximum dynamic range so you have highlight and shadow latitude to push around in the grade, exactly the way a RAW file gives you latitude a JPEG does not.
Log is the video equivalent of shooting RAW and developing in Lightroom: the capture is the negative, not the print. But it comes with rules — it needs more exposure than it feels like it should (you expose to the right and protect highlights), and it is overkill for quick, well-lit clips. When to use it, when to skip it, and how to expose it correctly is its own discipline, covered in the log profiles for photographers guide.
And once you have a flat log clip, you have to finish it — which is the part of video that maps most directly onto skills you already have. If you can read a histogram and develop a RAW file, you can color grade.
Grading a video clip is develop-module muscle memory with a timeline attached. White balance, exposure, contrast curves, HSL adjustments, the order of operations from a technical correction pass to a creative look — it is all the Lightroom logic you already run on stills, applied to moving frames. The two new ideas are working in two stages (a “correction” pass to neutralize the log flatness, then a “look” pass for mood) and keeping shots matched to each other across a sequence so a cut does not jump in color or brightness.
This is where a photographer’s calibrated monitor and color discipline pay off immediately, and it is the most satisfying bridge between the two crafts. The color grading basics for photographers guide translates the develop module directly into a grading workflow so you are not learning color theory twice.
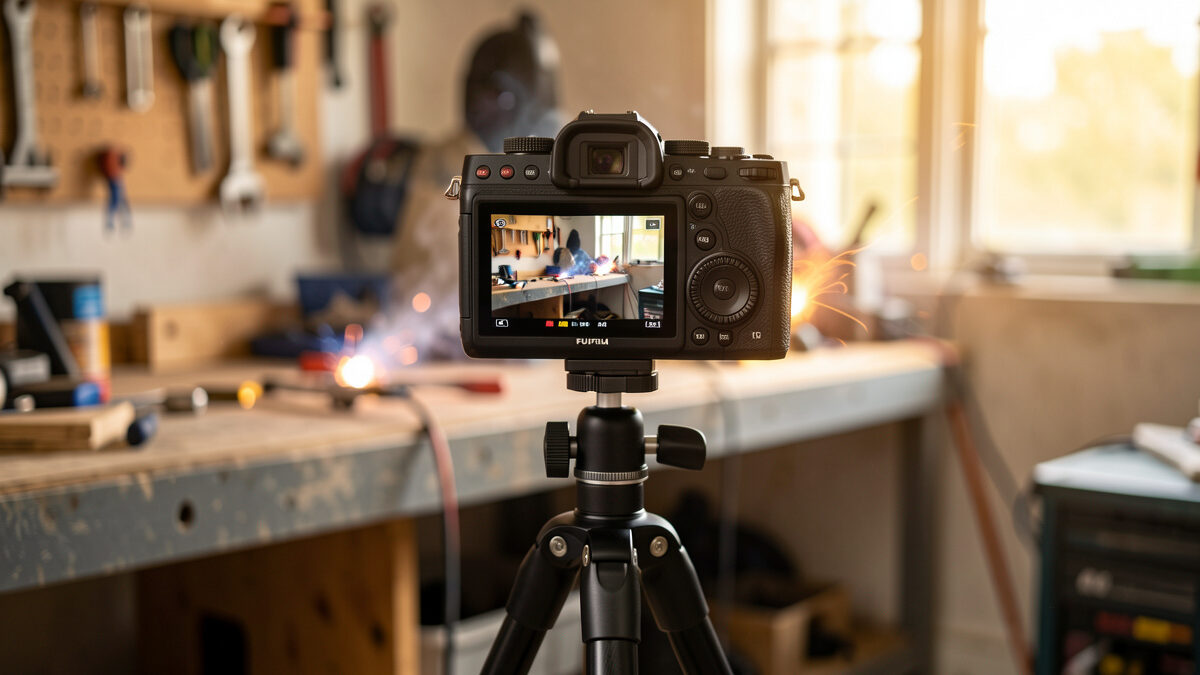
A still frame has no motion to betray a shaky hand, but video exposes every micro-tremor. In-body image stabilization has made handheld video genuinely viable — my X-T5’s IBIS lets me get usable static handheld shots that would have needed a rig a few years ago — but IBIS is not a gimbal. Walking shots still float and wobble; for those you either lock onto a tripod, use a gimbal, or embrace a deliberately locked-off static frame, which is what I do for most workshop documentation anyway.
The stills lesson that transfers here is the one about supports: the same carbon travel tripod and geared head I use for landscape work is the foundation of clean video. A locked-off shot on a good tripod beats a wobbly handheld “cinematic” move every single time, and it is free. Movement should be motivated — you move the camera because the story needs it, not because you can.
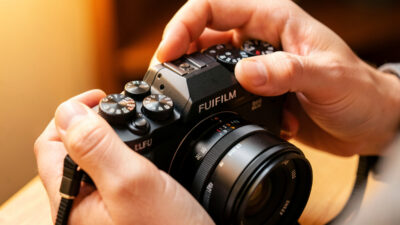
This one inverts a stills habit. Many photographers, myself included, shoot a lot of manual or back-button focus for precision. In video, modern subject-detection autofocus — eye and face tracking — is genuinely better at holding focus across a moving take than your thumb is, because it makes thousands of micro-corrections you cannot match by hand. The skill is configuring it: setting focus transition speed and tracking sensitivity so the lens racks gracefully between subjects instead of snapping or hunting.
The flaw to watch for is focus breathing — the slight change in framing as a lens refocuses, where the image appears to “zoom” a touch. Some lenses breathe badly enough to be distracting on a focus pull; my fast primes vary copy to copy, and it is one of the few optical traits I evaluate differently for video than for stills. For documentation and interviews, I let the camera drive. For a deliberate cinematic focus pull, I still do it by hand.
Putting it together, here is the sequence I run for a simple workshop documentation piece, and it is the same shape whether you are filming a process, a product, or a talking head. Set frame rate to 25 fps and shutter to 1/50. Lock white balance to the actual light. Choose a profile — a standard profile for speed, F-Log if the light is contrasty and I want grade latitude. Get audio sorted before a single shot: mic placed, levels checked on headphones. Set exposure manually and protect the highlights. Lock the camera on the tripod, let autofocus hold the subject, and roll longer than feels necessary so the edit has handles.
Then it moves to the desk: ingest, a correction pass to neutralize log, a look pass for mood, matched shots across the sequence, audio leveled, export. None of that is foreign to a photographer — it is the develop-and-deliver rhythm of a photo edit, stretched across a timeline. The gear is mostly gear you own. The intuition is mostly intuition you have. What is left is the handful of genuinely new disciplines, and each one has its own guide below.

Almost certainly your current body works. Any interchangeable-lens camera from the last five years shoots clean 4K. The deciding specs for a photographer are in-body stabilization, 4K without heavy crop, overheating behavior, and a headphone jack for monitoring audio.
Wrong shutter speed. Stills shooters leave the shutter fast and get juddery, video-game-looking motion. Video wants shutter at roughly double the frame rate, a 1/50 shutter at 25 fps, which gives natural motion blur the eye reads as cinematic.
Yes, and you should. The way a lens renders, its micro-contrast and subject separation, is what makes footage look cinematic before any grading. Fast primes like a 35mm or 85mm equivalent are excellent for video for the same drawing reasons they shine in stills.
Not at first. Log preserves dynamic range for grading, like shooting RAW, but it needs correct exposure and a grading step to look right. Start with a standard profile, then adopt log once you are comfortable grading and shooting in contrasty light.
Viewers tolerate soft footage but reject bad audio within seconds. Clean sound on a slightly soft clip reads as a choice; hollow on-camera-mic audio on a sharp clip reads as amateur. A shotgun or lavalier mic is the highest-return upgrade a photographer can make.
24 or 25 fps for standard, cinematic-cadence footage and most documentation. Use 50 or 60 fps only when you want slow motion, conforming it to 24/25 in the edit. Higher rates are not higher quality, they are a slow-motion tool that costs light and resolution.
Switching from photo to video is less a new skill than a reorganization of the…
The best camera for video in 2026 for most photographers is the hybrid body you…
Leave a Reply