Wildlife Photography Camera Settings That Work
The core wildlife photography camera settings are simple: shutter priority or manual with auto-ISO, 1/1000s…
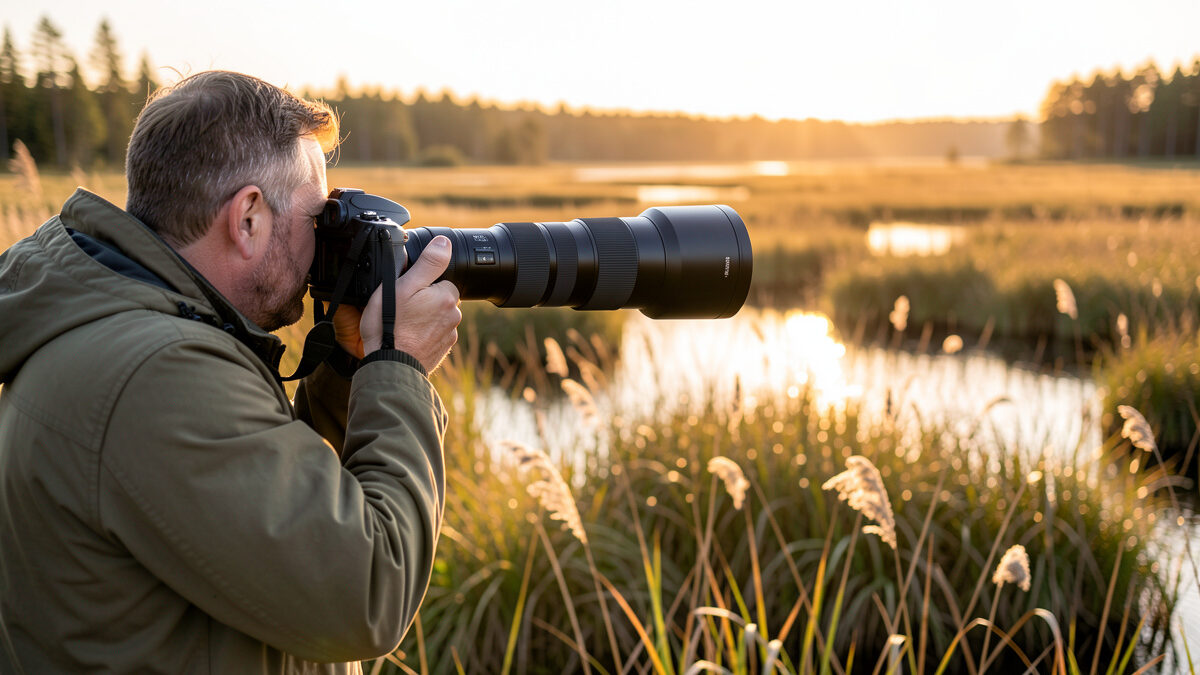
The best telephoto lens for wildlife is a 150-600mm class zoom: it reaches far enough to fill the frame with a distant bird, costs a fraction of a pro prime, and the f/5-6.3 variable aperture is workable in daylight. On my Fujifilm X-T5 the crop factor stretches that reach even further, which is why I keep coming back to a long zoom over a faster, shorter, far pricier prime.
I’ve shot wildlife across both my mounts — APS-C Fuji X and full-frame Sony FE — and the reach-versus-cost math always lands in the same place for most shooters. Below is how I actually choose, copy to copy, instead of reciting a spec sheet. This is the lens decision; the surrounding kit, settings, and ethics all sit in the wider wildlife photography tips and gear guide.
For wildlife you want 300mm minimum and 400-600mm for birds and skittish mammals. On an APS-C body the crop factor multiplies that: a 400mm becomes a 600mm-equivalent frame. Reach is the single most important spec — more than aperture, more than brand.
I learned the hard way that 200mm isn’t wildlife reach. My first season I was cropping a jackdaw down to a few hundred pixels because that’s where my longest lens stopped, and no amount of post-processing rescues that. The moment I put a 70-300 on the body my keeper rate jumped, not because the lens was sharper but because I was finally filling the frame. Distant subjects need focal length, and focal length is the thing you can’t fake later.
The crop-sensor advantage is real and often misunderstood. My 40MP X-T5 doesn’t physically make a lens longer, but at that pixel density a 400mm frame holds enough detail to crop into a tighter composition and still print. That’s why for distant birds I reach for the APS-C body deliberately — it’s the cheapest “teleconverter” there is. The deeper trade-off lives in my full-frame versus APS-C comparison.
For most wildlife shooters a 150-600mm superzoom beats a prime on value: it covers a range of subjects for a fraction of the price and weight of a 500mm or 600mm prime. Primes win on aperture and ultimate sharpness, but only matter once you’re shooting in serious low light or selling work.
The honest case for the zoom is flexibility. Wildlife doesn’t always sit at one distance — a fox might cross at 30 meters and a kestrel hover at 80 in the same outing — and a zoom lets me reframe without swapping glass or losing the moment. A 600mm prime is sharper wide open and gathers more light at f/4, but it costs as much as a used car, weighs enough to demand a gimbal head, and locks you to one focal length. For the prime-versus-zoom logic in general, I lay out the full reasoning in my prime vs zoom lenses piece.
Where a prime earns its keep is the marginal light at dawn and dusk — exactly when mammals move. An f/4 prime buys a full stop or more over an f/6.3 zoom, which can be the difference between 1/1000s at ISO 6400 and 1/1000s at ISO 12800. If your wildlife is mostly crepuscular and you’ve outgrown the zoom’s limits, that’s the upgrade. For everyone else, the superzoom is the right first telephoto, full stop.
Weight is the under-discussed cost of going long. A 150-600 zoom runs roughly 2 kilos and I can carry it on a strap all day across a Swedish marsh; a 600mm f/4 prime is closer to 3-4 kilos and effectively chains you to a tripod or gimbal. For the mobile, walk-and-stalk style of shooting most of us actually do, that portability isn’t a minor convenience — it’s what determines whether the lens comes out of the bag at all. The sharpest lens you left at home because it was too heavy has an effective resolution of zero.
The strong picks cluster around the 150-600mm and 100-400mm classes from both first-party and third-party makers. Sigma and Tamron build the value champions; the camera makers’ own 100-400 and 200-600 lenses add faster, quieter autofocus that helps with birds in flight. Match the lens to your mount and your budget.
On my Fuji bodies the XF 70-300 is the light, sharp travel-reach option, and I step up to longer adapted or native glass when a shoot demands it. On the Sony side a 200-600-class lens is the obvious wildlife workhorse — long, internally zooming, and quick to focus. Third-party 150-600s from Sigma and Tamron hit the sweet spot of reach and price for shooters on a budget, and they’re where I’d send most beginners first. You can compare current options on Amazon to see what’s available for your mount.
Browse 150-600mm telephoto wildlife lenses on Amazon. When you’re choosing, prioritize a lens with a tripod collar, weather sealing, and the fastest autofocus motor in your budget — those three features matter far more in the field than the last few percent of corner sharpness a chart obsesses over.
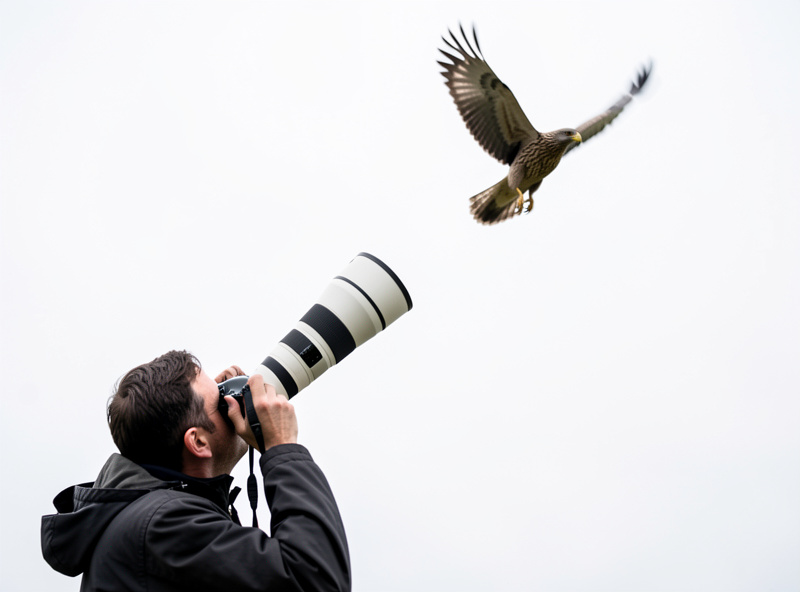
Handholding a 600mm lens demands a fast shutter — at least 1/1000s — good technique, and ideally image stabilization. Tuck your elbows in, support the lens barrel with your left hand, breathe out as you fire, and lean against anything solid. For static work, a monopod or bean bag transforms your keeper rate.
Long lenses are unforgiving of sloppy holding. At 600mm-equivalent, the framing magnifies every heartbeat and breath, and a shutter speed that looks safe on a 50mm prime produces visible smear. My rule of thumb is to keep the shutter at least as fast as the equivalent focal length — 1/600s as an absolute floor at 600mm, and I’d rather be at 1/1600s. Image stabilization buys two or three stops of steadiness for static subjects, but it does nothing for subject motion, so it’s not a substitute for shutter speed on a moving animal.
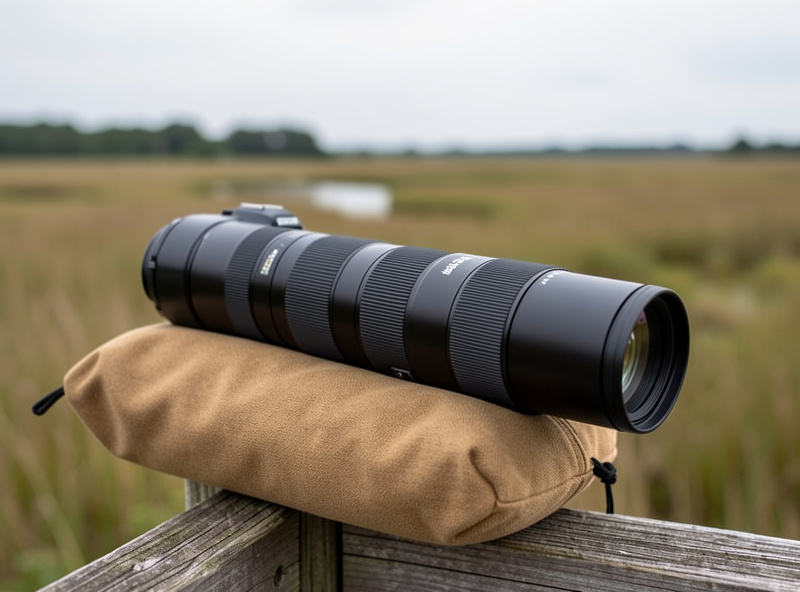
For anything I can plan, I get the lens onto support. A bean bag over a fence post or car door is my favorite field tool — it’s cheap, silent, and rock-steady, and it lets me shoot at lower shutter speeds when an animal holds still. A carbon tripod with a fluid head handles hide work; my picks live in the best tripods for mirrorless cameras guide. The lens that reaches far is only as sharp as the platform under it.
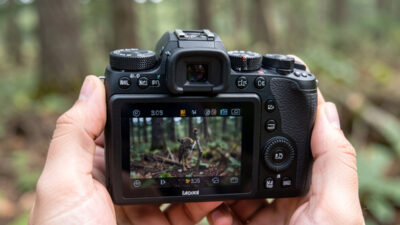
A wildlife lens’s autofocus speed and accuracy matter more than its peak sharpness, because a perfectly sharp lens that misses focus on a moving bird gives you nothing. Linear or ring-type focus motors track faster than older designs; pair them with a body that has strong subject detection for the best hit rate.
I’d take a slightly softer lens that nails focus over a razor-sharp one that hunts, every time. In the field the limiting factor on a wildlife frame is almost never resolution — it’s whether the eye is in focus at the instant the action happens. Older screw-drive or DC-motor lenses lag on erratic subjects; the newer linear-motor zooms snap to the eye and hold it as the bird turns. This is also where mount and body pairing matters, since autofocus is a system, not just a lens spec — a thread I pull on in the broader gear guide and the camera-system comparisons.
A teleconverter adds reach — a 1.4x turns 400mm into 560mm — but costs you light (a stop with a 1.4x, two stops with a 2x) and a touch of sharpness and autofocus speed. Use one when you genuinely can’t get closer and your light is good; skip it in dim conditions.
I treat teleconverters as a situational tool, not a default. On a bright day, a 1.4x on a sharp 100-400 gives usable extra reach with a minor hit I can live with. But stack a 2x on a slow zoom and you’re at f/13, hunting for autofocus, in failing light — that’s a recipe for soft, missed frames. The crop-sensor route often beats a teleconverter anyway: cropping a clean 40MP file gives me reach without the aperture penalty. Reach for the converter only when the extra magnification genuinely matters and you have the light to pay for it.
A 150-600mm class zoom is the best telephoto for most wildlife shooters. It reaches far enough for distant birds, costs far less than a pro prime, and its f/5-6.3 aperture works fine in daylight. On APS-C the crop factor extends the reach further.
400mm is enough for larger mammals and tolerant birds, especially on an APS-C body where the crop factor makes it a 600mm-equivalent frame. For small or wary birds you’ll want 500-600mm or a crop-sensor body to stretch the reach.
Buy a zoom first. A 150-600mm superzoom covers varied subjects and distances for a fraction of a prime’s cost and weight. Upgrade to a fast prime only when you regularly shoot in dim dawn or dusk light and have outgrown the zoom.
Teleconverters add reach but cost light and a little sharpness. A 1.4x in good light is a reasonable trade; a 2x on a slow zoom pushes you to f/13 and slows autofocus. Often cropping a high-resolution file beats adding a teleconverter.
Prioritize reach, fast and quiet autofocus, a tripod collar, and weather sealing. Those field-critical features matter more than the last few percent of corner sharpness. Image stabilization helps for handheld work at long focal lengths.
As an Amazon Associate I earn from qualifying purchases.
The core wildlife photography camera settings are simple: shutter priority or manual with auto-ISO, 1/1000s…
The core bird photography gear is a long lens (500-600mm or more), a body with…
Wildlife photography lives or dies on three things: enough focal length to fill the frame…
Leave a Reply