Camera Lens vs Telescope for Astrophotography: How to Choose
Camera lens or telescope for astrophotography? Focal length matrix, mount and tracking requirements, cost comparison,…
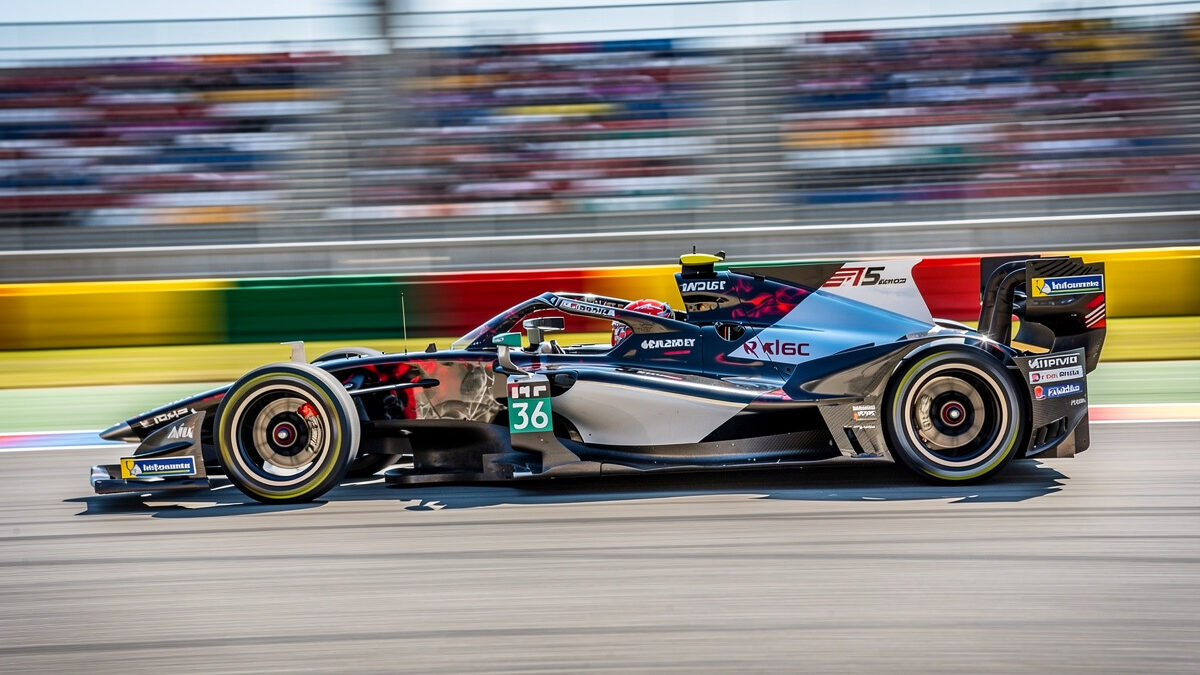
Use 1/1000s minimum for most sports to freeze athlete motion. Increase to 1/2000s for fast action like motorsports, tennis serves, and baseball pitches. For intentional motion blur effects — spinning wheels, flowing water of swimmers — drop to 1/250s and pan with the subject to keep them sharp against a streaked background.
I learned this the expensive way the first season I shot my daughter’s soccer matches with the X-T5. I thought 1/500s was fast enough because the players “aren’t professionals.” Every frame where a midfielder changed direction was soft at the edges — unusable for anything larger than a phone screen. 1/1000s fixed it overnight, and I haven’t shot action below that threshold since without meaning to.
Sports are about peak action — the ball at the apex of a jump shot, the sprinter’s foot at full extension, the goalkeeper’s fingertips on the ball. These moments last fractions of a second, and shutter speed is the setting that freezes them. Prioritize shutter speed above all other exposure parameters; use Auto ISO to compensate for aperture and light limitations.
Shutter priority mode (Tv/S) with Auto ISO is the standard sports workflow. Set your desired shutter speed (1/1000s to 1/2000s) and let the camera adjust ISO as light changes. Set a maximum ISO ceiling (6400 on full-frame, 3200 on APS-C) and a minimum shutter speed to prevent the camera from dropping below your freezing threshold. On my X-T5 I cap ISO at 3200 because the APS-C sensor noise profile gets rough above that — on the Sony a7 IV I’ll push to 6400 and clean it up in post.
Continuous autofocus (AF-C on Nikon/Sony, Servo AF on Canon) with wide-area tracking and subject recognition is mandatory for sports. Single-shot AF (AF-S) locks focus once and stops tracking — any athlete moving toward or away from you immediately goes out of focus with single-shot mode.
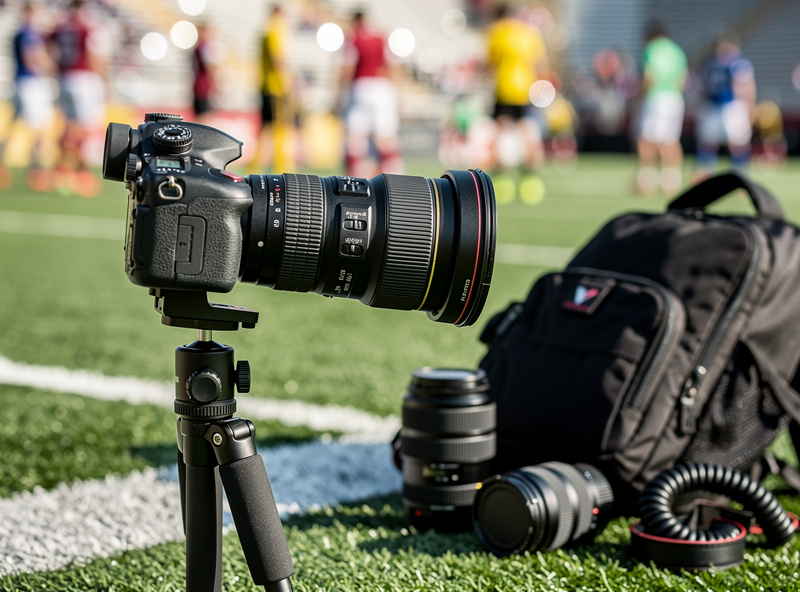
Set your camera to continuous burst shooting at the highest frame rate available — 12 fps minimum, 20+ fps on modern mirrorless bodies. Sports moments are unpredictable, and a 3-second play sequence shot at 20 fps produces 60 frames from which you select the 2-3 peak action images. Higher frame rates directly correlate with higher keeper rates.
Use back-button focus to separate focus activation from shutter release. This allows continuous tracking with your thumb while independently triggering the shutter at the exact moment of peak action. I resisted back-button focus for years because the half-press shutter routine was muscle memory. Switching took about two weeks of awkward misfires before it clicked — and once it did, my keeper rate on moving subjects jumped noticeably. The difference is real: I’m no longer fighting the camera to hold focus while I wait for the moment.
For Fujifilm shooters specifically, set AF-C Release Priority to “Focus” in the menu — Fuji bodies default to “Release” which fires the shutter regardless of focus confirmation. This alone eliminates a significant percentage of soft frames that look in-focus on the EVF but miss by inches at full resolution. I discovered this buried in the X-T5 menu after a frustrating volleyball session where every shot looked crisp on the rear screen and fell apart at 100% magnification in Lightroom.
A 70-200mm f/2.8 is the essential sports lens. It covers the most common shooting distances for basketball, volleyball, soccer (sideline), and indoor sports. The f/2.8 maximum aperture maintains fast shutter speeds under arena lighting and produces background blur that isolates athletes from busy backgrounds. On Fuji X mount, the XF 50-140mm f/2.8 fills this slot as the system’s do-everything sports zoom, while the Sony 70-200mm f/2.8 GM II handles full-frame work on my a7 IV with visibly better subject separation at the long end.
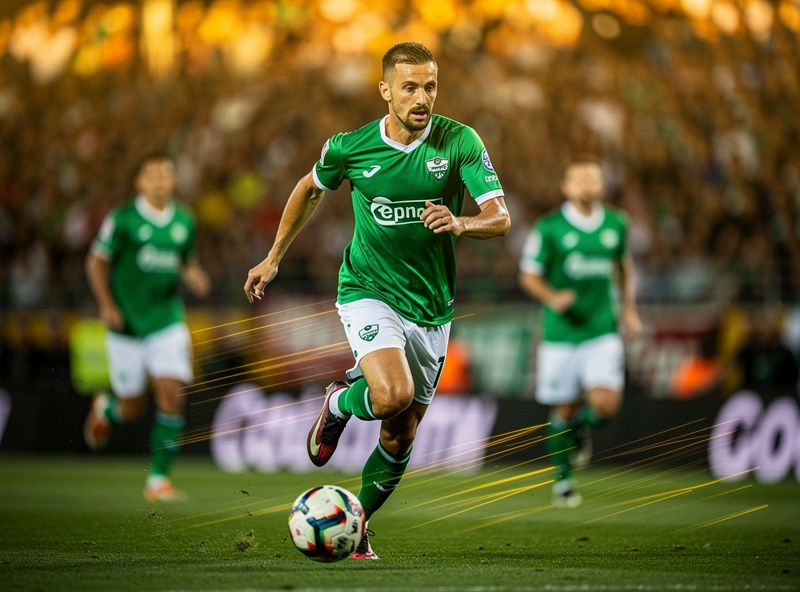
A 100-400mm or 200-600mm telephoto zoom handles outdoor sports — football, baseball, soccer (from the end zone), track and field, motorsports. These longer lenses reach athletes at distances of 50-200 yards where a 200mm lens would produce tiny subjects in the frame. My XF 70-300mm with the APS-C crop factor frames like a 450mm on full-frame, which is enough reach for most high school and recreational outdoor sports. The telephoto principles for sports mirror wildlife work — you want the longest fast glass you can hand-hold for a full game.
A 24-70mm f/2.8 captures environmental and celebration shots — team huddles, sideline reactions, stadium atmosphere. Most sideline photographers carry two bodies: one with a 70-200mm and one with a 24-70mm, switching between them instantly as the action moves closer or farther. Adding a third body with a 400mm f/2.8 or 200-600mm covers the full range. When I can only bring one body, my XF 70-300mm on the X-T5 handles most of what I need — I miss the wide celebration shots but I keep the action.
Arrive early and study the venue layout. For indoor sports, baseline positions (behind the goals or end lines) provide head-on action shots with dramatic eye contact. Sideline positions capture profile views of running and passing. Corners offer the most dynamic angles but are often reserved for credentialed media.
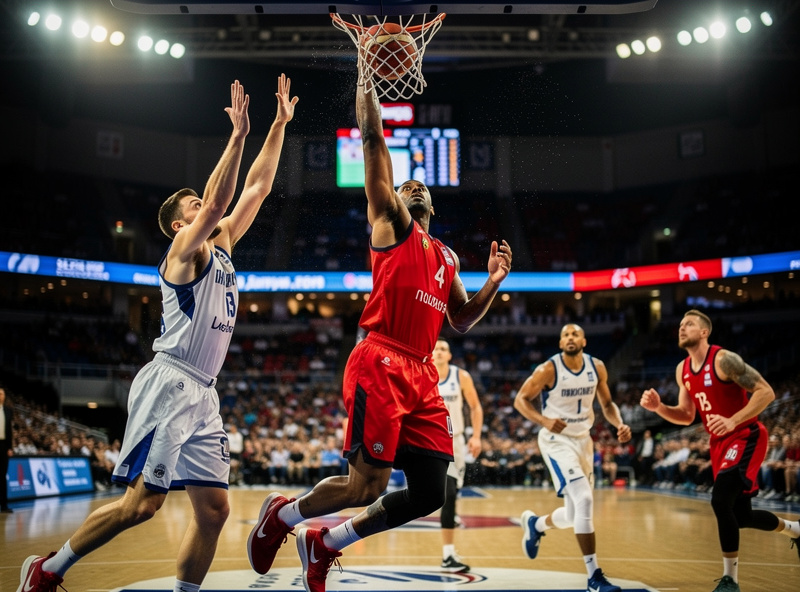
For outdoor sports, the sun’s position dictates your shooting location. Shoot with the sun behind you to illuminate athletes with full, even light. Shooting into the sun creates silhouettes and lens flare — sometimes desirable for artistic shots but problematic for editorial coverage where faces must be clearly visible. I once spent an entire first half shooting into late-afternoon sun because the sideline position looked better on paper — every frame needed two stops of shadow recovery and still looked flat compared to the second half shot from the opposite side.
Anticipate plays rather than reacting to them. In basketball, watch the point guard’s eyes to predict the pass. In football, learn formations to anticipate run versus pass plays. In soccer, read the buildup to predict where the shot or cross will come from. Anticipatory positioning — being where the action will be, not where it currently is — separates professional sports images from amateur ones. This took me a full season to internalize and I still get it wrong when I’m watching the play instead of reading it.
Indoor arenas are dark — typical gymnasium lighting produces exposure values of EV 6-8, roughly 1/500s at f/2.8 and ISO 6400. The air in these spaces has a distinct feel: the combined hum of fluorescent banks overhead, the squeak-and-thud rhythm of sneakers on hardwood, the flat uniform light that kills contrast and challenges every lens in your bag. Use manual mode with f/2.8, 1/1000s, and Auto ISO with a ceiling of ISO 12800 on full-frame. Accept noise in exchange for sharpness — a noisy sharp image is usable; a clean blurry one is not.
White balance under indoor sports lighting is challenging because venues mix tungsten, fluorescent, and LED sources. Shoot in RAW and set white balance to approximately 4000-4500K as a starting point. Fine-tune in post-processing — RAW files allow unlimited white balance adjustment without quality loss.
Turn off image stabilization when shooting above 1/500s — Fujifilm’s own guidance is that stabilization isn’t needed at very high shutter speeds and mainly costs you battery life at that point. At 1/1000s and above, stabilization provides no benefit because camera shake is already eliminated by the fast shutter speed. I disable OIS on my XF 70-300mm with the physical switch the moment I step into a gym — it’s one less variable in the exposure chain.
Cull aggressively first. A 30-minute basketball game shot at 20 fps produces 36,000 frames — you need 50-100 final selects. Use star ratings or color labels during culling: 1 star for technically sharp, 2 stars for sharp with good action, 3 stars for peak moment with eye contact. Your 3-star images are your keepers. My culling rate in Lightroom Classic improved significantly when I stopped trying to salvage borderline frames — if it’s not sharp at 100% magnification on the first pass, it goes to the reject pile.
Apply noise reduction selectively — reduce luminance noise on background areas (crowd, court/field surface) while preserving detail on athletes’ faces and jerseys. Modern AI noise reduction handles ISO 6400-12800 files remarkably well. Apply sharpening at 60-80 amount with 1.0 radius, but mask it to edges only (hold Alt while adjusting the masking slider in Lightroom). For a deeper breakdown of the full develop workflow, see the Lightroom Develop module guide.
Crop to standard editorial ratios (2×3 or 4×5) and ensure the athlete’s eyes fall on a rule-of-thirds intersection. Avoid heavy crops that magnify noise — if you need to crop more than 30%, your lens was not long enough or your positioning was too far from the action. Plan better positioning for the next event rather than relying on aggressive cropping.
Shooting at shutter speeds below 1/500s for action is the most common beginner mistake. Every sport involves rapid movement — even supposedly slow sports like golf involve clubhead speeds exceeding 100 mph. Set 1/1000s as your minimum and never go below it for action sequences unless intentionally creating motion blur.
Centering every subject in the frame produces static, boring compositions. Leave space in the direction the athlete is moving — a runner heading right should have open space to the right of the frame. This “nose room” or “lead room” creates visual momentum and gives the athlete somewhere to move into within the frame. I filled my first memory card with dead-center frames and every one of them looked like a snapshot, not a sports photograph. The fix is mechanical: pick a focus point off-center in your viewfinder and lock it there for the entire game.
Failing to capture context and emotion beyond the action misses half the story. The best sports photo sets include sideline celebrations, coaching reactions, crowd emotion, and pre/post-game moments. These images sell alongside action shots because they tell the complete story of the competition, not just its physical mechanics.
If I were walking into my first sports shoot tomorrow, here’s exactly what I’d bring and set: one body with a 70-200mm f/2.8 (or APS-C equivalent), a spare battery fully charged, a fast memory card with enough space for 3,000+ frames, and a monopod if the venue is tight on space. Set the camera to Manual mode at f/2.8 and 1/1000s with Auto ISO capped at max usable. Switch to AF-C with wide-area tracking and back-button focus. Arrive 30 minutes early to walk the venue and test a few frames before the action starts.
Your first outing will produce mostly bad frames — that’s the point. Sports photography rewards repetition and pattern recognition. You’re training your eye to anticipate, not react. After three events you’ll start seeing the play develop before it happens. After ten events you’ll be in position for the peak moment without thinking. Start with the right body for your needs and a fast telephoto, then let the hours behind the viewfinder do the rest.
1/1000s freezes most sports action including running, jumping, and ball sports. Use 1/2000s for motorsports, baseball pitches, and tennis serves where motion is fastest. For panning with motion blur, drop to 1/250s and track the subject to keep them sharp against a blurred background.
A 70-200mm f/2.8 covers indoor and sideline outdoor sports. For outdoor sports from distance, add a 100-400mm or 200-600mm telephoto. The 70-200mm f/2.8 is the single most versatile sports lens and the first purchase for any sports photographer working indoor events.
Yes, APS-C cameras like the Canon R7 (15 fps mechanical, 30 fps electronic) and Sony A6700 (11 fps) are capable sports bodies. The 1.5x crop factor extends telephoto reach — a 200mm lens frames like 300mm. The trade-off is worse high-ISO performance above ISO 6400.
Continuous autofocus (AF-C/Servo AF) with wide-area tracking and subject detection. Use back-button focus to separate focusing from shutter release. This combination lets the camera continuously track moving athletes while you control when to fire the shutter independently of focus acquisition.
Shoot at f/2.8, 1/1000s, and Auto ISO with a ceiling of ISO 12800 on full-frame. Use a fast lens (70-200mm f/2.8) and continuous AF. Accept high ISO noise in exchange for sharpness. Apply AI noise reduction in post-processing to clean up ISO 6400+ files.
For professional events (NBA, NFL, MLB, college athletics), yes — credentialed media access provides sideline positions and game rights. For recreational, youth, and amateur sports, photographing from spectator areas is generally permitted. Always check venue policies before bringing professional equipment.
Continue building your photography skills with these guides:
Camera lens or telescope for astrophotography? Focal length matrix, mount and tracking requirements, cost comparison,…
What Camera Settings Work Best for Night Photography? For night photography, use manual mode with…

Clean field audio for video photographers requires a $25 lavalier microphone plugged into a $100…
Leave a Reply