Macro Focus Stacking on a Rail vs. Moving the Camera
Past about life-size magnification your total depth of field collapses to roughly half a millimetre…
A good street photography camera is small, quiet, fast to operate, and unobtrusive. The best street cameras — Fujifilm X100VI, Ricoh GR IIIx, Sony A7C II — share compact bodies, leaf or electronic shutters that barely make a sound, and quick startup-to-shot times under 1 second. Large DSLRs with loud mirror slaps draw attention and alter the candid moments you are trying to capture.
Here is the uncomfortable truth most camera reviews skip: sensor size matters far less for street work than how quickly your body and camera fuse into a single decisive instrument. I have shot my best street frames with the X-T5 — an APS-C body that I can palm at my side — and the full-frame a7 IV stays in the bag on street days because its shutter sound is a conversation starter, not a conversation ender. The gap between a keeper and a missed frame is often under half a second. Compact, silent gear closes that gap faster than any sensor upgrade can — more on the specific settings I use to cut that response time to zero in the settings section below.
Autofocus speed matters more than resolution for street work. A camera that locks focus in 0.05 seconds captures fleeting moments that a slower camera misses. Face and eye detection AF is particularly valuable — it lets you point and shoot while maintaining eye contact with passersby, preserving the candid energy of street scenes.
Fixed-lens cameras (Fujifilm X100 series, Ricoh GR series) dominate street photography because they eliminate the decision paralysis of choosing a lens. You learn one focal length deeply — its angle of view, its distortion characteristics, its working distance — and develop an intuitive sense of what will fit in the frame before you raise the camera.
On my Fujifilm X-T5 I run the XF 23mm f/1.4 as my primary street lens — its 35mm-equivalent field of view sits exactly where my eye expects a composition to land. When I want the subject-isolation punch of a longer portrait perspective I swap to the XF 56mm f/1.2, and on the rare days I carry the full-frame a7 IV I mount a fast 35mm prime that draws with a slightly different micro-contrast signature than the Fuji glass. Having both systems on the same walk taught me more about rendering than a year of reading MTF charts did.
35mm (full-frame equivalent) is the classic street photography focal length. It captures a scene roughly matching human peripheral vision — wide enough for environmental context but not so wide that subjects appear distant or distorted. The 35mm focal length forces you to stand 5-10 feet from your subjects, placing you physically in the scene.
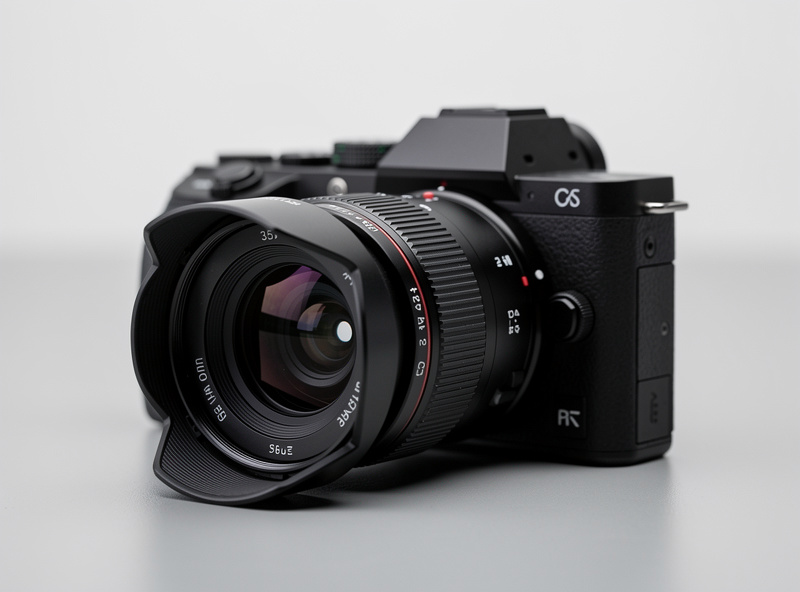
I shoot more 28mm frames than I expected to when I first picked up the focal length — the wider perspective forces a physical closeness that makes every frame feel earned. 28mm is the alternative choice favored by masters like William Klein and Daido Moriyama. It captures wider environmental context and forces even closer physical proximity to subjects, creating an immersive, in-your-face energy. The wider angle introduces slight barrel distortion that adds visual tension to street compositions.
50mm provides more subject isolation and compression but requires standing further from the action. It works well for isolating individual characters against urban backgrounds and produces more traditional portrait-style street images. Many street photographers carry a 35mm or 28mm as their primary and switch to 50mm only when the scene demands tighter framing.
Shoot from the hip — hold the camera at waist level and fire without raising it to your eye. A wide-angle lens (28mm or 35mm) at f/8-f/11 provides enough depth of field that focus accuracy from the hip is acceptable. Practice this technique at home until you can predict what the frame captures without looking through the viewfinder.
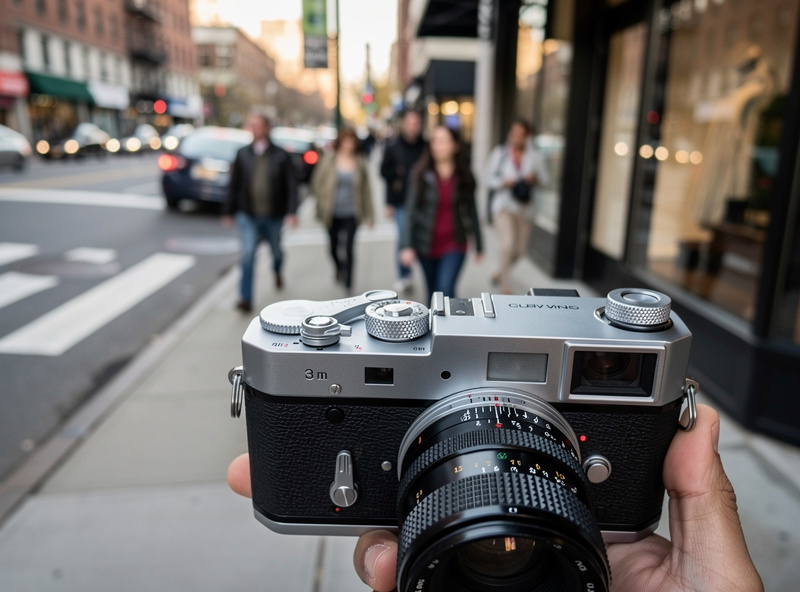
Dress casually and match the environment. A photographer in a neon vest with three cameras around their neck attracts attention. A person in jeans and a hoodie holding a small camera at their side blends into any urban environment. Carry one camera, one lens, and no camera bag — bags signal photographer.
Zone focusing is the secret weapon of street photographers. Manually pre-focus your lens to approximately 8-10 feet, set aperture to f/8-f/11, and everything from 5 feet to infinity falls within acceptable sharpness. The first month I used zone focusing I ruined at least 50 otherwise-strong frames — I had set my pre-focus distance to 10 feet at f/5.6 and assumed it would hold the same margin f/8-f/11 gives you. It doesn’t — one stop wider narrows your sharp zone noticeably, and a subject stepping toward or away from you can walk right out of it before the shutter fires. I learned to stop down to f/11 on bright days and f/8 when the light slips, and to verify my zone with the distance scale on the lens barrel before every walk. This eliminates autofocus delay entirely — the moment you see a composition, you raise the camera and shoot. No focus acquisition time, no hunting, no missed moments.
On my X-T5 I set aperture priority at f/8, auto ISO capped at 1600, and a minimum shutter of 1/250s — that covers 90% of daylight street situations. On the a7 IV I raise the ISO ceiling to 3200 because the full-frame sensor handles noise better, but the shutter floor stays at 1/250s. These settings ensure sufficient depth of field to keep multiple subjects sharp and fast enough shutter speed to freeze walking motion.
Enable face-detection AF if your camera supports it, otherwise use zone AF centered on the frame. Single-point AF is too slow for street photography because subjects move unpredictably and you cannot waste time repositioning a tiny focus point. Zone AF covers a larger area and tracks subjects within the zone automatically.
Set your camera to continuous burst mode at 5-8 fps. You rarely need sustained bursts, but a short 2-3 frame burst during a decisive moment — a gesture, an expression, an interaction — doubles your chances of capturing the peak frame. One perfect frame from a 3-frame burst is better than one missed frame from single-shot mode.
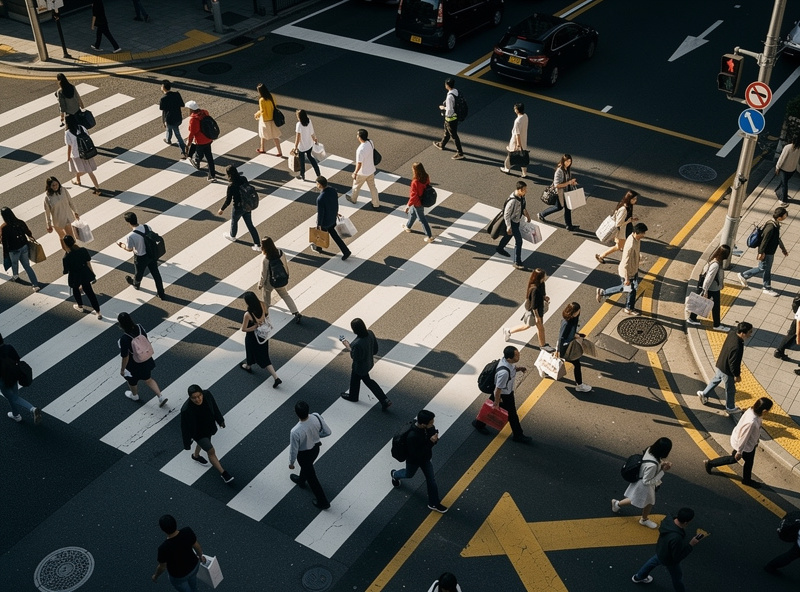
Downtown business districts during lunch hours (11am-2pm) produce dense foot traffic, diverse characters, and strong directional light from tall buildings creating canyon-like shadow patterns. The combination of volume and lighting creates more photographic opportunities per hour than almost any other location and time combination.
Transit hubs — train stations, bus terminals, subway entrances — are dynamic environments where people display a range of emotions: rushing, waiting, reuniting, departing. Architectural elements in transit stations (arches, columns, escalators) provide strong compositional frameworks. Many iconic street photographs originate from transit environments.
Markets, festivals, and outdoor events concentrate people in interesting environments with color, texture, and candid interactions. The atmosphere encourages relaxed behavior, making subjects less self-conscious about being photographed. Farmers markets, street fairs, and protest marches are consistently productive street photography locations in any city.
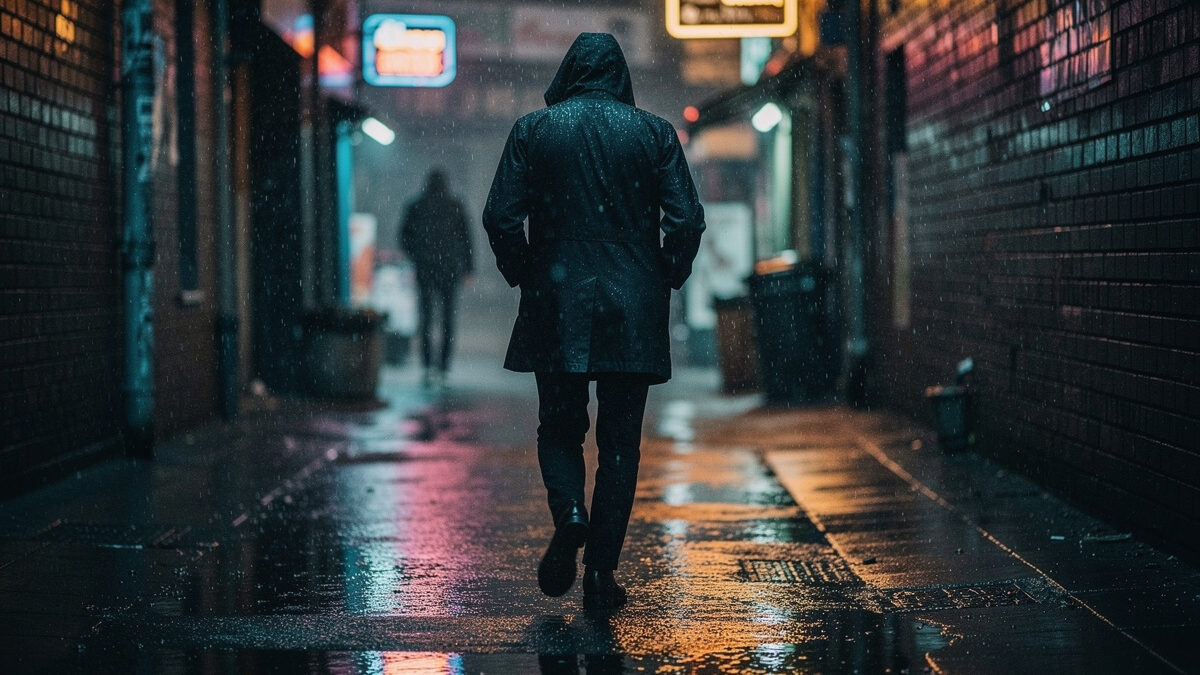
The physical texture of a street scene changes what you capture. Damp cobblestones after a morning rain reflect neon signs and turn an ordinary market stall into a composition with two light sources — the lamp above and the pavement below. The smell of roasting chestnuts from a winter market stall adds a layer the camera cannot record but the photographer feels in the framing: tighter, warmer, more intimate. On my best street days I hear the scene before I see it — the rhythm of heels on pavement, the busker’s saxophone bouncing off granite walls, the hiss of a coffee cart steam wand — and my shutter speed rises to match the tempo. Shoot with your ears first and your eye second; the frame finds itself.
In the United States and most Western countries, photographing people in public spaces is legal without consent. Public spaces — streets, parks, plazas, transit stations — have no expectation of privacy, and the ACLU’s photographers’ rights guide confirms this is a protected activity nationwide, even when it draws unwanted attention from bystanders or officials. You can photograph anyone in a public place for artistic, editorial, or personal use without a model release.
Commercial use (advertising, product marketing) requires a model release from recognizable individuals. Editorial use (newspapers, magazines, art exhibitions, personal portfolios) does not. Know the distinction before selling or publishing street photographs commercially.
Ethically, respect people’s dignity. Do not photograph homeless individuals, people in distress, or anyone who appears to be in a vulnerable situation unless your intent is documentary journalism with a clear editorial purpose. If someone asks you not to photograph them, honor their request regardless of your legal rights. The street photography community’s reputation depends on photographers who exercise ethical judgment alongside technical skill.
Convert strong street images to black and white — it strips away distracting color information and emphasizes light, shadow, form, and gesture. The masters of street photography (Henri Cartier-Bresson, Vivian Maier, Robert Frank) worked primarily in black and white, and the aesthetic remains the genre’s visual standard.
In Lightroom, boost contrast (+30-40) and clarity (+15-25) for gritty, high-impact street images. Pull highlights (-30) and lift shadows (+20) to reveal detail in high-contrast scenes. Apply a slight vignette (-15 to -20) to draw the eye inward. These adjustments replicate the punchy look of classic street photography darkroom prints.
Crop ruthlessly. Street photography benefits from tight framing that eliminates distracting background elements. If the top third of your frame contains empty sky or a boring building, crop it out. If the left edge has a distracting element, crop to remove it. The best street images feel compressed and energetic — every pixel earns its place.
If I were starting street photography today with only one lens and an afternoon of free light, here is exactly what I would do: mount a 35mm-equivalent prime, pre-focus the lens to 8 feet at f/8, set aperture priority at 1/250s minimum, and walk a downtown district between noon and 2 p.m. Shoot 100 frames without chimping the LCD. Export the keepers to black and white, add +30 contrast and +20 clarity in Lightroom, crop tight, and print the three that make you feel something. That single exercise will teach you more about street photography than any forum thread or YouTube deep-dive. The camera is the tool; the street is the teacher. Go walk.
35mm is the most popular street photography focal length, matching human peripheral vision and forcing close physical engagement with the scene. 28mm is the alternative for wider environmental context. Both require standing within 5-15 feet of subjects, which creates the immersive energy that defines street photography.
No. The Ricoh GR IIIx ($900) and Fujifilm X-T30 II ($900 with kit lens) produce professional street images. A used Fujifilm X100F ($700-800) is a classic choice. Skill, timing, and composition matter infinitely more than camera price. Many iconic street photos were shot on simple film cameras.
In the United States and most Western democracies, photographing people in public spaces is legal without consent for personal, artistic, and editorial use. Commercial use requires model releases. Laws vary by country — research local regulations before shooting street photography internationally.
Zone focusing means manually pre-focusing your lens to approximately 8-10 feet at f/8-f/11, creating a depth-of-field zone from about 5 feet to infinity where everything is acceptably sharp. This eliminates autofocus delay entirely, allowing instant shooting the moment you see a composition.
Both are valid. Black and white emphasizes light, shadow, form, and gesture — the traditional street photography aesthetic. Color works when the scene relies on chromatic contrast (red umbrella in gray rain, colorful market stalls). Shoot in RAW and convert to B&W in post-processing to retain both options.
Start by shooting in busy tourist areas where photographers are expected. Use a wide-angle lens and shoot from the hip at waist level. Increase your comfort gradually — after 50-100 street sessions, the anxiety diminishes significantly. Remember: in public spaces, you are exercising a legal right, not committing an offense.
Continue building your photography skills with these guides:
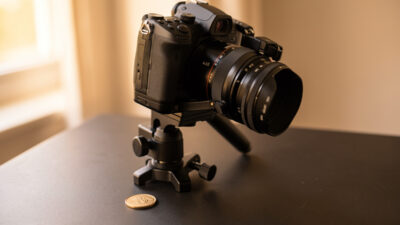
Past about life-size magnification your total depth of field collapses to roughly half a millimetre…
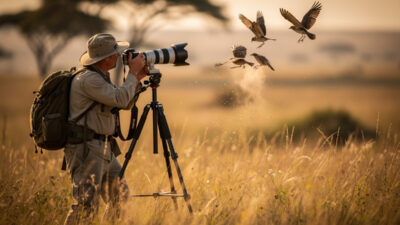
This wildlife photography beginner guide starts with the foundation every new shooter needs: the right…
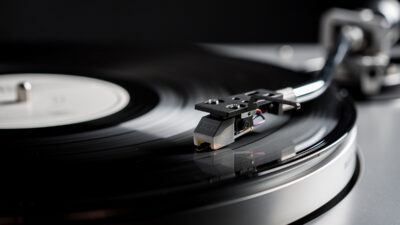
Photographing a vinyl record properly requires a macro lens at f/8 to f/11 and raking…
Leave a Reply