Camera Lens Filters Explained: UV, CPL and ND
Camera lens filters come down to three that actually earn a slot in the bag:…
To avoid vignetting and color cast when stacking filters, use slim-profile filters, step up to a single larger thread instead of screwing filters onto each other, remove the UV protector before adding an ND or polarizer, and set a custom white balance through the actual stack. Those four habits fix the overwhelming majority of dark corners and color shifts before they ever reach your files.
Stacking filters — a polarizer under an ND, say, for a long exposure — is where two problems appear that a single filter never shows: the corners of a wide frame go dark (vignetting), and the whole image drifts blue, green, or magenta (color cast). On my 40MP body both show up early and obviously. Here is exactly why they happen and the field-tested fixes I use to keep a stacked shot clean.
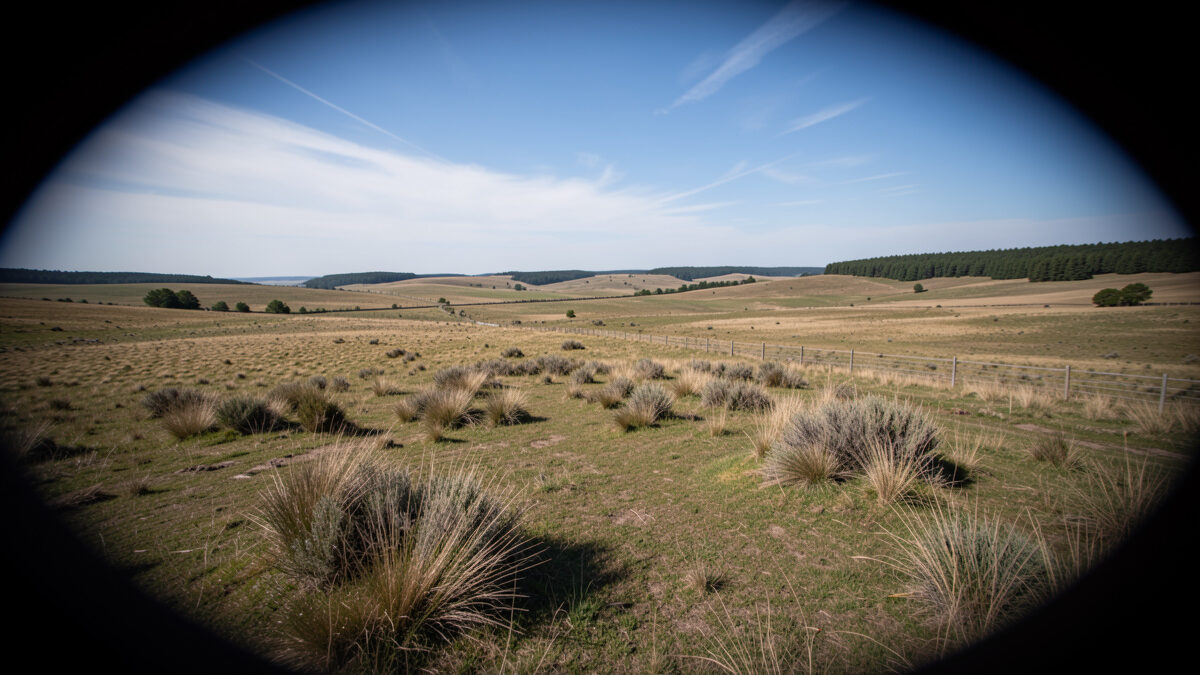
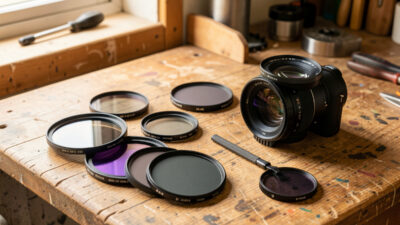
Vignetting from filters is mechanical: every filter you thread on adds a few millimeters of ring in front of the lens, and on a wide-angle lens the light reaching the corners arrives at such a steep angle that the extended ring physically blocks it. One slim filter is usually fine; stack two or three standard-thickness rings and the front assembly protrudes far enough to clip the corners, leaving dark curved shadows that get worse the wider you shoot. It has nothing to do with the glass and everything to do with the depth of the ring stack.
That is why the same stack that is invisible at 50mm can black out the corners at 16mm. The wider the lens, the shallower the tolerance, so ultra-wide lenses are the ones where stacking bites hardest. Understanding this tells you the fix immediately: reduce the physical depth of what sits in front of the lens, either by using thinner filters or by not stacking rings at all. The filters hub covers the wider filter picture this fits into.
Four moves handle almost every case. First, use slim or ultra-slim filters, whose low-profile frames are made specifically to reduce corner clipping on wide lenses. Second, do not stack same-size rings — instead, use one step-up ring to a larger diameter so a single larger filter clears the corners rather than two smaller ones protruding. Third, drop the UV protector whenever you add an ND or polarizer; that extra layer is pure vignetting risk with no benefit in a stack. Fourth, if you shoot ultra-wide constantly, a square holder system positions filters in slots that can clear the corners better than screwed-together rings.
There is also a zoom trick: a stack that vignettes at the widest end often clears completely a few millimeters in, so zooming from 16mm to 20mm can rescue a shot when you have no other option. And a mild, even vignette from a single filter is trivial to remove in editing with a lens-correction or manual vignette slider — it is the hard, uneven mechanical clipping from a deep stack that you cannot cleanly recover, which is why prevention beats correction here. My screw-in vs square systems comparison covers which setup clears corners best.
| Problem | Cause | Fix |
|---|---|---|
| Dark corners on wide lens | Stacked rings protrude into light path | Slim filters, step-up to one larger filter, drop the UV |
| Whole frame blue or magenta | Cheap resin or high-stop ND cast | Custom white balance through the stack; buy neutral glass |
| Color shifts as you rotate | Variable ND or polarizer drift | Set density first, then meter WB; use quality filters |
| Uneven corner-to-corner color | Steep light angle through thick stack | Fewer filters, slimmer stack, correct in RAW |
| Ghosting and flare in stack | Reflections between filter surfaces | Multi-coated filters, remove spare layers, shade the lens |
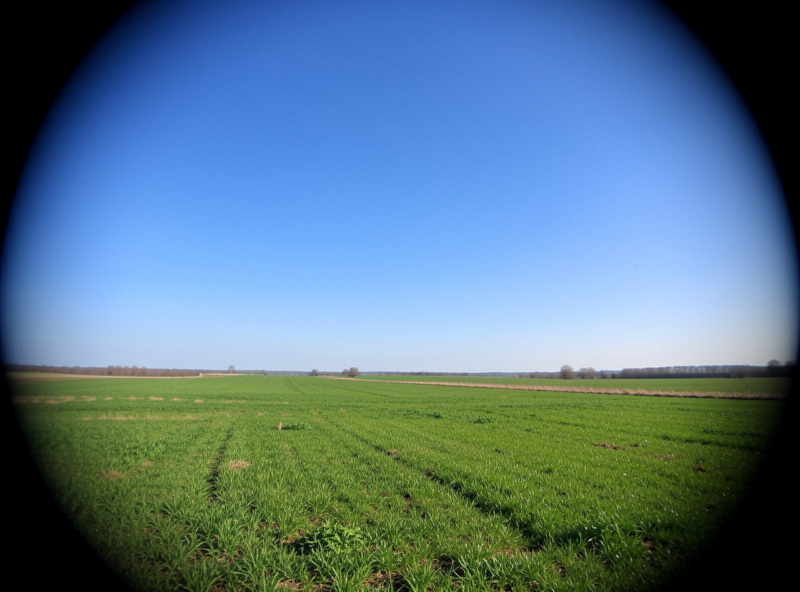
Color cast is optical, not mechanical: no filter glass is perfectly neutral, and every layer you add compounds a slight tint. Cheap resin filters and strong NDs are the worst offenders — a bargain 10-stop ND filter can push a scene heavily blue or magenta on its own, and stacking it under a polarizer that adds its own faint warmth gives you a compound cast that is hard to predict. Because it is a global shift across the whole frame, you end up correcting it in every single edit unless you deal with it at capture.
The cast can also be uneven across the frame when light passes through a thick stack at an angle, so the corners tint differently from the center — the hardest version to fix, because a single global white-balance move cannot correct a gradient. This is exactly why filter quality matters more in a stack than alone: two mediocre filters do not just add their flaws, they multiply the correction work on every frame. Any residual cast is manageable in color grading, but a neutral stack means you rarely have to.
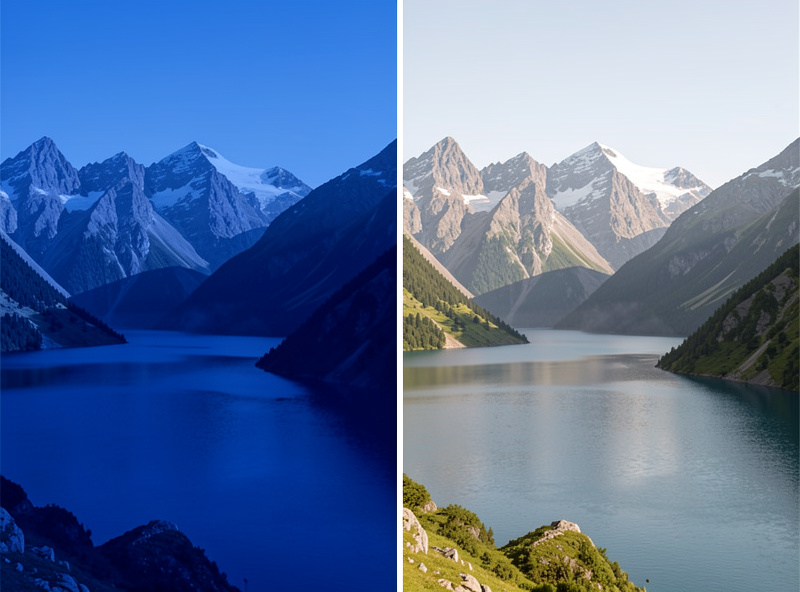
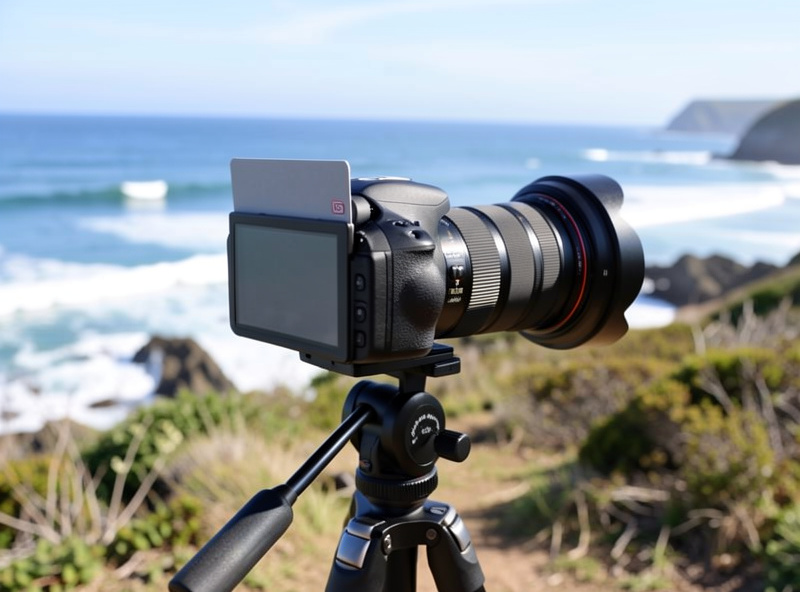
The single most effective habit is to set a custom white balance through the actual filter stack, on location, using a gray card or the camera’s custom WB routine. This neutralizes the compound cast at capture so your files come out close to correct, rather than fighting a heavy correction later. Shoot RAW always, because a RAW file lets you re-set white balance non-destructively if the in-camera custom WB missed — a JPEG bakes the cast in and makes recovery far harder.
Beyond that, buy neutral glass at the strengths you stack most, since a genuinely neutral 6- or 10-stop filter starts you far closer to correct. Set a variable ND’s density before you meter white balance, because its cast shifts with rotation. And keep the stack shallow — fewer, better filters — so any residual cast stays even across the frame and yields to one global correction. These habits, applied together, are the difference between a stacked long exposure that needs a two-minute edit and one that needs twenty. For getting the most out of those RAW files afterward, see RAW photo processing.
Here is how the fixes come together on a real shot: a coastal long exposure at golden hour where I want a polarizer to cut the water glare and a 10-stop ND to reach a 30-second exposure. First I take the UV protector off entirely — it does nothing useful in this stack and only adds a vignetting and flare surface. Then I mount a slim polarizer, rotate it while I can still see through the lens to kill the glare, and only after that thread the slim 10-stop on top, because once the ND is on the viewfinder is too dark to judge the polarizer.
With the stack built, I shoot a gray card through both filters and set a custom white balance, which neutralizes the compound cast of two filters at once. I check a test frame at 100 percent in the corners for any mechanical vignetting; if the corners clip on my widest setting, I zoom in a couple of millimeters or accept a light, even vignette I can remove in RAW. Then I expose for the highlights, watching the histogram, and shoot. The result is a stacked long exposure that comes off the card needing almost no correction — because every problem was headed off at capture rather than chased in editing.
Contrast that with the lazy version: UV left on under a thick standard polarizer and a bargain 10-stop, auto white balance, shot wide open at 16mm. That frame comes back with clipped dark corners, a heavy blue-magenta cast that shifts toward the edges, and ghosting between the filter surfaces — a twenty-minute rescue in software that may never fully clean up. The gear was similar; the discipline was not. That gap is the whole point of this article, and it is the same field-first attention I bring to every stage of a shoot, from reading the light to the final edit.
Every fix above reduces to three words: shallow, slim, neutral. Keep the physical stack shallow to protect the corners, use slim frames to buy tolerance on wide lenses, and use neutral glass to keep color true. A stack that honors all three — a slim polarizer under a slim, neutral ND, no UV underneath — will shoot clean on most lenses down to fairly wide, and a custom white balance handles whatever tint remains. It is not complicated once you know what actually causes the problems.
The broader lesson is the one I return to across every filter article: cheap glass in front of a good lens is a false economy, and it is most punishing in a stack, where flaws compound. Match your filters to your lens quality, buy to your largest thread and step down, and keep only the filters a shot actually needs on the lens at once. Do that and stacked filters become a reliable tool rather than a source of ruined frames. The whole system is mapped in camera lens filters explained, and clean front glass — covered in my cleaning guide — keeps flare out of the stack too.
Each filter adds ring depth in front of the lens, and on a wide-angle lens the corners receive light at a steep angle that the protruding rings physically block. Two or three stacked standard filters extend far enough to clip the corners, which is why vignetting gets worse the wider you shoot.
Use slim or ultra-slim filters, step up to a single larger filter instead of stacking same-size rings, and remove the UV protector before adding an ND or polarizer. On ultra-wide lenses, a square holder or zooming in slightly can also clear the corners.
No filter glass is perfectly neutral, and cheap resin or high-strength ND filters add a color cast that compounds when stacked. Set a custom white balance through the actual filter stack, shoot RAW, and buy genuinely neutral glass to minimize it.
An even, global cast is easy to correct in RAW by adjusting white balance. The hard case is an uneven cast that tints the corners differently from the center, which a single global correction cannot fix. That is why keeping the stack shallow and neutral at capture matters.
Yes. A UV protector adds no benefit under an ND or polarizer and only increases vignetting and flare risk in a stack. Remove it whenever you add working filters, and put it back only when you need front-element protection with a single filter or none.
Yes. Flaws compound in a stack, so two mediocre filters multiply color cast and reflections rather than just adding them. A slim, neutral, multi-coated filter is worth far more in a stack than alone, where a single cheap filter might pass unnoticed.
Camera lens filters come down to three that actually earn a slot in the bag:…

To calculate a long exposure time with an ND filter, meter the scene without the…
The best circular polarizer is the one that cuts glare and deepens skies without adding…
Leave a Reply