Is My Lens Decentered? How to Test for a Soft Corner Defect
The fastest way to test whether a lens is decentered is to mount it on…
Lens care comes down to three fights: keeping the optical glass free of fungus and oily residue, keeping the internals dry and dust-controlled, and catching mechanical drift like decentering before it ruins a corner. On my 40-megapixel Fujifilm X-T5, none of that is cosmetic — a soft corner or a fungal thread shows up on the print. The good news is that almost every lens-killing problem is preventable with a handful of cheap habits, and the ones that are not preventable are at least diagnosable on a test wall before you trust the glass for a job.
What follows is the care routine I actually run across the mounts I shoot — APS-C Fujifilm X and full-frame Sony FE — built around the way a lens fails rather than marketing folklore. I cover handling, cleaning, climate storage, mechanical health, and the cheap protection gear that does more for your glass than any filter ever will. Each section links out to a deeper guide where I test the specific defect rather than describe it.
Of everything that can go wrong with a lens, only a short list actually ends its useful life. Glass does not “go bad” with age. Coatings do not flake off on their own. What kills a lens is biological attack on the glass, mechanical shock that knocks the element groups out of collimation, and long-term moisture damage that pits coatings or seeds fungus. Dust, fingerprints, and the occasional smudge are nuisance problems, not terminal ones, and treating them like emergencies is how people scratch their own front elements.
Fungus is the one to fear in a humid climate. Once a fungal thread etches the coating, the lens is compromised forever — cleaning stops the growth but cannot restore the glass. Mechanical decentering, where an element group shifts off-axis after a knock or a drop, shows up as one soft corner that never sharpens no matter how far you stop down. Focus calibration drift, separate from decentering, means the lens focuses slightly in front of or behind where the AF module thinks it does. All three are diagnosable at home, and I walk through the decentering test and the back-focus and front-focus calibration procedure in their own guides.
The single best lens-care habit costs nothing: put the rear cap on before the lens leaves the mount, and the front cap on before the lens goes in the bag. Most interior dust and the majority of fungal spores that eventually colonize a lens enter through an uncapped rear element left sitting open on a desk. The rear element is also the one you almost never clean yourself, so protecting it is disproportionately valuable. I treat rear-cap discipline as non-negotiable across both my systems.
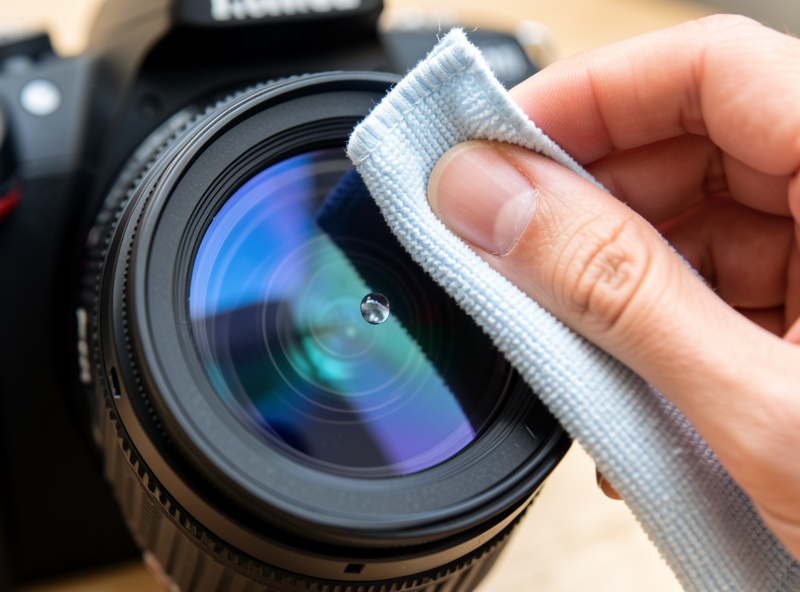
Keep your fingers off the glass, and when you must handle the front element — to mount a filter or attach a hood — grip the barrel, not the glass. Modern multi-coatings are tougher than people think but they are not immune to skin oil, which is mildly acidic and holds grit that microfiber then drags across the surface. If you fog the glass with your breath to inspect it, follow with a clean cloth rather than letting it evaporate; the residue left behind is exactly what fungus eventually feeds on. None of this is fussy. It is just the difference between a lens that stays clean for years and one that always looks smeared.
I do not run protective UV filters on my own primes — I explain why in the protection-gear section below — but there is a legitimate case for one in surf spray, blowing sand, or around small children with sticky fingers. The rule I use: a filter earns its place when the environment is genuinely hostile, not as a default insurance policy that you never remove. The hoods, caps, and cases guide breaks down where protection gear pays off and where it is theater.
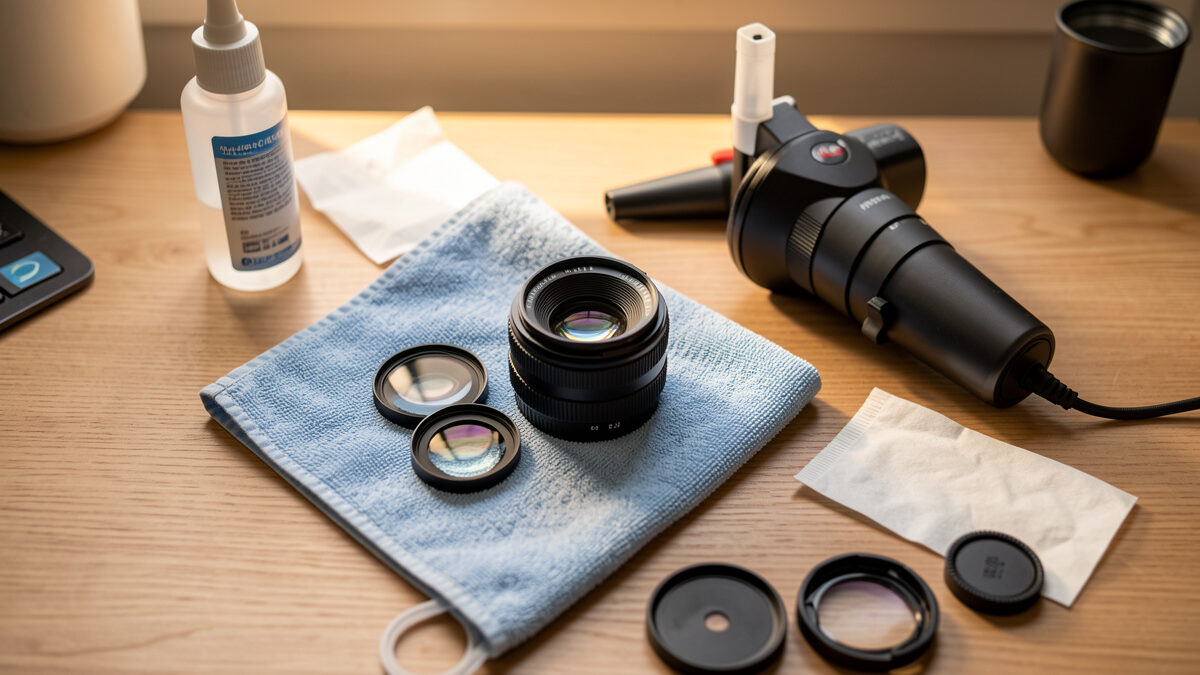
Clean a lens in the right order and you will never scratch it: air first, then a brush, then a dry microfiber, and only then a damp cloth with fluid — and only if the first three steps did not finish the job. Blowing loose grit off the glass before anything touches it is the step most people skip, and it is the step that prevents nearly every cleaning scratch. I keep a rocket-style air blaster in every bag I own for exactly this reason.
When a fluid is genuinely needed — a fingerprint that will not lift dry, or a greasy smudge — put one small drop on the cloth, never on the glass, and work from the center outward in a gentle spiral. A circular motion that crosses the edge can drag grit under the bezel and back onto the glass. Lens tissues and pre-moistened wipes are fine for field use; a clean, dedicated microfiber is better and cheaper for routine work. The full fingerprint-and-smudge method, including how to handle a stubborn oily mark without resorting to aggressive solvents, is in the fingerprint cleaning guide. One caveat I repeat everywhere: never clean a sensor the way you clean a lens, and never let lens fluid anywhere near a bare sensor. The two are completely different problems.
Fungus needs three things to colonize a lens: a fungal spore, a food source (the oils and dust already inside the barrel), and sustained humidity. You cannot eliminate the first two in any practical way, which makes the third — humidity control — the entire game. Store lenses between roughly 40 and 55 percent relative humidity and you have removed the condition fungus needs to grow. Below about 35 percent you risk drying out lubricants and stressing some older balsam-cemented elements, so drier is not always better.
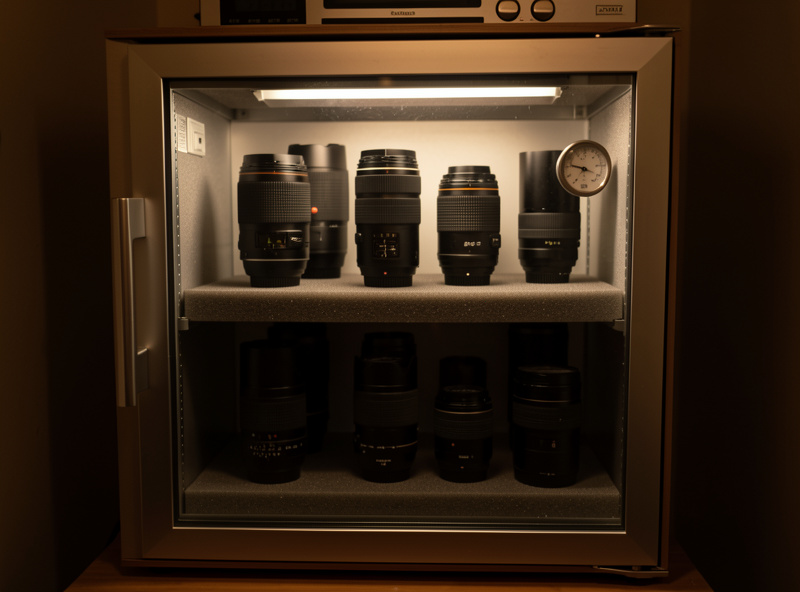
In a dry climate you may get away with a sealed box and rechargeable silica for years. In a humid one — and Sweden in autumn is humid enough to matter — a small electronic dry cabinet pays for itself the first time it saves a lens. I keep my most-used glass in a dry cabinet set around 45 percent RH and everything else in airtight boxes with rechargeable silica packs that I bake back to dry every couple of months. The full humidity-and-cabinet method, including how to read a cheap hygrometer and why the cabinet’s door seal matters more than its capacity, is in the humid-climate storage guide. As an Amazon Associate I earn from qualifying purchases.
A lens is a stack of precision-ground glass elements held in alignment by a machined barrel and a set of helicoids. Knock that stack hard enough and an element group shifts a fraction of a millimeter off-axis — enough to soften one corner of the frame permanently. This is decentering, and it is the defect most likely to appear after a drop, a hard bag-slam, or simply years of heavy use in a zoom with long travel.
You do not need a lab to find it. Point the lens at a flat, textured wall — brick or a taped-up newspaper — square it up on a tripod, shoot wide open, and compare the four corners. A good lens renders all four roughly equally sharp at a given aperture; a decentered one has a soft corner that does not catch up as you stop down. I run exactly this test on every used lens I bring home, the same flat-wall method I describe for diagnosing a soft corner. Separately, if the lens focuses consistently but in the wrong place — sharpness lands in front of or behind your subject — that is a calibration issue, not decentering, and most modern bodies let you correct it; the focus calibration guide walks through the AF micro-adjustment and dock procedure. For the underlying optics of why corners render the way they do, the sharpness and aberrations explainer is the reference.
The most effective lens protection costs almost nothing. A lens hood shades the front element from flare and from impact, and a hood absorbs the hit when a lens tips forward onto a surface — which is how most damage actually happens, not from dramatic drops. Front and rear caps keep grit and spores out of the barrel, and a padded pouch or a partitioned bag prevents the barrel-to-barrel rubbing that wears lettering and finish down to bare metal over years.
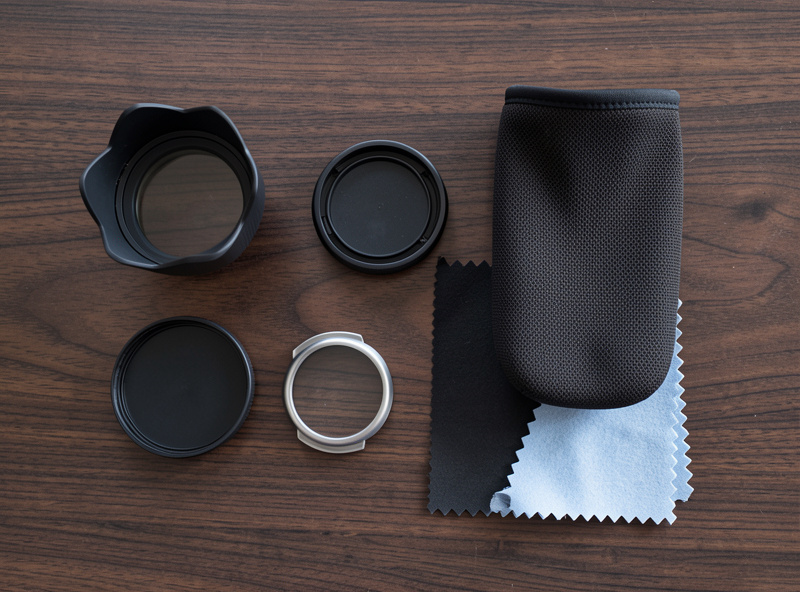
This is also where I part ways with the protective-filter default. A cheap UV filter stacked in front of a good prime adds two more air-to-glass surfaces, each one a source of flare, ghosting, and contrast loss — and in side-by-side shooting I can see the difference on my chart. My own approach is to protect the front element with a hood and careful handling, and reserve a filter for genuinely hostile conditions. You can see a range of hoods, caps, and padded cases if you are outfitting a kit; the reasoning behind each piece is in the dedicated protection accessories guide. The point is that the gear that actually saves glass is the boring, inexpensive kind.
The threat nobody warns you about is condensation, and in a climate with real winters it does more sudden damage than dust ever will. Bring a lens in from -5°C air into a warm 21°C room and the moisture in that room air condenses instantly on the cold glass and the cold metal inside the barrel — the same physics as fog on a cold drink. That surface water is exactly the sustained moisture fungus needs, delivered in one careless move. I have watched a lens fog solid walking through a heated door after a blue-hour shoot, and the fix is always the same: let it warm up sealed.
The rule I follow across both my systems is to put a cold lens into a sealed bag or a zip-lock before I step indoors, and leave it capped and closed until it reaches room temperature — usually thirty to sixty minutes depending on how cold it was. The condensation then forms on the outside of the bag, not on the glass. Going the other way, from warm to cold, matters less because cold air holds less moisture, but a lens that has been sitting in a humid room will still mist briefly when it hits freezing air. Understanding the dew point — the temperature at which the surrounding air becomes saturated and gives up its water — is what turns this from guesswork into a habit: the bigger the temperature gap, the longer you wait before breaking the seal.
Battery behavior is the other cold-weather reality. Lithium cells lose capacity fast below freezing, and on a -10°C morning I have watched a full battery drop to half in about twenty minutes. I keep spares in an inside pocket against body heat and swap them in warm, and I never trust the first reading a cold battery gives. None of this is lens care in the strict sense, but a dead battery mid-shoot and a fogged front element are the two failures that most often end a winter session early, and both are trivially preventable once you plan for them.
Weather sealing deserves an honest caveat here too. A gasketed lens and body resist splashes and light rain, but sealing is a resistance rating, not a submarine hatch — it slows ingress, it does not stop a lens left out in a downpour. In real rain I keep a simple rain cover, or even a plastic bag with a hole cut for the hood, over the rig, wipe the front element with a dedicated cloth between frames, and dry everything thoroughly before it goes back in a sealed box. Trapping surface moisture in storage is how you turn a rainy afternoon into a fungus problem three weeks later. The sealing buys you time to react; it does not replace drying the gear when you get home.
Different lens problems need different responses, and the most expensive mistake is treating a cheap-to-fix issue like a death sentence, or ignoring a fatal one. This table maps each threat to what causes it, how to prevent it, and whether you fix it, live with it, or write the lens off.
| Threat | What causes it | Prevention | Verdict |
|---|---|---|---|
| Fungus on internal elements | Spores plus sustained high humidity | Store at 40–55% RH; cap the rear element | Cleanable early; fatal once the coating etches |
| Decentered element group | Impact, drop, or heavy zoom wear | Padded bag, hood as bumper, careful handling | Serviceable by a tech; rarely a DIY fix |
| Front-focus or back-focus drift | AF module and lens out of agreement | Calibrate via body micro-adjust or dock | Fixable at home on most bodies |
| Dust inside the barrel | Ingress through extension and pumping | Rear-cap discipline; avoid dusty changes | Almost always ignorable — live with it |
| Coating scratch from cleaning | Grit dragged across the glass | Air-blast before any cloth touches glass | Permanent; preventable every time |
| Fungus on the front element | Stored damp with a food residue | Dry storage; clean oily glass before storing | Cleanable if caught before etching |
Lens care fails when it is treated as a project instead of a rhythm. The routine I run is deliberately low-effort, because a plan you will actually follow beats an elaborate one you abandon by the second month. The daily layer is pure handling — rear cap on the instant a lens leaves the body, front cap before it goes in the bag, and a puff of air on the front element before it mounts. That is the whole daily habit, and it prevents the majority of problems before they start.
Monthly, I do a quick inspection pass. With a small LED flashlight held at a low angle to the glass, I look through the rear element for any new webbing or thread pattern that would indicate early fungus, and I check the front coating for the faint haze that means a smudge was left to dry on rather than wiped off. A lens that lives in the dry cabinet rarely shows anything; a lens that has been working in the field gets a closer look. Twice a year I run the flat-wall corner test on my working lenses — the same square-on, wide-open, tripod-locked routine — so that a drifting element gets caught before it ruins a paying shoot rather than after.
The yearly layer is storage hygiene: bake the silica packs back to dry, confirm the dry cabinet is still holding its target humidity with a cheap hygrometer, and wipe down the cabinet interior. None of this takes long. The point of the schedule is consistency, not intensity — a lens cared for lightly but regularly will outlive one babied in sporadic bursts of attention and neglected in between.
Not every defect deserves a service invoice. Dust inside the barrel almost never affects a real image — I have shot through dusty lenses for years with no visible artifact on the print, and obsessing over internal dust is one of the most common ways photographers spend money solving a non-problem. The dust and image-quality guide shows exactly when internal dust matters and when it does not, so you can stop worrying about the specks you can see through the rear element.
Send a lens for service — a CLA, or clean-lubricate-adjust — when fungus is visible inside, when a corner stays soft on your flat-wall test after you have ruled out technique, or when focus drift cannot be corrected with the body’s micro-adjustment. A good independent tech can recollimate a decentered zoom, strip early fungus before it etches, and re-grease a gritty helicoid for less than the cost of replacing the lens. If you are buying used, inspect for fungus, haze, and element separation before money changes hands — the used-lens inspection guide is built around exactly those failure modes. And if you want the broader context of how lens choice itself affects long-term value, the camera lens guide and the prime versus zoom comparison are the right place to start.
Only when it is actually dirty. Blow dust off with an air blaster before every shoot, but reach for a cloth only when you see a fingerprint or smudge. Over-cleaning is the leading cause of fine coating scratches, so clean when there is something to clean, not on a schedule.
Not in a humid climate. A closed bag traps moisture against the glass and becomes a fungus incubator. For storage longer than a few weeks, move lenses to a dry cabinet or an airtight box with rechargeable silica held between 40 and 55 percent relative humidity.
Almost never. A few specks inside the barrel are too far from the focal plane to render on the image, even on a high-resolution sensor. Dust becomes visible only when it is severe and backlit, and even then it usually shows as faint shadows you can clone out, not lost detail.
Only in hostile conditions like sea spray, blowing sand, or around sticky fingers. On a clean prime, a filter adds flare-causing surfaces and can cost you contrast. A lens hood protects against impact better than a filter protects against scratches, which is why I run hoods, not filters, by default.
Shoot a flat textured wall square-on, wide open, on a tripod, and compare the four corners at 100 percent. If one corner stays soft and never catches up as you stop down, the lens is likely decentered and should go to a tech for recollimation.
Early fungus can be cleaned by a tech, but once it has etched the coating the damage is permanent. Buy a fungused lens only at a steep discount if you accept the risk, and quarantine it from your clean glass until it has been serviced.
The care routine only matters if you apply it to the glass you actually shoot, so the deeper guides below take each piece of this pillar to the level where you can act on it confidently. Start with the threat most relevant to your climate and your kit, and work outward from there.

The fastest way to test whether a lens is decentered is to mount it on…

Lens fungus shows up as a soft, branching, web-like pattern — think fine roots or…
Leave a Reply