Color Grading Photography: Building a Look That Lasts
Color grading is the creative stage where you shape an image’s mood through color —…
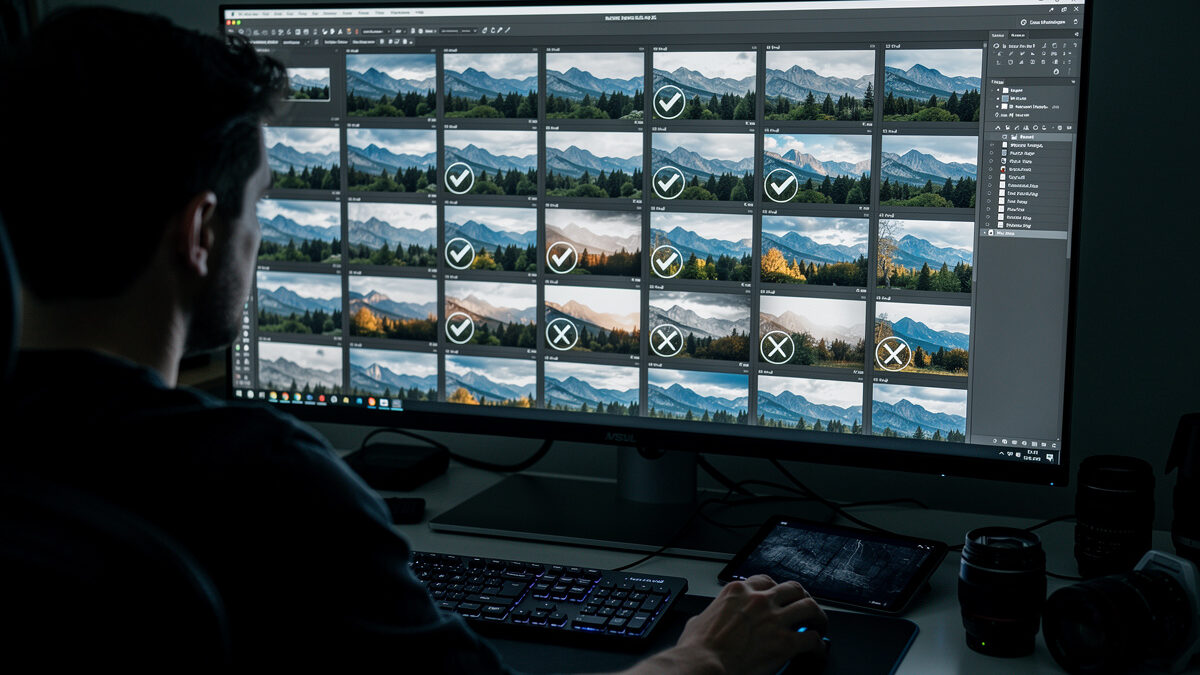
Culling is the stage where you reject the duds and pick your keepers before any editing begins. Done fast and ruthlessly, it turns a 600-frame card into a tight set of 30 worth developing. The trick is a binary first pass — flag or reject, full-screen, no pixel-peeping — followed by a second pass that chooses between the survivors.
I cull every shoot from both my systems this way, and it is the single habit that separates a tight catalog from a bloated one. Most photographers either edit everything (burnout and inconsistency) or never cull at all (a hard drive full of near-duplicates they will never look at again). This guide is the culling system I run, built for speed and decisiveness. It is the pre-edit stage of my full photo editing workflow guide, and it happens before you ever open the develop tools covered in my Lightroom for beginners walkthrough.
Developing before culling is the most common workflow mistake. If you start editing the moment files import, you will lavish ten minutes on a frame only to find a sharper version of the same shot three frames later. Culling first means you only ever develop images you have already decided are keepers, which saves hours and produces a more consistent set.
There is a psychological reason too. Editing 600 frames is demoralizing and your standards drift as you tire, so frame 500 gets a worse edit than frame 5. Editing 30 pre-selected keepers is energizing and your attention stays high throughout. Culling protects the quality of the editing that follows. The cost is learning to make fast decisions and live with them — which is exactly the skill that makes you a better editor overall.
The first pass is brutal and quick. Go full-screen, look at one image at a time, and make a single binary call: keeper or reject. In Lightroom that is P to flag and X to reject; most cullers have the same two keys. Do not zoom in, do not compare, do not agonize — you are only asking “is this frame worth a second look?” An obvious blink, a missed-focus throwaway, a duplicate worse than its neighbor: reject and move on.
Speed is the point. A first pass should feel almost reflexive, a few seconds per frame. You are not choosing the winner yet; you are clearing the field so the second pass has fewer, stronger candidates. Resist the urge to start editing or pixel-peeping here — that is a different stage and mixing them destroys your pace. The goal of pass one is simply to cut the set in half or better.
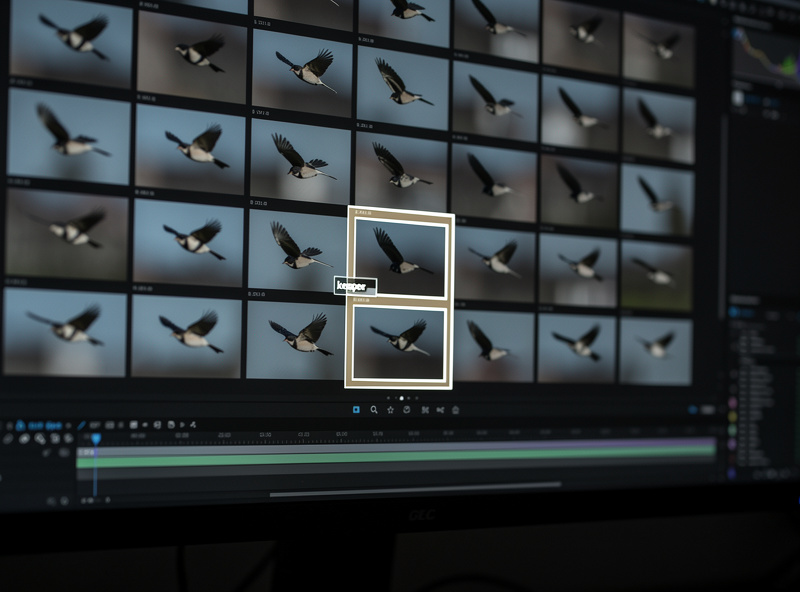
The second pass is where judgment lives. Now you compare the flagged frames against each other — the three sharp versions of the same composition, the two good expressions in a portrait burst — and pick the single best. This is the hard part: killing a technically fine image because the one beside it is simply better.
Use a compare or survey view to put candidates side by side, and now you can zoom to check critical focus, because the field is small enough that the time is worth it. A star rating or a second flag color separates “definite keeper” from “maybe.” The discipline that takes longest to build is restraint — resisting the urge to keep five similar frames “just in case.” Keep the one. A portfolio’s strength is in what you reject, not what you shoot.
Every catalog tool offers flags, star ratings, and color labels, and beginners waste time devising elaborate systems. Keep it simple. I use flags for the binary first pass (flag = survivor, reject = gone) and stars only in the second pass to separate the best from the good. Color labels I reserve for workflow states like “edited” or “exported,” not quality.
The system matters less than using it consistently. An overcomplicated rating scheme becomes its own form of procrastination — you spend the cull deciding whether a frame is three stars or four instead of deciding whether it is a keeper. Pick the minimum that lets you find your selects later, and spend the saved energy on the actual decisions.
| Marker | When I use it | Pass | Purpose |
|---|---|---|---|
| Flag (pick) | Worth a second look | First pass | Survives the cut |
| Reject (X) | Blink, soft, duplicate | First pass | Removed from edit set |
| Star rating | Best vs good among survivors | Second pass | Final selects |
| Color label | Edited / exported / client | Post-edit | Workflow state, not quality |
Once the rejects are marked, the question is whether to delete them. For obvious throwaways — lens cap shots, total blur, accidental frames — yes, delete to reclaim space. For near-misses that lost only to a slightly better sibling, I keep them archived rather than deleted, because a client request or a change of mind occasionally sends me back. Storage is cheaper than regret.
The practical rule: delete the genuinely worthless immediately, archive the merely-not-selected, and never let either category sit in your active edit set cluttering the view. A clean working catalog of selects is the goal; the archive is a separate, lower-priority store. Whatever you decide, do it during the cull so you are not making storage decisions months later when you have forgotten why a frame was rejected.
You can cull in the same catalog tool you develop in, or in a dedicated fast culler built only for selection. Lightroom’s Library module works fine for most volumes, especially with smart previews so you are not waiting on full RAW renders during a fast pass. For high-volume work — events, sports, anything where you shot thousands of frames — a dedicated culler that renders previews faster and offers tighter side-by-side comparison can cut the cull time dramatically.
My honest take: for the single-frame landscape and product work I do, Lightroom’s Library is more than enough and adding another app is overhead I do not need. The event and sports shooters report that a dedicated culler earns its place once you are regularly culling four-figure shoots, mostly because preview speed stops being the bottleneck. If you are not waiting on the software, you do not need the extra tool. Build smart previews on import, set your full-screen view, and the stock catalog handles most photographers’ culling without a second purchase.
What you reject depends heavily on what you shot. In landscape work I am culling between near-identical compositions, so the deciding factors are critical focus at the hyperfocal point, the cleanest light, and whether a stray element wandered into the frame — subtle differences between frames that look the same at thumbnail size. The cull is slow and comparative because the field is small and the differences are fine.
Action and wildlife are the opposite: huge bursts where most frames are genuinely throwaway and the cull is fast and brutal. From a 40-frame burst of a bird in flight, maybe two have the wing position, eye contact, and sharp focus aligned, and the rest go instantly. Portraits sit in between — you are reading expression and eye sharpness across a handful of similar frames, and the “best” is often a matter of a half-blink or a micro-expression. Know which kind of cull you are doing before you start, because the pace and the criteria are completely different.
The mistakes are all variations of indecision. Keeping “just in case” duplicates is the biggest one — you end up developing three versions of the same shot and never choosing, which defeats the entire purpose. Pixel-peeping on the first pass is the second; zooming to 100 percent on every frame turns a five-minute cull into an hour. And starting to edit mid-cull breaks your decisiveness completely, because now you are emotionally invested in a frame before you have decided it is a keeper.
The other trap is culling tired or immediately after a shoot when you are still attached to the experience. I cull best with a little distance — not weeks, but at least a clear-headed session rather than the exhausted hour after a long day. A frame that felt special because of the moment often reveals itself as ordinary once the adrenaline fades, and a calm cull catches that. Make the call, mark it, move on, and trust the second pass to catch anything the first pass got wrong.
One more habit worth building: cull to a target. Before I start, I decide roughly how many selects the shoot should yield — a dozen from a casual walk, perhaps thirty from a deliberate landscape session. Having a number in mind forces real comparison, because if forty frames “made the cut” then you have not actually culled, you have just flagged everything. The target is not rigid, but it keeps the pass honest and stops the set from quietly ballooning back to the size you started with.
The faster you cull, the more often you will actually do it. A culling workflow that takes all afternoon gets postponed, and postponed culls turn into the dreaded backlog of unsorted shoots that never gets touched. Keeping the first pass reflexive and the rating system minimal is what makes culling a habit rather than a chore. The photographers with clean, current catalogs are not more disciplined people — they have simply made culling fast enough that it happens the same day as the shoot, before the backlog can form.

Color grading is the creative stage where you shape an image’s mood through color —…

Photo editing is the develop stage that turns a correctly exposed RAW file into the…

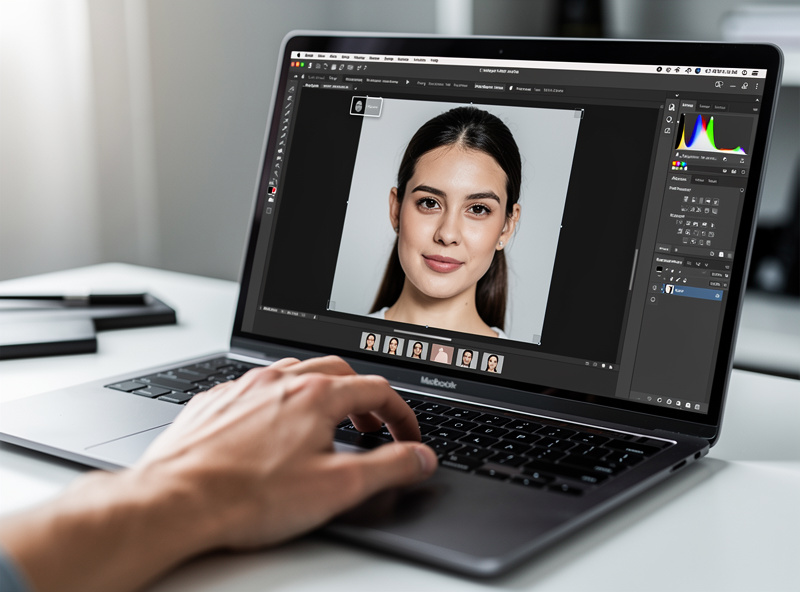
Natural portrait retouching means cleaning up distractions while keeping the person looking like themselves —…
Leave a Reply