Photography Pricing Guide for Beginners: Charge What You Are Worth
Good photography pricing starts from your costs, not your competitors. Add up gear depreciation, software,…

To start a photography business you need four things in order: register it legally, separate its money from yours, build a focused portfolio in one niche, and put a contract under your first paid job. The camera you already own is almost certainly good enough — the business is built on systems, not gear.
I will say this plainly, because it is easy to get the order wrong: I am a glass-first hobbyist shooter, not a working pro with a client book, so what follows is the sequence the commercial side consistently recommends, filtered through someone who genuinely understands the gear side of the decision. The part I can promise you from experience is that your camera is not the bottleneck. The bottleneck is the paperwork and the pricing you have been avoiding.
Before you register anything, decide whether this is a side income or a full replacement for a job, because that single choice changes every decision downstream. A weekend operation can run lean — one niche, minimal overhead, prices set to cover gear and time. A full-time business needs enough booked volume to survive slow months, which means a sharper niche, higher prices, and a marketing system that runs whether or not you feel inspired.
Most successful photographers I have read about started as the side version and only went full-time once their referral pipeline was reliably booking them out. That is the lower-risk path, and it lets you make your beginner mistakes while a paycheck still covers rent. There is no prize for quitting your job early.
Registering is mostly a one-time chore that protects everything you build afterward. You choose a business structure — sole proprietor, LLC, or your country’s equivalent (the U.S. Small Business Administration outlines how each structure affects your liability and taxes) — register the name, and open a business bank account that you run every photography expense and payment through. That bank account is the highest-leverage hour in this entire process, because it turns tax season from a forensic reconstruction into simple bookkeeping.
The structure choice affects your personal liability and your taxes, and the right answer is genuinely jurisdiction-specific, so this is the one step where I send you to a professional rather than the internet. An hour with a local accountant is cheap insurance against an expensive filing mistake. For the broad strokes of self-employment tax and registration in the United States, the IRS small business center is the authoritative starting point. The parent photography business guide maps how this step feeds every other pillar.
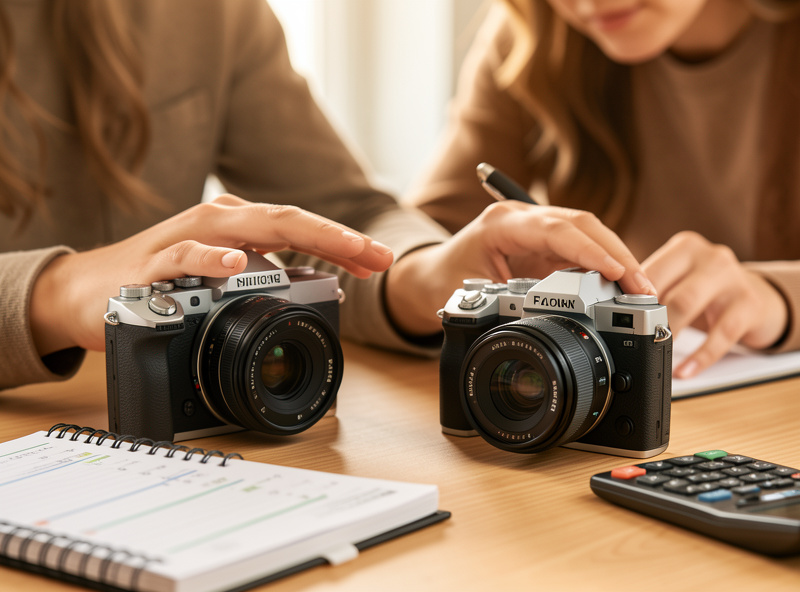
Your portfolio is your sales pitch, and the single most common beginner error is making it a highlight reel of everything you can shoot. A prospect does not want range; they want to see their photo before it exists. Fifteen excellent images in one niche will out-book two hundred mixed shots every time, because the narrow set lets the client imagine their own session clearly.
If you have no client work yet, build the portfolio with trade or unpaid shoots that you control completely — you direct the styling, the light, and the edit so the images represent exactly the work you want to be hired for. Shoot it with the rendering your niche rewards: subject-separating fast glass for portraits, a controlled wide for spaces, a sharp macro for product detail. The look in your portfolio is a promise, and the lens is what keeps it.
Do not take a paid job until you have a number that covers your costs and your time, because the first price you quote tends to anchor every price after it. Underpricing is the quiet killer of new photography businesses — beginners forget that an hour of shooting brings one to two hours of culling and editing, on top of gear depreciation, software, insurance, and travel. Work that math first, then add profit, then compare to the market.
This is important enough that it has its own complete walkthrough in the photography pricing guide for beginners, including a worked cost example. Get the number right before the first booking and you will never have to claw your way out of a too-low price later.

The moment money is involved, a written agreement protects both sides, and the disputes it prevents are almost never about photo quality — they are about scope, payment timing, and who can use the images. Even a one-page contract with a non-refundable retainer, a deliverables list, and a usage grant removes nearly all of them. I cover the clauses that matter in the photography contracts guide, but the headline is simple: never shoot a paid job on a verbal agreement.
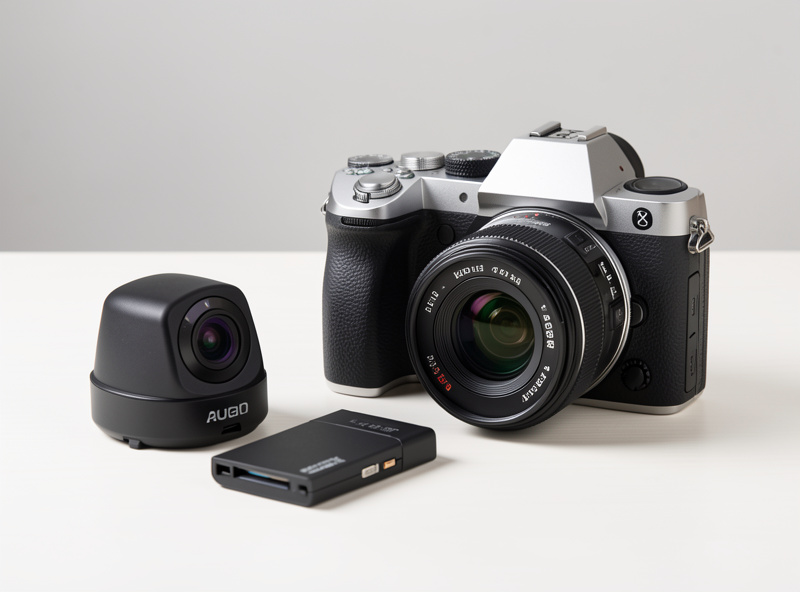
Here is the part I can speak to from the bench. A paying client cannot see your sensor’s megapixel count, but they will absolutely notice if your only camera dies mid-session. The startup gear priority is redundancy, not resolution: a primary body, a backup body that takes the same lenses, fast glass for your one niche, a light you can shape, and a backup-as-you-shoot storage habit.
If your body has dual card slots, use them and write to both. Duplicate every job to a second drive before you sleep. I would spend money on a second body and a reliable backup workflow long before a sharper lens, and I am the person who charts lens sharpness for entertainment. When you are ready to think about bodies the way a working shooter does, the camera body buying guide frames the choice around delivery, and the photo editing workflow guide covers the post-production half of every job.
| Startup item | Priority | Why it matters first |
|---|---|---|
| Business bank account | Do it first | Makes tax and bookkeeping trivial |
| Backup camera body | Before any new lens | One body is a single point of failure on a paid job |
| Equipment insurance | Before first paid shoot | Hobby policies exclude paid work |
| Contract template | Before first booking | Prevents scope and payment disputes |
| Niche portfolio | Before marketing | Focused proof books better than range |
Standard homeowner’s and renter’s policies almost universally exclude gear used for paid work, so the day you take money your hobby cover quietly stops protecting your kit. A photography business needs equipment insurance for theft and damage, plus liability cover for the event where a guest trips over a light stand. Add up the honest replacement cost of two bodies and a stable of lenses and you will see why this is not optional. The full breakdown lives in the photography equipment insurance guide.
If you have not locked a niche by now, do it before you spend a single unit on marketing. “I shoot everything” reads to clients as “I specialize in nothing,” and it forces you to own gear for every genre at once. A single niche sharpens your pricing, your portfolio, your gear list, and your marketing simultaneously. The fastest path is often to choose by the focal lengths and rendering you already love to shoot — the full method is in the guide to choosing a photography niche.
Once the niche is set, the loop closes: niche sets pricing, pricing funds gear and insurance, contracts make the pricing stick, and marketing fills the calendar. None of it requires talent you do not already have — it requires the systems above, built in order, one at a time.
New photographers waste their first year’s budget on things that feel like progress but are not. You do not need a studio space — most beginner niches are shot on location or in natural light, and a rented studio is a fixed cost that eats your margin before you have margin to eat. You do not need a third or fourth lens; two well-chosen focal lengths cover almost any single niche. And you do not need the newest body release, because the gap between a two-year-old enthusiast camera and this season’s model is invisible in a delivered gallery.
What you also do not need is a complicated brand. A clean website, a consistent name, and a focused portfolio do more than a logo you paid a designer for. Spend the money you save on the things that actually reduce risk: the backup body, the insurance, and an hour with an accountant. That is the unglamorous truth the gear marketing will never tell you — the camera was never the constraint, and the sooner you stop shopping for it, the sooner the business gets built.
Decide whether it is a side income or a full-time replacement, then register the business and open a separate business bank account. That account is the highest-leverage early move because it makes taxes and bookkeeping simple. Everything else — portfolio, pricing, contracts, insurance — builds on that legal and financial foundation.
No. The camera most enthusiasts already own is good enough; clients cannot see your megapixel count. What they notice is reliability, so the real priority is a backup body that takes the same lenses, not a newer or sharper one. Spend on redundancy and a backup storage habit before resolution.
Yes, and it is the lower-risk path. Most successful photographers started part-time and only went full-time once their referral pipeline reliably booked them out. Running it as a side income lets you make beginner mistakes while a paycheck still covers your expenses, and it gives your pricing and portfolio time to mature.
Around fifteen excellent images in a single niche beats a large mixed gallery. A focused set lets a prospect imagine their own session clearly, while range reads as specializing in nothing. If you lack client work, build it with trade or self-directed shoots you fully control, shot with the rendering your niche rewards.
Yes. Homeowner’s and renter’s policies almost always exclude equipment used for paid work, so your hobby cover stops protecting your kit the moment you take money. A photography business needs equipment insurance for theft and damage plus liability cover for client events. Arrange it before the first booking, not after a claim is denied.
Most businesses that survive their first year see real income appear in the middle of the year, usually through referrals from early shoots rather than cold clients. The first quarter is foundation — registration, niche, and portfolio. Treat it as a twelve-month build, not a three-month sprint, and the income tends to follow the systems.

Good photography pricing starts from your costs, not your competitors. Add up gear depreciation, software,…

A photography contract protects both you and your client by writing down what everyone already…

A photography business turns a camera kit into income through six moving parts: a legal…
Leave a Reply