Best Camera for Astrophotography: How to Choose
The best camera for astrophotography is the one with clean high-ISO performance, a true manual…
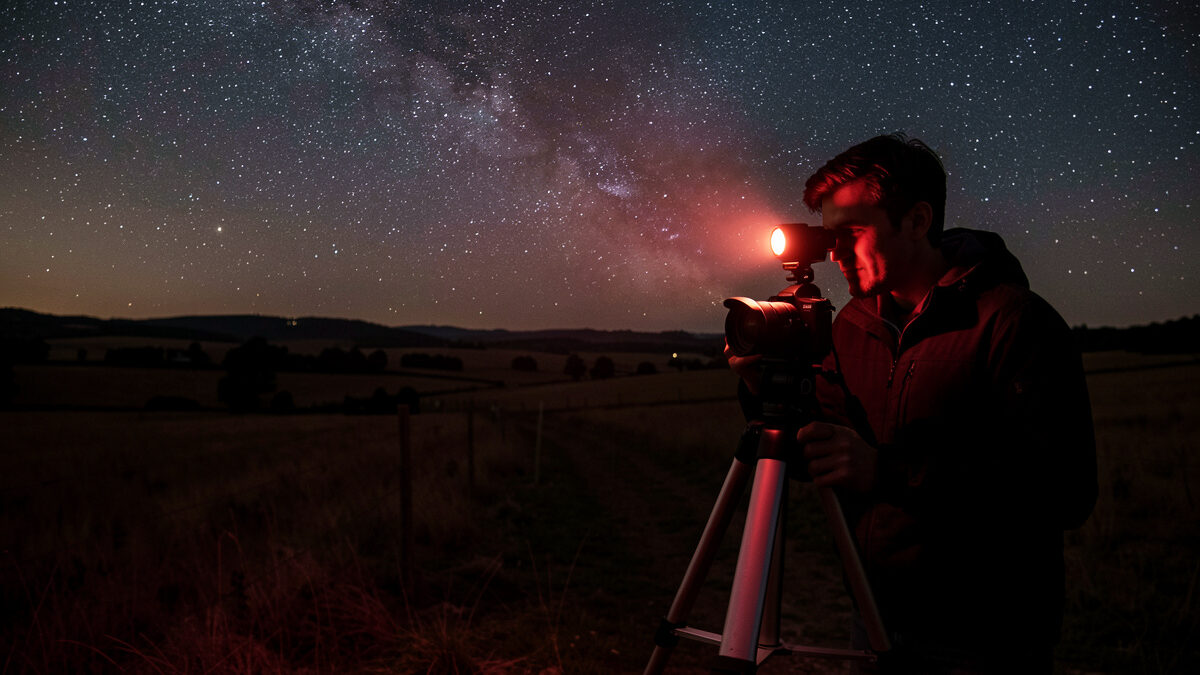
The fastest way to your first real astrophotograph: put a fast wide lens on any modern camera, mount it on a tripod, switch to manual focus, set ISO 3200 and a 15-second exposure, and aim at a dark sky away from city lights. That single frame — shot RAW — will already show more stars than your eyes can see. Everything after that is refinement.
I teach beginners glass-first, because the camera you own is almost certainly good enough and the lens and the dark sky are what actually decide the photo. This guide is the structured first night I wish someone had handed me: exactly what to bring, what to set, how to focus in the dark, and the handful of mistakes that ruin a beginner’s first session. No telescope, no deep-sky complexity — just a clean, printable nightscape from your existing kit. When you want the full map of where astro goes from here, the complete astrophotography guide ties every piece together.
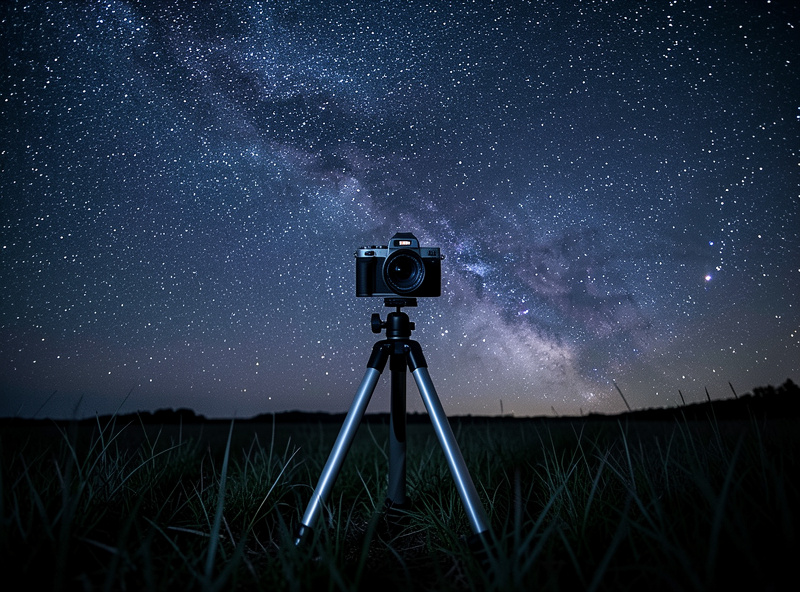
You need three things: a camera that shoots RAW, the widest and fastest lens you own, and a tripod sturdy enough to hold a 15-second exposure without a whisper of movement. That is the entire mandatory list. Everything else — trackers, telescopes, fancy filters — is for later or for never. A kit zoom at f/3.5 will work to start; a fast prime at f/1.8 will work better; but neither matters if the tripod wobbles.
The genuinely useful extras are cheap. A red headlamp preserves your night vision while you fiddle with settings (white light blinds you for ten minutes). A remote release or your camera’s two-second timer stops you from shaking the camera when you trigger it. Spare batteries matter because cold drains them fast — I keep mine in an inside pocket. For tripods, the mirrorless tripod guide covers stable options that do not weigh a tonne, and for the lens question the astrophotography lens guide goes deep.
As an Amazon Associate I earn from qualifying purchases. The two accessories I tell every beginner to grab first are a red astronomy headlamp and a remote shutter release — together they cost less than a memory card and fix two of the most common first-night problems.
Set the camera fully manual — manual mode and manual focus — because autofocus and auto-exposure both fail spectacularly in the dark. Your baseline recipe is: aperture wide open (or stopped down one stop if your lens is soft or comatic wide open), ISO 3200, and shutter speed from the 500 rule. Shoot RAW, not JPEG, because the whole genre depends on recovering detail from the shadows and JPEG throws that latitude away.
The 500 rule gives your maximum shutter speed before stars trail: divide 500 by your full-frame-equivalent focal length. At a 24mm equivalent that is roughly 20 seconds; at 35mm equivalent, about 14. Go over it and pinpoint stars become little dashes. One more critical step beginners forget: turn off in-body or lens stabilization when the camera is on a tripod — a stabilized system can hunt and introduce a faint blur when there is no motion to correct. Set white balance to a fixed value around 3800–4200K so your stars are neutral rather than orange; you can fine-tune it later in RAW.
| Setting | Starting value | Why |
|---|---|---|
| Mode | Manual (M) | You control every variable; auto fails in the dark |
| Aperture | Widest, or one stop down | Maximum light; one stop down tames edge coma |
| ISO | 3200 (then adjust) | Balances brightness against noise on most bodies |
| Shutter | 500 ÷ equiv. focal length | Keeps stars as points, not trails |
| Focus | Manual, on a bright star | Autofocus cannot lock in darkness |
| File | RAW | Preserves shadow latitude for processing |
| Stabilization | Off (on tripod) | Prevents stabilizer-induced micro-blur |
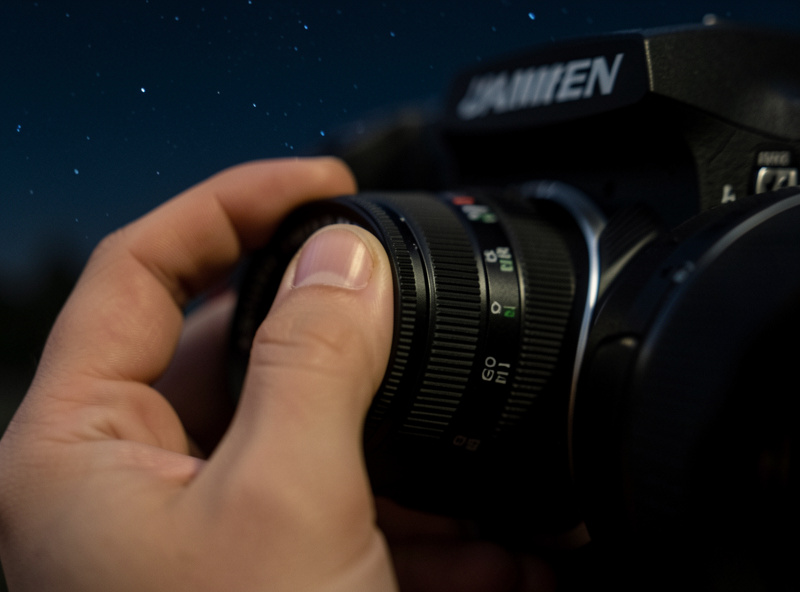
Focus is where most beginners’ first night dies, and it is entirely fixable. Autofocus will hunt and give up, so you focus manually using the rear screen. Point at the brightest star or distant light you can find, switch on live-view magnification (zoom in 10x on the screen, not with the lens), and slowly turn the focus ring until that star shrinks to the smallest, hardest point of light. When it is smallest, it is sharp. Overshoot and come back — the point grows again when you pass perfect focus.
Do not trust the infinity mark on the lens barrel; on most modern lenses true infinity focus sits slightly before the hard stop and it shifts with temperature. Once you nail focus, tape the focus ring or switch to a focus-hold so you do not bump it between frames. This single skill — magnified manual focus on a star — is worth practising in your backyard before you drive anywhere. The dedicated manual focus for the night sky guide breaks it down frame by frame.
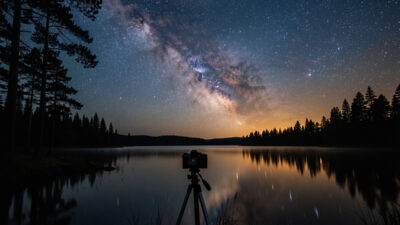
Your location matters more than your camera. Light pollution is the single biggest limiter on what you can capture — from a bright suburb you might pull a few hundred stars; from a genuinely dark rural site you get the textured band of the Milky Way. Use a light-pollution map to find the darkest site within driving distance, and aim for a Bortle 4 or darker sky if you can reach one.
Timing matters just as much. Shoot within a few days of the new moon, because a bright moon washes out faint stars exactly like light pollution does. Check a clear-sky forecast for cloud cover and transparency, and give your eyes twenty minutes to dark-adapt once you arrive. If you want the Milky Way specifically, you also need the galactic core to be above the horizon, which is seasonal and latitude-dependent — at northern latitudes that means spring through autumn, outside the bright summer nights. The Milky Way photography guide covers planning the core in detail.
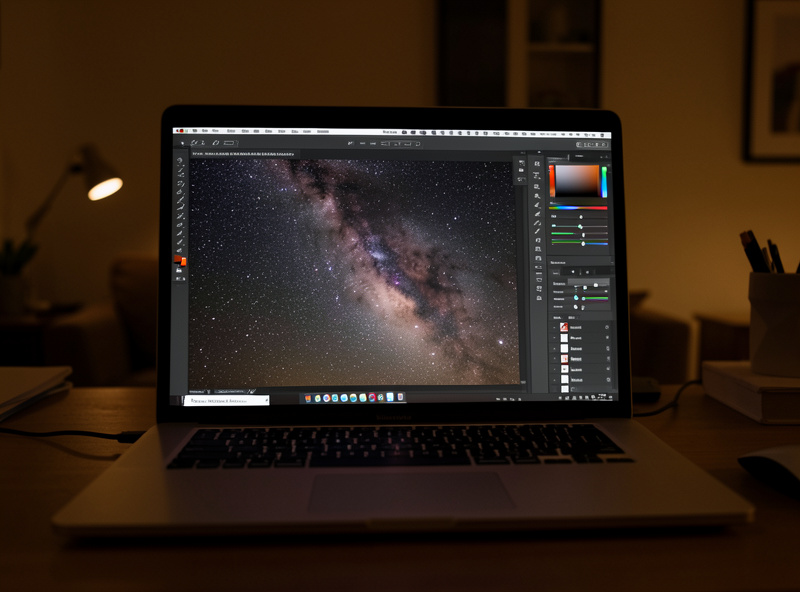
A RAW night frame looks flat and grey straight out of camera — that is normal and it is good news, because all the data is there waiting. In Lightroom or any RAW editor, the core moves are: set white balance for neutral stars, lift the shadows and exposure to reveal the star field, pull highlights down so bright stars do not blow out, and add contrast and clarity carefully to bring out the dust lanes. Go gently — the fastest tell of an over-edited astro shot is a sky pushed so hard the noise turns to mush.
If your single frame is noisier than you would like, the free upgrade is stacking: shoot ten or more identical frames and let software average them, which cancels random noise without costing anything. That is the natural next step once single frames feel easy. For a broader foundation on shooting after dark — light trails, long exposures, and city night work — the night photography guide is the companion to this one, and when you are ready to chase pinpoint stars at longer focal lengths, the star tracker guide is where you go next.
Almost every failed first session comes down to the same short list, and none of it is the camera’s fault. Leaving the lens on autofocus so it never locks. Shooting JPEG and losing all the recoverable shadow data. Trusting the infinity mark instead of focusing on a star. Forgetting to turn off stabilization on the tripod. Shooting near a full moon or under suburban light pollution and wondering where the stars went. And the big one — believing you need to buy more gear before you start.
You do not. A used fast lens, a tripod you already own, and one genuinely dark night will teach you more than a month of reading. Shoot, check the histogram, adjust, and shoot again. The fundamentals you build on a humble kit carry across every camera you will ever own — that is the whole point of learning technique before chasing gear. When the body itself becomes the limit, the best camera for astrophotography guide will help you choose your next one.
Yes. Any camera that shoots RAW and produces clean files at ISO 3200 can capture a printable nightscape. The lens, a sturdy tripod, and a dark sky matter far more than which body you own, so start with what you have.
Start at ISO 3200 and adjust. If the frame is too dark on the histogram, raise it toward 6400; if stars are blown out or noise is heavy, drop toward 1600. Check the histogram rather than the rear screen, which looks misleadingly bright in the dark.
Autofocus cannot lock onto faint points of light in darkness. Switch to manual focus, magnify a bright star 10x on the rear screen using live view, and turn the focus ring until the star is the smallest possible point. Do not rely on the lens infinity mark.
Use the 500 rule: divide 500 by your full-frame-equivalent focal length. At a 24mm equivalent that is about 20 seconds; at 35mm equivalent, about 14. On high-resolution sensors, shorten it further or use the stricter NPF rule.
Yes. Night images depend on recovering detail from the shadows, and JPEG compression discards that latitude. RAW lets you correct white balance, lift shadows, and reduce noise far more effectively, which is the difference between a grey frame and a clear Milky Way.
No. Untracked single-frame nightscapes on a fixed tripod are the right place to start and remain rewarding for years. A star tracker only becomes necessary once you want longer focal lengths, longer exposures, or deep-sky targets like galaxies and nebulae.
The best camera for astrophotography is the one with clean high-ISO performance, a true manual…
A star tracker is a small motorized mount that rotates your camera at the same…
Astrophotography for a photographer is simpler than the telescope crowd makes it look: a fast…
Leave a Reply